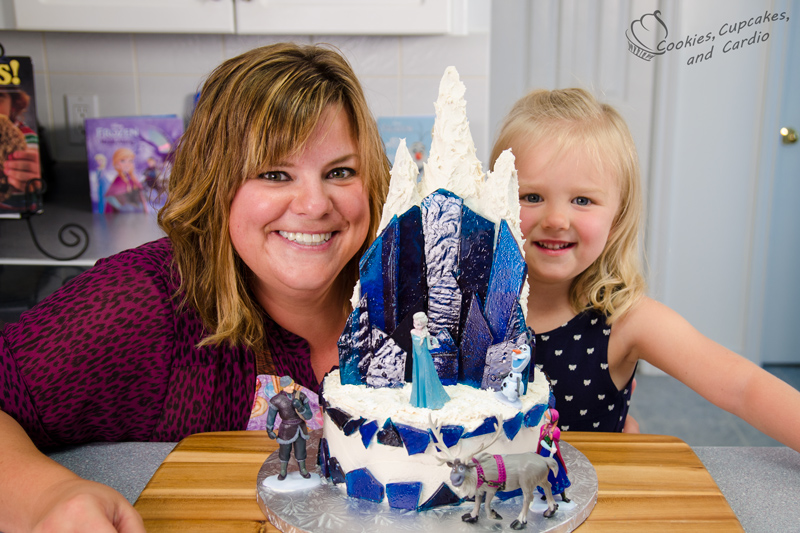
This is one of my most favourite videos that I have done; the reason for that being that I got to make it with my adorable niece, Elsa! We have been inundated with requests for a Frozen themed cake since the movie came out, but I HAD to wait for Elsa to come and make it with me. I couldn’t do it without her as it’s her favourite movie, and Disney clearly named their main character after her.
Elsa is three years old, and she stood on a tiny stool for over an hour while we put this cake together. She was patient, helpful and did an amazing job for any child, never-mind one that is only three! She loved clapping along with me to sync our mics, and when the time came to decorate, or follow instructions, she was right on and eager to do it! Being that my brother and his family live in Minnesota, I don’t get to see them often. I can sure tell that he and my sister-in-law have done an amazing job raising two lovely children. It was such an honor to be able to put this cake together.
To make this cake, you have to learn how to make candy. It’s really simple, despite the fact that you need to use boiling hot, liquid sugar!! Follow my previous post and video tutorial on how to do that here.
I can’t make a video of a Frozen cake without commenting on what a great movie Frozen is. Disney did a great job with appealing to the masses, and the ages. I’m not one to watch Disney, or cartoons much anymore, but with this movie, I loved it so much that I bought it. I loved everything about it, and sang along with each song. Call me crazy. I’ll let it go.
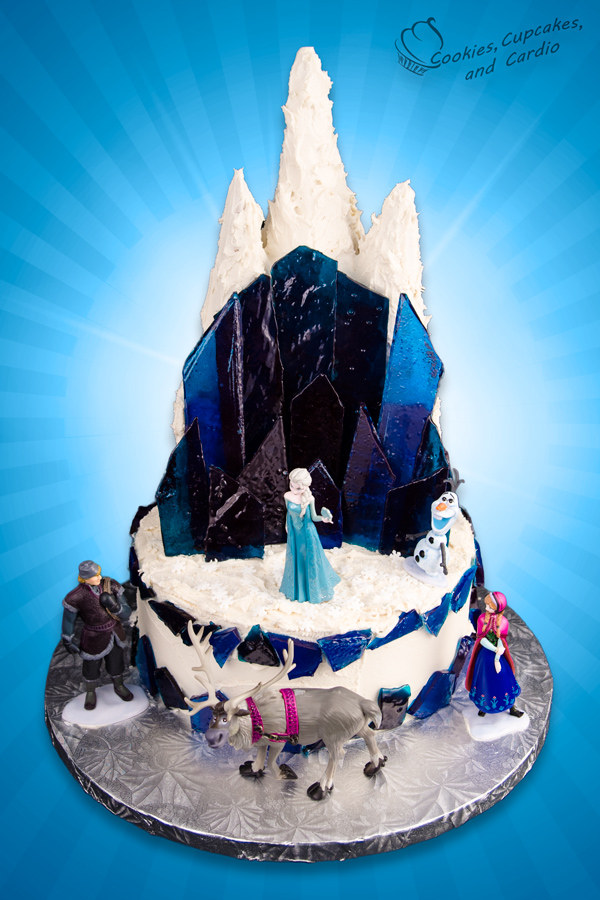
Frozen Cake with Elsa
Ingredients:
- 6″, 8″ round two layer cakes
- White buttercream
- Three sugar cones
- One ice cream cone
- Hard candy (shaped in long rectangle pieces, with angled tops)
- Clear sanding sugar
- Snowflake sprinkles
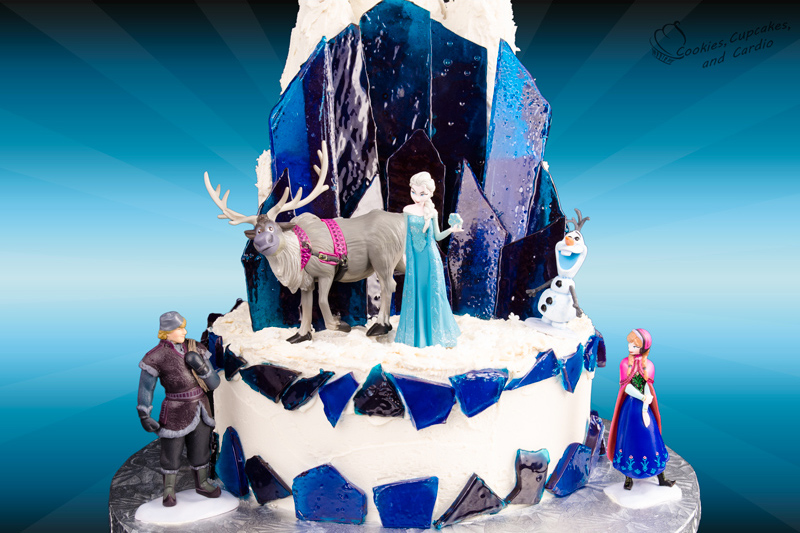
- Small Frozen plastic characters (I found mine on Amazon)
- Bake, ice and prepare 6″ and 8″ cakes. Stack cakes on top of each other, lining up the 6″ cake to be at the back of the 8″ cake. Use a small amount of buttercream in between the layers to help them stick together.
- Place a small amount of buttercream towards the back of the top of the 6″ cake, and place the regular ice cream cone in the centre, with 2 of the sugar cones on either side of it, pointy side up. Place the third cone on top of the regular cone, pointy side up.
- Using a sharp knife, draw a concave line, following the curve of the cones, and cut out a concave portion of the cake, and remove it.
- Cover the concave portion, cake board, and cone structure in white icing.
- Using a sharp serrated knife, cut the hard candy into shaped pieces for the ice castle. I found this to be easiest by cutting gently, and laying the pieces out separate from each other, as they tend to stick to each other. I cut 7 pieces for the background of the castle, and 4-6 pieces for the front of the castle. Elsa, had other ideas for the foreground pieces!!
- Where the 8″ cake is not covered but the 6″ cake, cover with sanding sugar, and snowflake sprinkles- being careful not to get the icing on the hard candy pieces as they don’t clean off very easily.
- Place Frozen characters where you desire, and serve when ready!


Hi , i want to make this cake.. Can i use fresh whipped cream for this cake? Or not
You could use it for some of the cake, but the buttercream acts as a glue for lots of it, and whipping cream doesn’t.
Thanks
I love frozen cakes there the best but I don’t know how to make it
That’s what this tutorial is for…good luck!
Did you know that when you uploaded this video last year (July 18, 2014) it was on Kristen Bell’s birthday (she voiced Anna in Frozen)?
Hi!
Your frozen cake is amazing, i want to make this cake for my daughter’s birthday this month, i just want to know how to do the white buttercream?
Thanks,
I use white colouring, just as I do for any colour. Have fun!
Thanks for sharing this idea. I made a similar one for my daughter’s birthday – your hard candy recipe was so easy for me to follow, and it turned out great! I have never made candy before. One note about the cake assembly – next time I would put some kind of support beneath the back part of the upper layer, mine was too heavy and the cake starting collapsing after a few hours.. Perhaps I should have used a sturdier recipe for my lower cake level. You have a lot of great ideas on your site – so thanks for sharing!
Using heavy cakes work best for stacking cakes. Also, keeping it refrigerated will help with that as well. Glad you liked the candy recipe.
Hi.. Where to get the hard candy? Tks.
I made it, as stated in the video.
We are going to attempt your cake. I am new to your site. Do you have cake and frosting recipes from scratch? I was unable to find any. The cake is so cute my daughter can’t wait and I love your videos.
Thanks!
Hi there….there is a Recipes tab on the top of the site with many recipes. Enjoy!
I have a question. where did you buy figurines frozen? Thanks 🙂
As stated in the video I got them from Amazon.
I just thought of some cake ideas for you. I know you’ve made a cake with butterflies on it, but could you try to make a cake shaped like a butterfly? Also, can you try and make a hamburger and fries cake? Thanks.
🙂
As well, Elsa looked kind of tall, I thought she was four or five years old. 🙂
can you do a video on youtube of what you do in life and show us a totourial of your house to and i love all you video
Love:Emma
Hi Emma, Thanks for watching! I’ll add your request to my list! Jenn
This is a really fun recipe! And your niece Elsa is beautiful! Just curious, did you make this cake for her birthday?
Hi there…thanks for saying such nice things about Elsa! No, unfortunately I didn’t get to make it for her birthday.