Obviously you have heard of Cake Pops. If you haven’t, welcome back to the world. How was it under that rock?
In case you are covered in detritus from your long winter spent buried in the woods, a cake pop is basically this: cake, rolled in a ball, stuck on a stick and dipped in chocolate.
Sounds easy, right?
Well, lets get started.
I apologize, right off the bat, for the poor quality of the pictures! I’m not sure what happened. I’ll blame the camera. Or the tripod. But, not me of course. The step by step pics are fine . . . because they were taken by Paul, but the ones in the light hood are almost not worth showing you! **embarrassed**
One more thing . . . did you know there is a Food on a Stick Day? Random. It was a couple of weeks ago, and I meant to post this article for that, but you know, time got away from me. That, and, I didn’t see “Food on a Stick Day” on my Runner’s World Calendar.
NOW, let’s get started. I’m finished rambling. For now.
HOW TO MAKE CAKE POPS
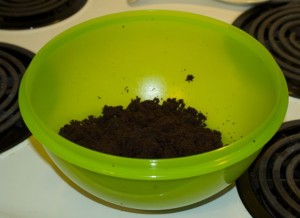
First you need to bake a cake. Any cake will do. Once you have let it cool, add about 1/2 cup of icing to it and mix, mix, mix! Get your hands in there, and get dirty!
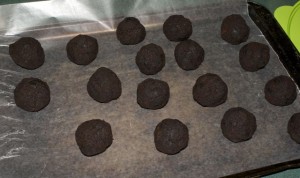
Using a cookie scoop, roll equal amounts of dough into round balls.
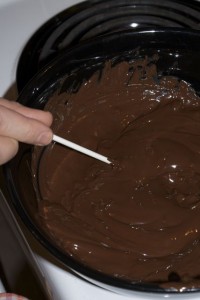
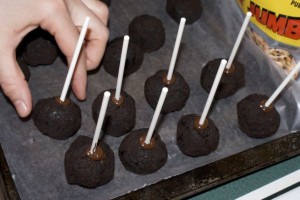
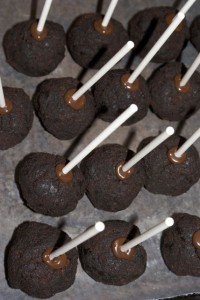
Melt your chocolate in a microwavable bowl . . . for one cake, you will need at least 2 cups of chocolate chips (or melting wafers). Using lolipop sticks, dip the top into the melted chocolate, and then immediately into the cake pop.
Repeat until all of your balls become pops!
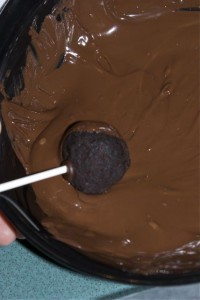
At this points, I find it best to put all of the pops into the freezer to solidify. This helps keep the cake together when you start to dip and roll them in the melted chocolate.
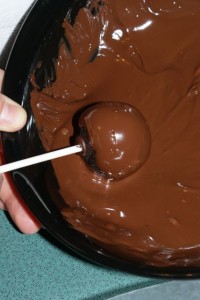
When they have been in the freezer for about 20 minutes, you need to work quickly, and start rolling!
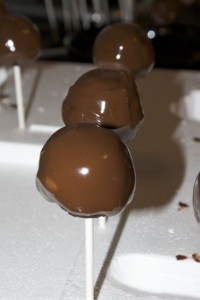
Make sure that you cover all of the cake pop!
There’s no such thing as too much chocolate, right?
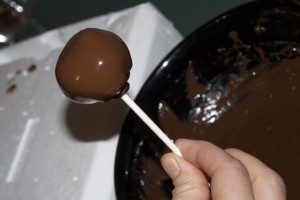
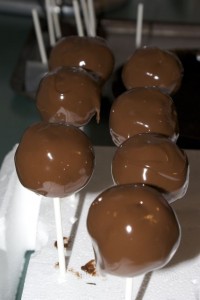
I find it best to allow my cake pops to solidify by sticking them into a piece of heavy duty styrofoam. This way, any drips that might happen follow gravity, and don’t end up making your perfectly round ball into something else!
Perfection!
Decorate however you see fit, and enjoy 🙂
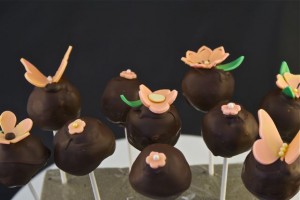
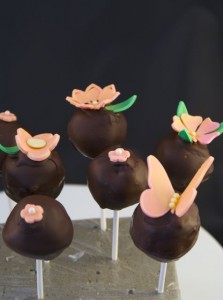
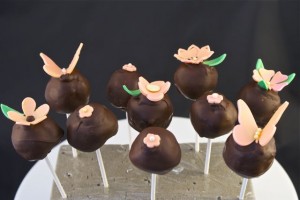
I decorated these ones for a local flower store that deserved a special treat! The flowers are made out of marbled gum paste and fondant.
We were also trying out the Cricut Cake for on these! The butterfly’s and the flower in the middle of the picture (above) and to the right of the pic are with the Cricut Cake.
Maybe next year I’ll be able to celebrate Food on a Stick Day! I better go write that down.


I had one of those for the first time a couple months ago and it was amazing! I will have to make some for myself 🙂
Great tutorial, love the way your sturned out!
A lovely post! Cake pops are so much fun! Hey, thanks for stopping by my site. You have a great blog too 🙂
These are so cute!
I really want to make cake pops but just haven’t found a good reason to yet. I think I’ll just do them just because…they sound like so much fun!
Super cute!!!!! 🙂
Have you ever tried making the Bakerella cupcake style cake pops?
Not yet . . . but I know what you’re talking about. They are so cute with their little pink tops.