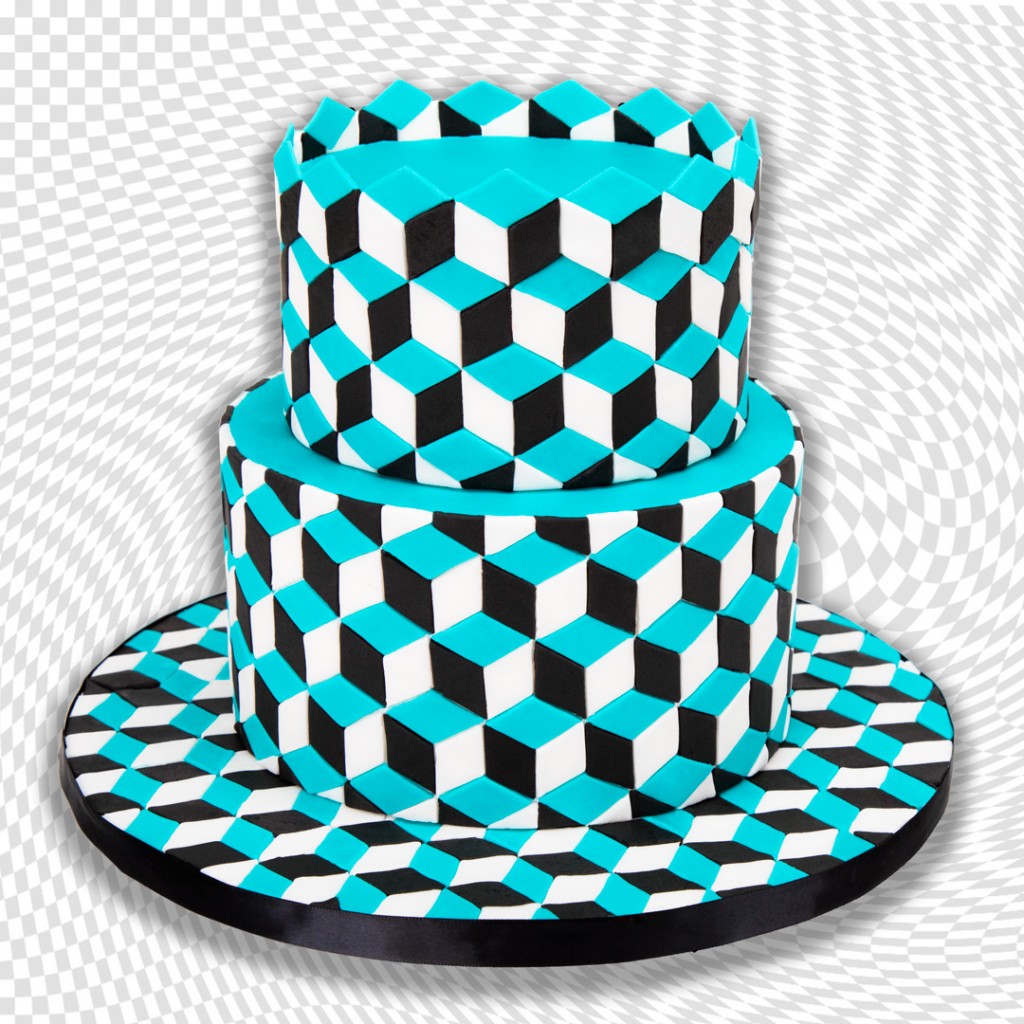
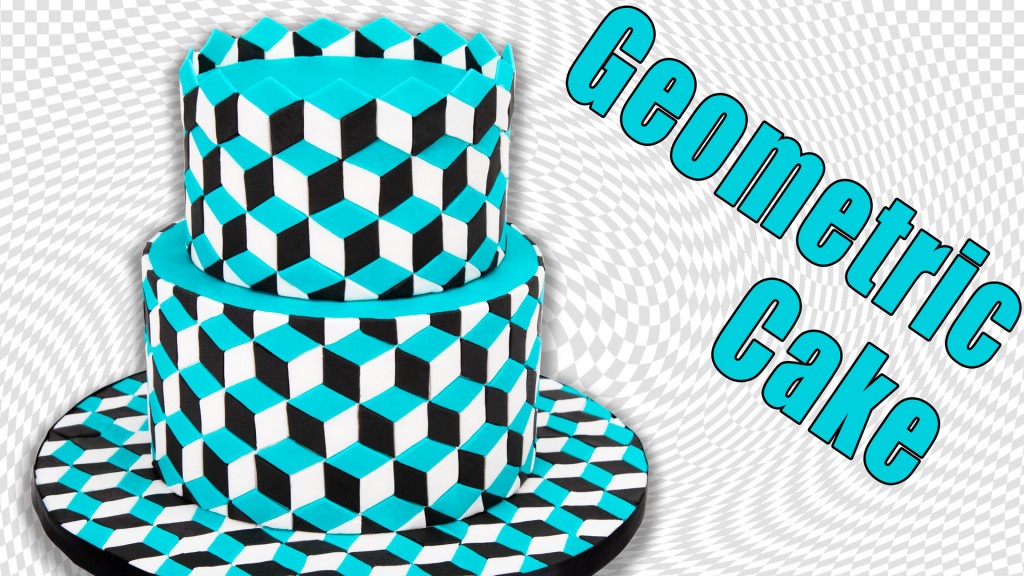
Today I’m showing you how to make an optical illusion cake, using only ONE geometric shape! Geometric cutout cakes are a super modern cake trend, and shockingly easy to make.
Subscribe to Cupcakes and Cardio here.
Subscribe to my NEW SECOND CHANNEL here.
This is definitely a cake that requires lots of patience. Each piece of diamond fondant needs to be applied with precision because if it isn’t, the optical illusion effect of the cake is lost. I quite find the process of cakes like this very therapeutic. It’s a chance to get to sit down and apply fondant to create a work of art- it’s a pretty cool job.
Covering the cake is very straight forward, my only word of advice on this one is to make sure that you test that your diamonds meet up in a hexagon shape. My larger diamond cutter didn’t, and I wasn’t able to use it for this illusion design because of that. I don’t know how or why it didn’t work, but it just didn’t.
This design would look awesome monochromatic as well, but I love the combo of blue, black and white as it is, and thought it would look perfect for this design too.
Geometric Optical Illusion Cake Recipe and Tutorial
Ingredients:
- 3 layer 8″ round cake, white buttercream covered
- 3 layer 6″ round cake, white buttercream covered
- Blue, black and white fondant
- Diamond cutter
Procedure:
- Prepare cakes and cover in buttercream.
- Roll out blue fondant, and cover the top of each cake with a corresponding round of fondant.
- Roll out blue, white, and black fondant using a fondant roller, with thickness guides in place. This will ensure that the fondant is even thickness throughout the application process. Using a diamond cutter, cut out 15-20 diamonds at a time from each color.
- Starting at the base of the cake, apply a blue fondant diamond horizontal to the cake, using water to attach if necessary. On the left side of the blue diamond, apply a black diamond vertically, and a white diamond vertically on the right side of the blue diamond. Ensure that the black and white diamonds meet in a vertical, straight line. Continue building illusion cubes over the two cake layers. Completing a cube at the top of the smaller tier adds an additional element of illusion! Otherwise, cutting off the overlap is fine too.
- Cake is best consumed within 2-3 days and should be kept in the fridge.


Hello,
This is my first visit and this has floored me. Thank you very much for sharing your work. Big fan!
Ally
Glad you found me! Hope you stick around! Jenn
Hi, the cake looks absolutely amazing, but my one issue with all of the cakes that are covered with a repeating pattern, how do you get the pattern to meet exactly in the back 🙂
I always start and finish at the same point all the way up the cake so that if there is a seem that isn’t perfect, it’s at the back and no one sees it. For this one, my shapes worked perfectly and fit (very snugly) at the back…which is always a nice surprise!