Here is the latest “How To” video from CCC! Enjoy . . . and if you do, subscribe to our channel 🙂
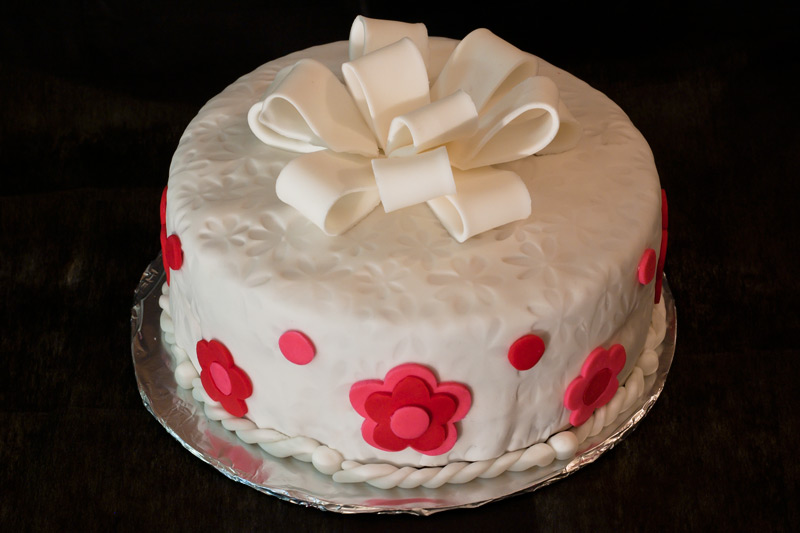
Using Fondant and Gum Paste Silicon Molds and Impression Mats
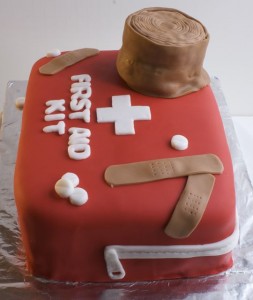
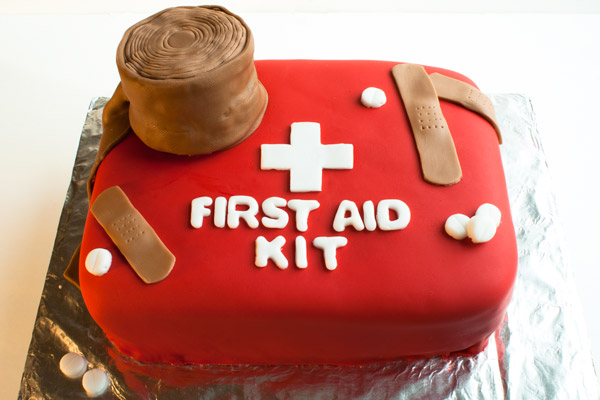
S.O.S.- First Aid Cake
Need help? Maybe you need a first aid kit? One comes in handy in your car. In your backpack. In your house. Pretty much anywhere!
If you’re like me and often loose your battle with the grater . . .
WARNING!!!
DO NOT
SCROLL
DOWN
IF YOU
DON’T
LIKE SEEING
BLOOD.
Just kidding.
I actually did have a picture to put up here, but I can’t find it. I can hear the little voice in my head, “Get organized!” . . . that voice strangely sounds like Paul.
I have a horrible reputation for grating my fingers and knuckles on the cheese grater, and OMG does it hurt! The cuts aka bone jarring flesh removal, take forever to heal. Avoid doing this to yourself!
Perhaps I should start wearing gloves while grating.
A little cake info for you . . . the bandaids looked so real, they were kind of gross! Paul even detailed the backs of them with a piece of white fondant to look like the gauze. So good, yet so wrong.
The great big tensor bandage is made out of rice krispies, and is wrapped in creepy coloured fondant.
One of the men who ordered this cake said he ate all of the bandage and the bandaids! I don’t know why, but I so couldn’t have done that. I made the cake, I watched Paul make the bandage and bandaids, but still it seems kind of gross to me.
I’m weird. And always in need of a First Aid kit.
Ladies? Where are your orders? A tank cake and an Xbox Remote Cake.
Please, please, please, help me out and place an order for a GIRLY cake! My estrogen is begging you!
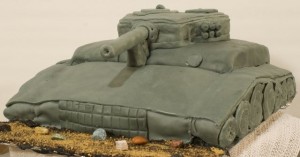
German Tiger Tank. Uggh. Do I need to say more? I made this cake EXTRA difficult for us, as we were working with a new brand of fondant. I figured, that fondant, is fondant, is fondant, but that was a ROOKIE mistake! This specific brand of fondant is really soft, and was quite difficult to work with. Paul has spent hours researching how to make fondant harder, and we think we have found the secret! I will post a fondant comparison and fondant hardener review soon!
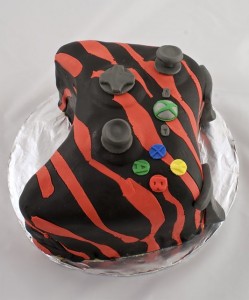
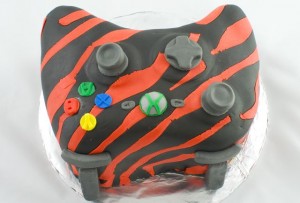
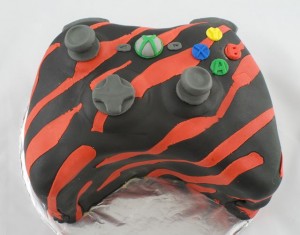
XBox Remote Cake
This cake was done specially for a local birthday boy! His order was very specific, and knew exactly what colours, shape and type of cake he wanted! He even had to poll his friends, to find out which flavour his friends would enjoy most during the celebration! How cute, eh? He (and his friends) ended up choosing Cookie Dough (GREAT choice boys!), and from there, the specifics were up to us!
I started by baking two 8″ round cakes to form the general shape for the remote. Then Paul, and the carving knife, took over (while I went to Tier Cake Class) and he shaped the cake into what you see. He then diligently started working on the pieces of the controller, while I started working on the fondant cover.
We have been having fondant issues of late, and this time, the red fondant was quite dry! I worked with this problem by putting it in the microwave for 10 seconds (seriously!) and added vegetable shortening for more moisture. Working with the red in this way was much better, but while making the stripes to lay over the black, they dried much quicker, and you can see some of the breakage along the sides (if you look carefully . . . so don’t).
To make the tiger stripe overlay, roll out your base colour, cut out your stripes and your accent colour, and lay stripes over top of your base. Use your rolling pin to blend the two colours, and viola! You get one solid sheet of striped fondant!
Making and Baking Cakes- Camping Cake . . . and a hospital gown
One good thing that being confined to the couch allows time for? BLOGGING! YAY! Finally, a chance to catch up on my cyberstalking….here come the back links people, and a chance to fill everyone in on what I have been doing lately (in case you don’t follow us on Facebook, head on over there now!) I find it easy to throw up a couple of new cake pictures on FB, but want to take the time to blog here at CCC.
I am faced with the gift of time over the next couple of weeks while my body recovers from internal jabbing and poking and cutting!
—–Warning: Cutting to Hospital picture—- The booties aren’t in the picture!
—–Move on from hospital picture—–no one needs to see anymore of THAT! Gross.
First up on the Man cake Marathon of Posts: CAMPING CAKE! (prior to hospital visit obviously!)
We have done quite a few of these “manly” themed cakes of late . . . Monster Trucks, 3D Truck, Hunting Camoflauge Cake, and these are the cakes where Paul gets to shine . . . there is immense attention to detail required for these cakes to look (and taste) amazing! He is incredibly detail oriented, and really challenges me to be on the top of my game when caking.
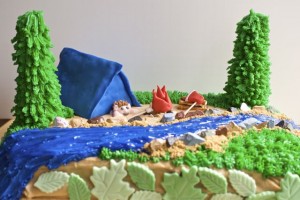
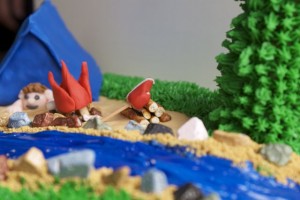
Here is one that we worked on together, and it was really fun, because we both LOVE to go camping! This cake was an 9×13″ sheet, chocolate cake, with salted caramel buttercream.
The tent is made out of carved cereal treats, and then covered in fondant. The trees are also made out of cereal treats and then I piped with a small star tip, the branches. They got a little bit heavy, so make sure that you reinforce your trees, so they don’t start to fall over like one of ours started to.
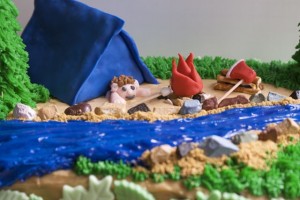
Can you see the little fondant man roasting a marshmallow? So cute, eh? I think that fire might be a little hot for that little ‘mallow though! The stream/river flowing through the campsite is a blue buttercream based, topped with a little bit of blue piping gel layered on top.
In this picture, I LOVE the axe on the wood pile! Paul literally whittled pretzel sticks into little mini logs to make a pile, and to put in the fire. The rocks lining the stream are chocolate covered rock candies.
Next up in the Man Cakes Posts: Vancouver Canucks Cake
Tutorial: How NOT to Cover a Cake in Fondant
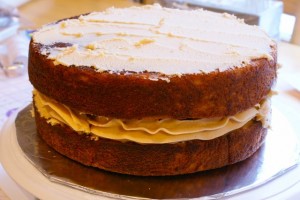
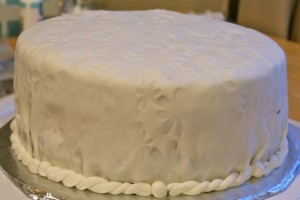
1. Be too lazy to make more buttercream, and just use your small amount of leftover icing that does not entirely cover the outside of the cake. This will make it especially tricky to lay your fondant smoothly.
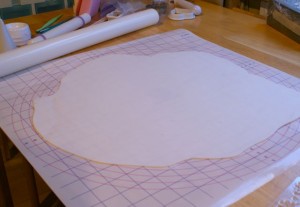
2. Roll your fondant so thin that you can see the marker lines from the mat, through it. If this is your first attempt, make sure you up the ante, and use a press to imprint a design in the fondant, and press too hard and make holes.
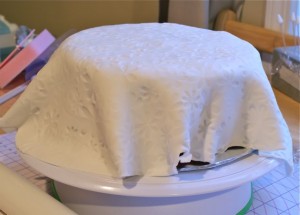
3. Lay the fondant over the cake unevenly. When you peel it off to re-lay it, make sure you scoop up some crumbs and buttercream in the fondant, so when you roll it out again, you have a nice, natural speckle to the fondant.
4. Do not watch any tutorial videos, or read any advice prior to finishing the smoothing process. Just slap the fondant down on the cake, squeeze the wrinkles out, and hope that the holes fill themselves.
5. Make a border to cover the huge gap between the cake board and the cake, because you didn’t carve the cake prior to icing.
6. That’s it! That is all you need to do to have yourself a completely ugly holey fondant covered cake!
