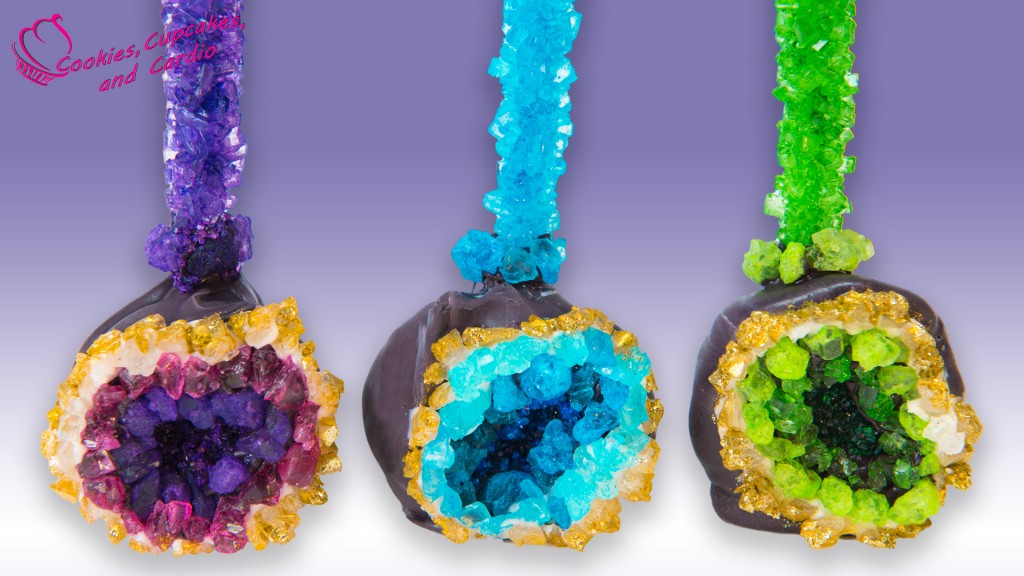
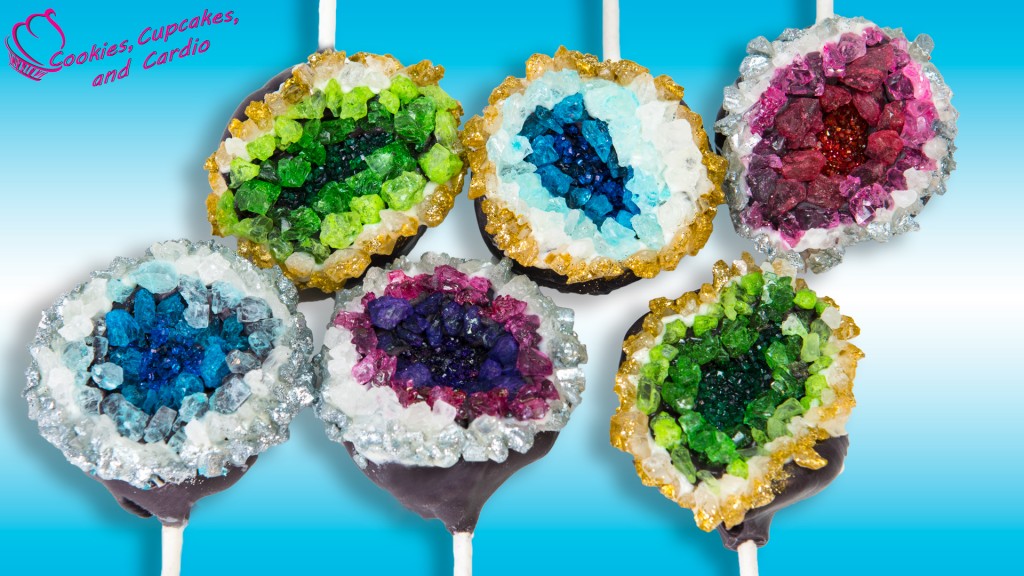
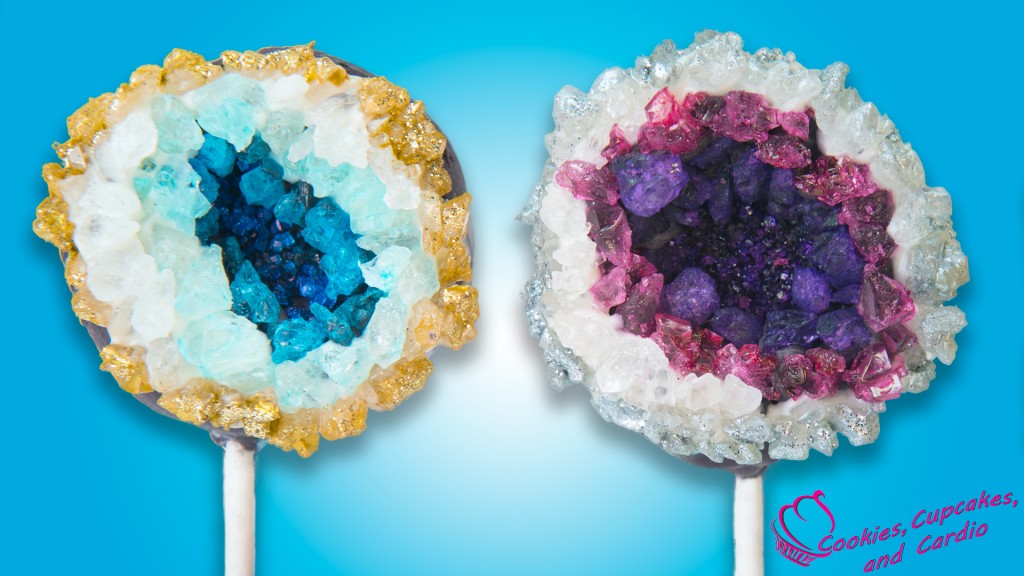
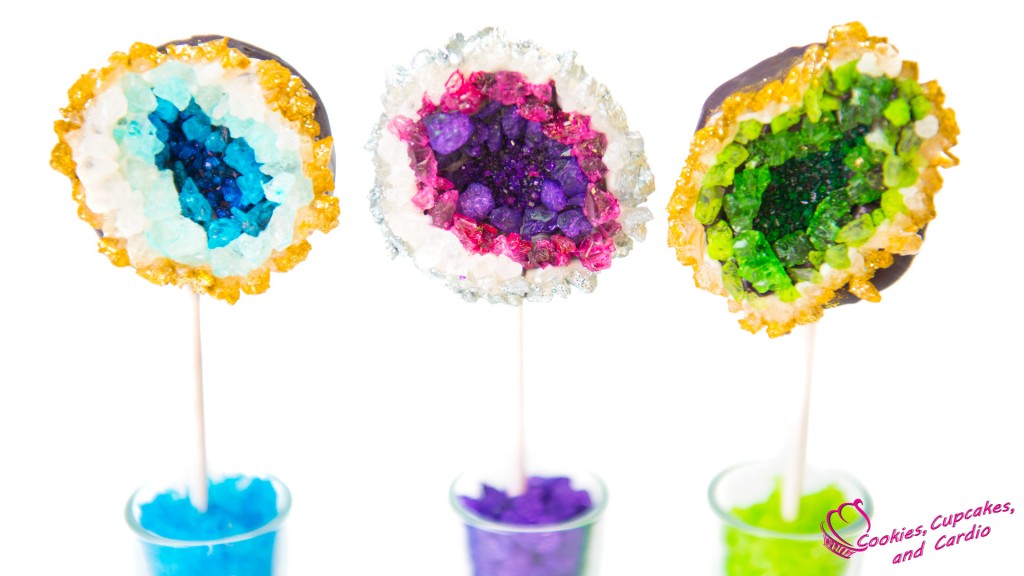
Today I show you how to make Geode Cake Pops in two different ways! A geode is a round rock which contains a hollow cavity lined with crystals. In this cake decorating tutorial I will show you how to make ordinary cake pops into these beautiful geode crystal rocks.
Subscribe to Cupcakes and Cardio.
Recently we made a geode cake that was so much fun to make, and easy (despite looking very hard!) and I wanted to make something geode themed again. I haven’t made cake pops in while, so decided to do them that way. Of course I could just give you a regular cake pop on a stick, so I made a second version of the cake pop with a rock candy stick! Makes the pop a little sticky to hold, but so much more delicious . . . and that’s what it’s all about, right? If you’re going to eat something sweet, might as well be amazing looking and tasting!
These cake pops would make such a statement when paired with my geode cake at a wedding, or a special birthday celebration. They’re full of glitz and glam. The the rock candy might not be appealing to all palettes, but it sure does the trick on anything geode themed.
I don’t usually make cake pops because I find them finicky and time consuming, but making them into a rock allows for imperfections to shine through! Thank goodness. I usually get annoyed waiting for the chocolate to drip off the pops and put them to dry too soon and end up with a big mess. Not to mention how many times I get chocolate all over my hands, and then grab the white stick and color it up. Making the cake pops with this decorating technique allows for lots of mistakes and the ones with the rock candy sticks hide every single thing!
How to Make Geode Cake Pops
Ingredients and Materials:
• Prepared cake pop mixture
• Colored sanding sugar
• Colored rock candy on a stick of various shades of various colors
• Colored rock candy of various shades of various colors
• Clear rock candy
• Black and white candy melts (melting chocolate wafers)
• Silver and gold airbrush paint
• Edible glitter
Procedure:
1. Using a medium cookie scoop, scoop out equal portions of dough and roll each into a small ball, then press an into the middle of the ball leaving an indentation. Place each ball on a parchment lined baking tray and set aside.
2. Melt the black chocolate/candy melts in the microwave in a microwave safe bowl, by using 30-60 second intervals at 50% power and stir repeatedly after each interval of time.
When chocolate is melted and no chocolate chunks remain, dip a 1 inch (2.5 centimeter) of a lollipop stick into the melted chocolate and insert the dipped portion of the stick into the middle of the cake ball. Repeat as required.
3. Take tray with cake pops and place into the freezer for about 10 minutes to harden the chocolate on the sticks.
4. Melt white chocolate and swirl on top of the black chocolate. When sticks are set, remove pops from freezer, and coat cake pops completely by dipping the balls into the melted chocolate, allow the excess chocolate to drip off and stand cake pop upright in a cake pop stand and allow them to harden completely. Repeat for required number of cake pops.
5. Place a small amount of black chocolate in the center of the cake pop, where the indentation is deepest and sprinkle the sanding sugar onto the wet chocolate. Tap off excess sugar. Pipe a ring around the sanding sugar area with black chocolate and press pieces of the darkest shade of rock candy. Pipe another ring around the dark rock candy with the white chocolate and place the lighter shade of rock candy. Pipe a final ring of white chocolate around the outside of the rock candy and press clear rock candy into place. Allow to harden completely.
6. Brush the outside of the white rock candy with silver or gold paint. Gently dab a small amount of edible glitter to the painted areas.
7. To create the cake pops with the rock candy sticks repeat steps 1-4 as before. Remove cake pop stick and cut off the bottom of the cake pop to flatten it. Pipe a small circle of black chocolate and place the flatten portion of the cake pop on top. Pipe some chocolate into the hole left from the cake pop stick, and insert the rock candy stick. Allow it chocolate to completely solidify before moving.
8. Repeat geode completion as in step 5.
9. Serve when desired, or store in a sealed container in the refrigerator for up to 2-3 days.


would you make piano cake pops? Thanks!!!!