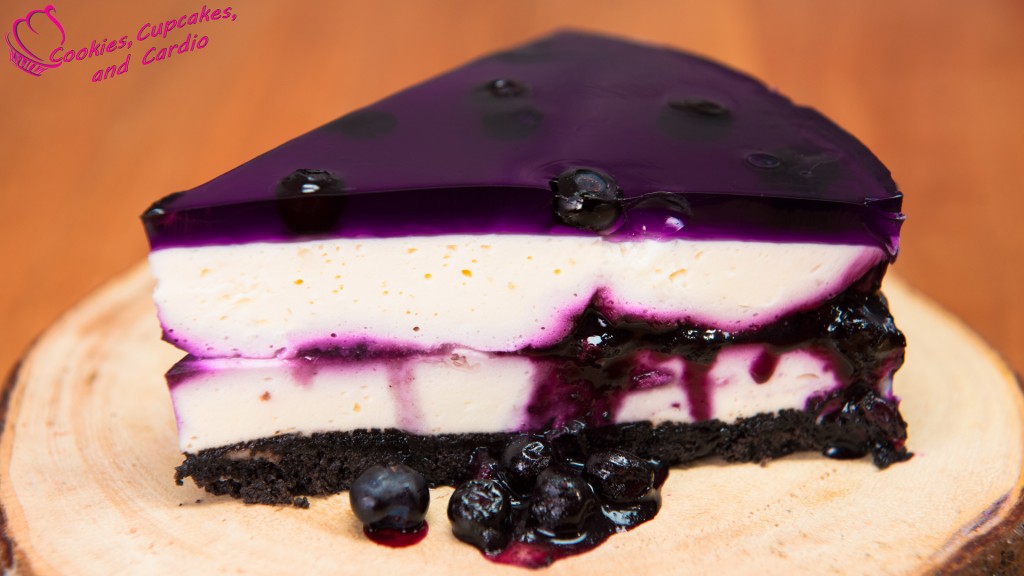
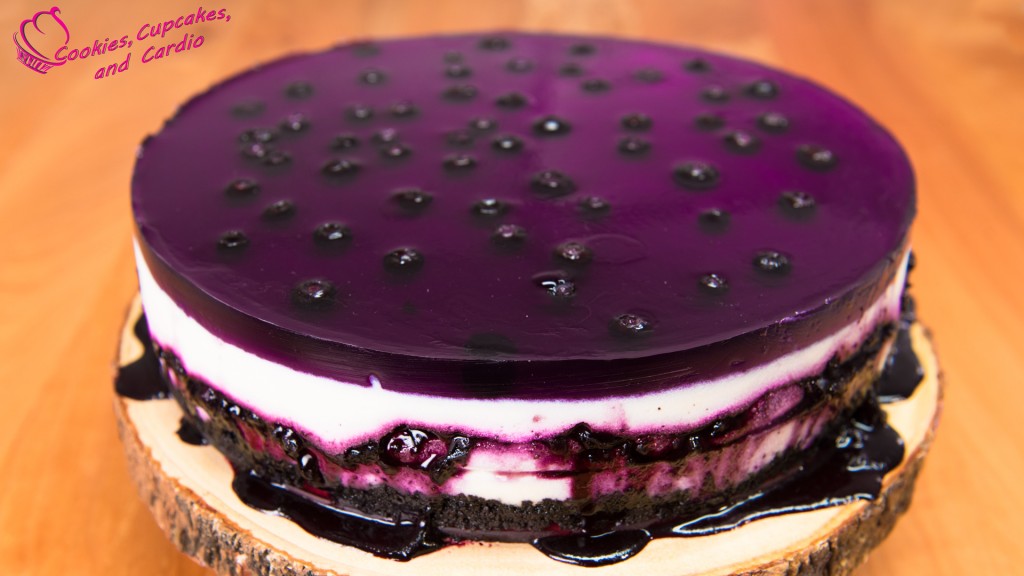
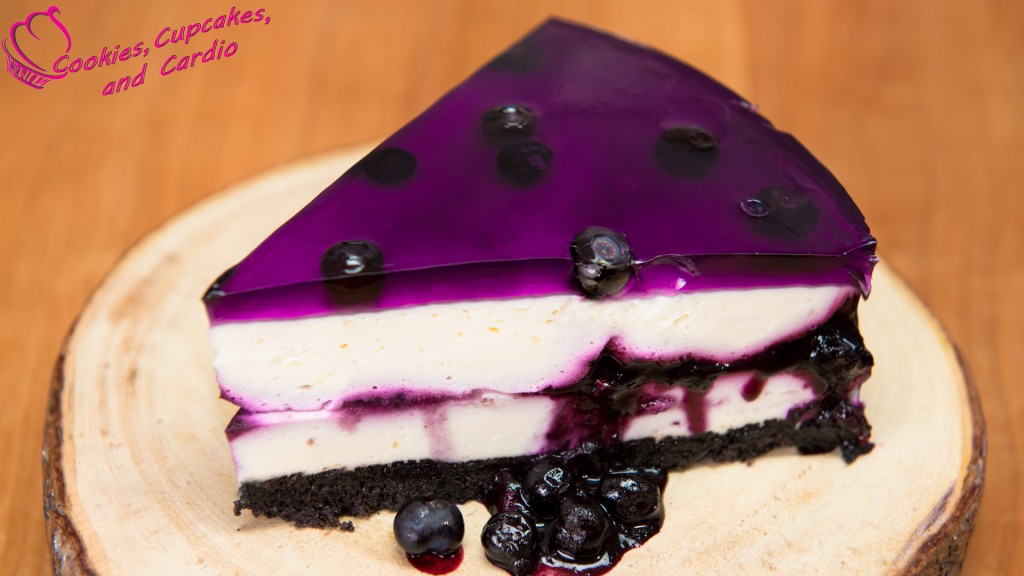
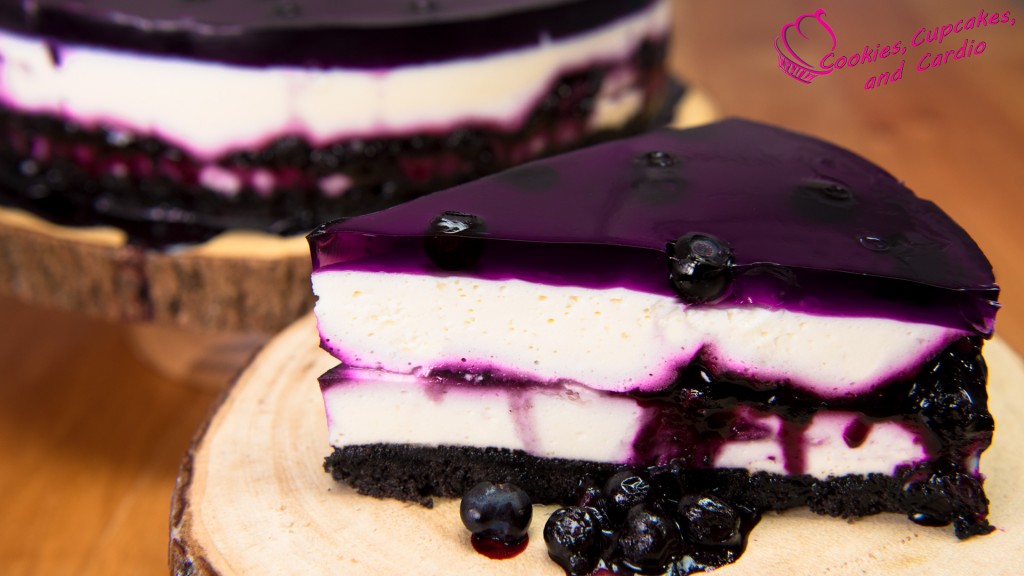
Today I’m showing you how to make a no-bake Huckleberry/Blueberry Cheesecake. Fresh picked huckleberries from the Canadian wilderness (White Boar Lake, British Columbia) make for the most delicious cheesecake ever!
Subscribe to Cupcakes and Cardio here.
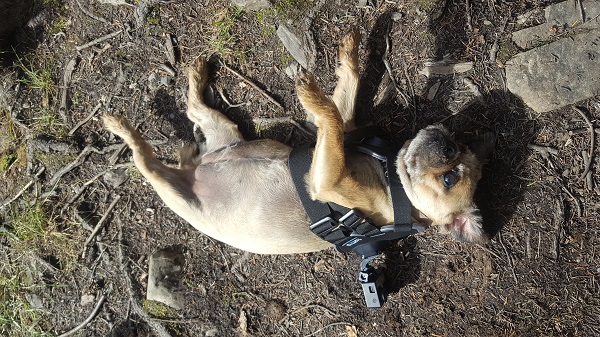
Full disclosure before I go into this tutorial. I had never gone huckleberry picking before this video idea was in the works! Huckleberry picking spots around where I live are kept extremely secretive. No one will disclose where their spot is! I posted a plea on my personal Facebook page asking my local friends and family to pretty please let me know where I could film myself picking huckleberries- and I got back “up high”, “notellem creek”, and “secret creek”. We were on our own in our search. We wasted one night finding nothing driving back roads through the bush, but the second time we went out, success! We were too early in the season though, so a few weeks after our initial sighting, we went back up to White Boar lake with the cameras and Ruby.
As mentioned a number of times in the video, you can use blueberries instead of huckleberries. If you’ve never had a huckleberry, they’re basically a darker version of a blueberry with a slightly more tart taste to them. As with most things that grow wild, they’re best picked right off the bush! I found that the bigger the berry, the sweeter the taste, but they all tasted amazing. They have a deep dark color that you can see clearly throughout the cheesecake, and they also transfer that color to your hands as you pick and wash them!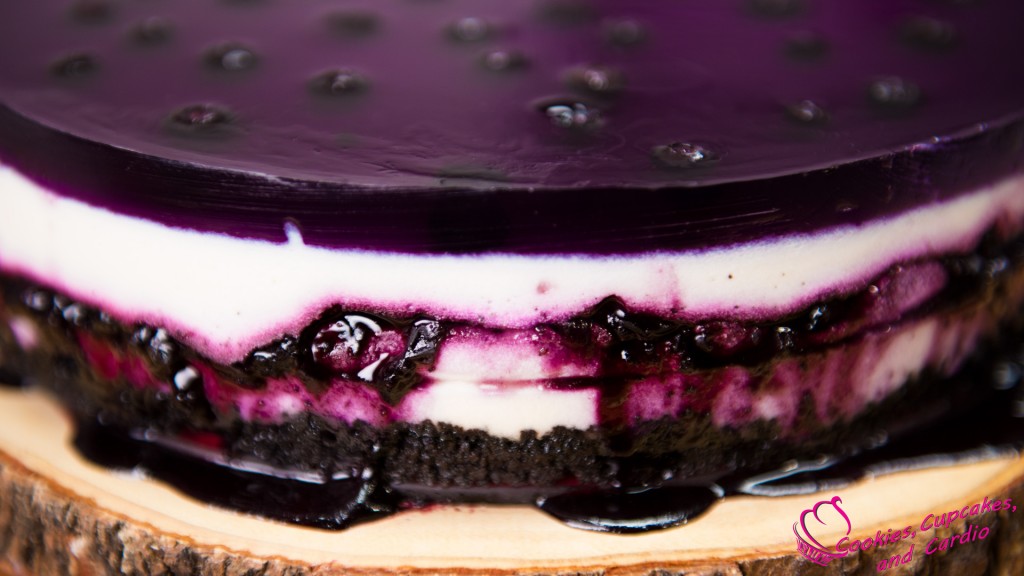
This cheesecake recipe has a number of steps, but it’s actually really easy to make successfully. The most important thing to pay attention to is cooling your ingredients before adding them to the cake. When the huckleberry filling is added, make sure it’s cooled, and the same goes for the jello topping.
Huckleberry/Blueberry Cheesecake (No-bake) Recipe
Ingredients:
• 1 package crushed Oreo’s
• 2 tbsp melted butter
• 1 cup (200g) fresh or frozen huckleberries/blueberries
• 2 tbsp (25g) granulated sugar
• 1 tbsp honey
• 1.5 blocks (375g) cream cheese
• 3 tbsp (45g) granulated sugar
• 1 tsp lemon juice
• 375 mL whipping cream
• 1/2 cup (60g) icing sugar
• 2 envelops gelatin
• 1/2 cup boiling water
• 1/2 cup cold water
• 1 grape jello
• 1 cup cold water
• 1 cup boiling water
Procedure:
1. Prepare crust buy combining crushed oreos and butter. Press into a 9″ springform pan and flatten. Place crust in fridge to solidify.
2. Place berries, sugar and honey in a small sauce pan. Cook on medium heat until berries break down and sauce has thickened. Set aside to cool.
3. Bloom gelatin in a small bowl by sprinkling it on top of 1/2 cup cold water, stir, then add 1/2 cup boiling water. Stir and allow to cool slightly.
4. Cream cheese, sugar and lemon juice in a large bowl. Set aside.
5. Whip cream, and icing sugar in a medium bowl until stiff peaks have formed. Transfer whipped mixture to creamed mixture and stir to combine.
6. Add gelatin and whip until mixture has no clumps remaining.
7. Pour half of the cream cheese mixture onto the crust and level flat. Pop into the freezer for 10 mins to solidify the top of the layer before adding the huckleberry filling.
8. Pour huckleberry filling on top of cheesecake layer and level as best as you can.
9. Pour the remaining cream cheese mixture on top and place in the freezer for 10 minutes to solidify the top again and then transfer to the fridge until topping is ready.
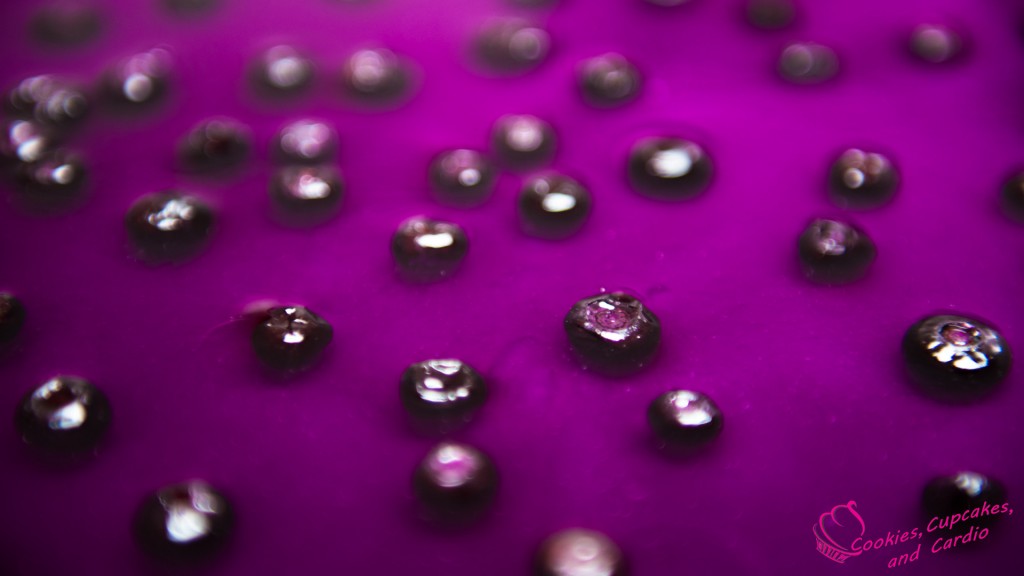
10. Make jello according to package and allow to cool to room temperature before pouring on the cheesecake. Once cooled, pour onto the top of the cheesecake and add some huckleberries to the jello all over the top. Place in the fridge to solidify at least 2 hours.
11. Slice and serve once ready. Cake should be kept in the fridge and should be consumed within 2-3 days.
