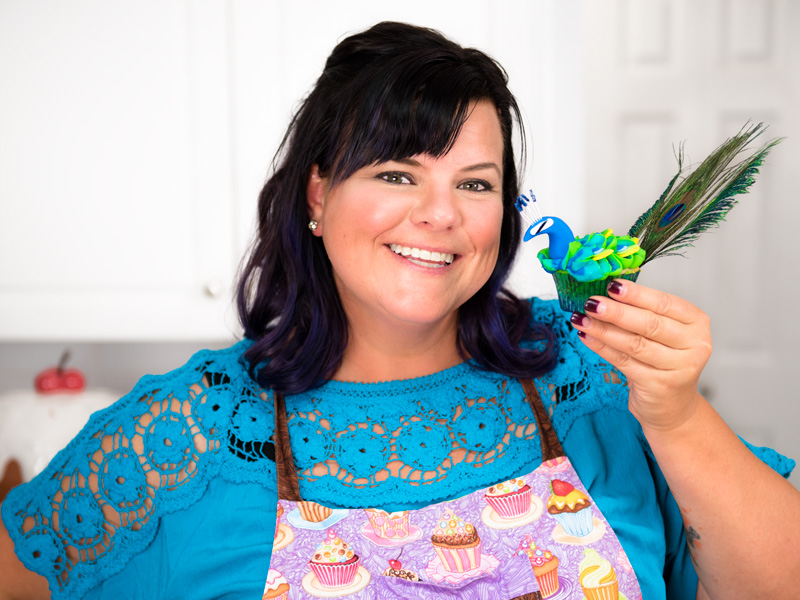
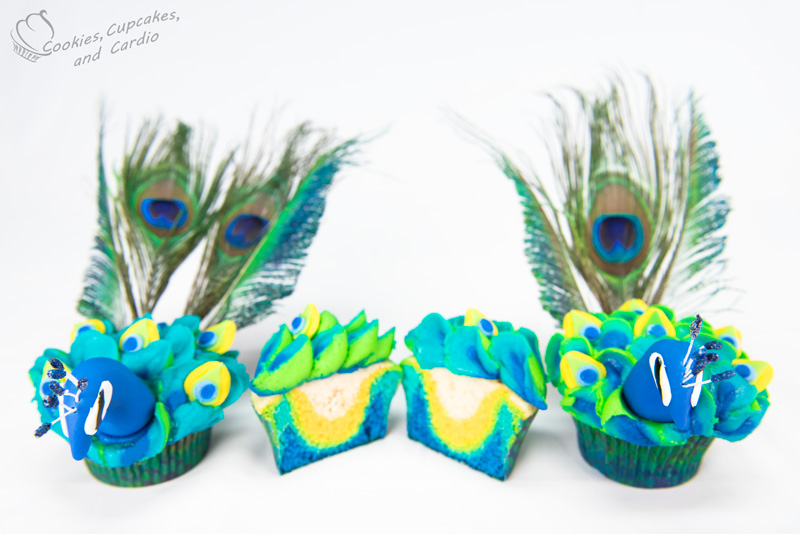
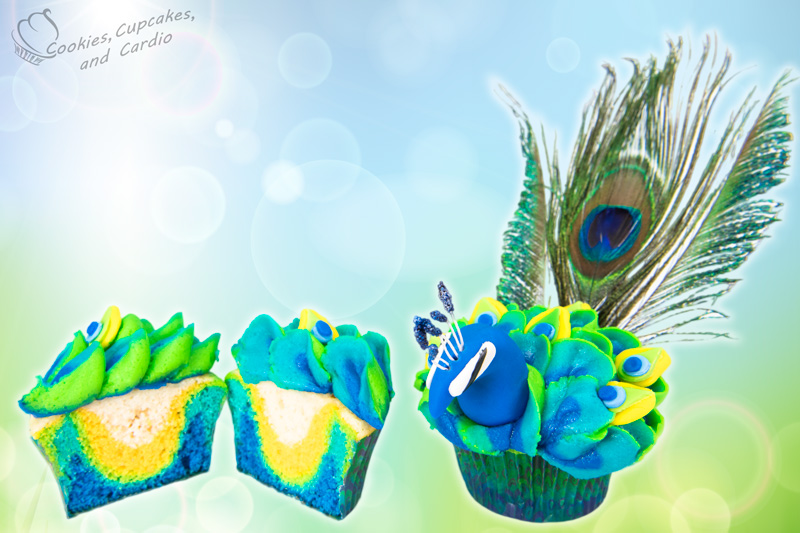
These peacock cupcakes are stunningly beautiful! Follow my super simple step-by-step procedure, and you are going to blow the socks off anyone who gets to try one! I promise. The cupcakes are so bright on the inside and outside, that people are going to love them. Can’t you just see them arranged for a wedding reception? They would look so beautiful!
I’ll confess I’m now a peacock lover- only because they have never flown around me . . . but if one ever dares, I’m done. I’m not a fan of birds, but since peacocks are so big, and I’ve never seen one leave the ground, I don’t feel the animosity that I do for those other little ones that like to dart around, diving near my head.
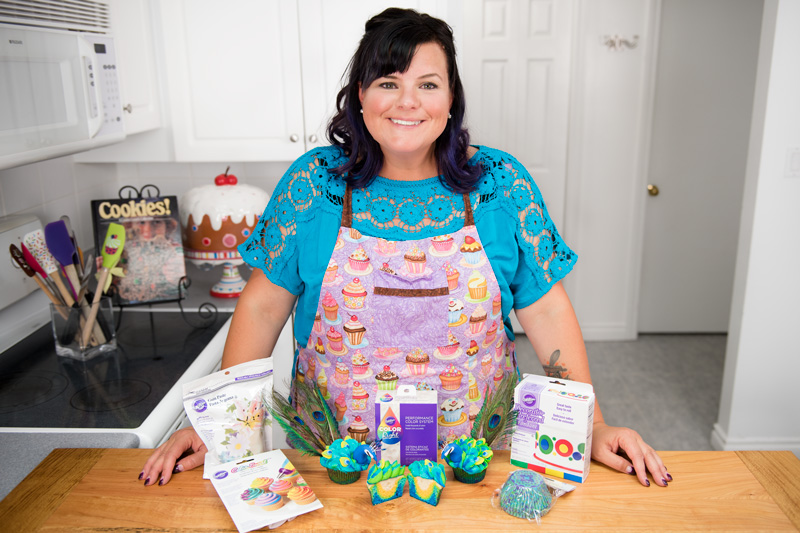
Making these Peacock Cupcakes was super easy, and fun since it was a design I had never done before. And, hello, getting to try the Wilton Color System was awesome! It is so easy. I always worry that I’m going to run out of icing when I’m decorating (and therefore make more than I need all the time) and if that has happened to you, you know what a pain it is to try to match the new batch colour up with the old colour. The color system comes with a guide that tells you exactly how many drops of the color to add in to get the exact. same. color. every. time. Love it!
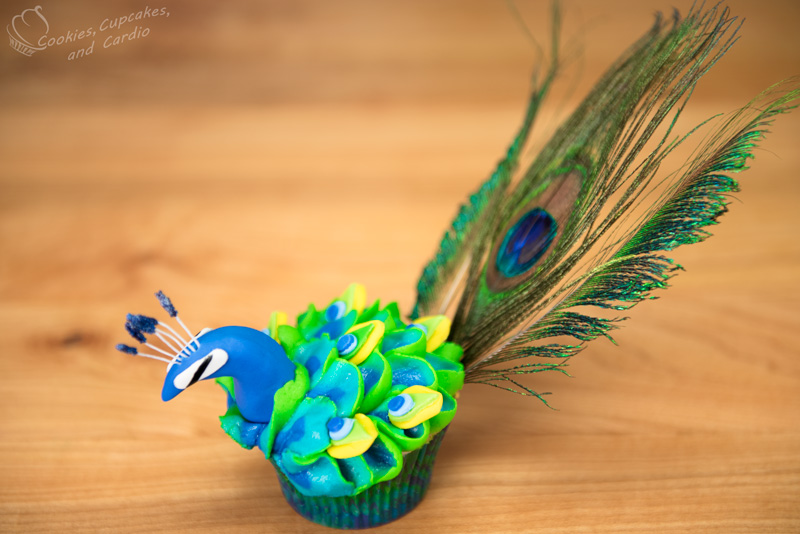
I added real peacock feathers to the back of the cupcakes (just stuck them slightly into the baking cups) but that’s totally optional. It adds a wonderful flair, but they can be hard to find. Check your local fishing stores!
Peacock Cupcakes
Ingredients:
Cupcake Recipe yields 18-22 cupcakes
- Makers and Bakers Goodie Bag products (Color Right Performance System, Wilton Color Swirl 3-Color Coupler, Wilton Decorator Preferred Fondant- Primary Color 4-Pack, Peacock Standard Baking Cups, Ready to Use Gum Paste)
- Vanilla Cake Batter
- Vanilla Buttercream
- Wilton Flower stamens
Procedure:
- Divide cake batter into five bowls, each with one cup of batter inside. Using the Color Right Performance System color guide, colour the cake batters teal, blue, green, yellow, and leave one uncoloured. *You will need to use half the amount of colouring as the system requires as it measured off of 2 cups.
- Place each batter colour into a piping bag, and fill the 2” Peacock Standard Baking Cups with batter of each colour. Repeat until all batter is used up.
- Bake at 350F for 20 minutes and set aside to cool completely.
Fondant Pieces:
- Using a small amount of blue colouring and a small paint brush, paint the ends of the stamens. Allow to dry before handling. Each peacock will need three stamens.
- With a ratio of 2:1, mix together 2 parts blue fondant with one part gum paste. Knead until no white streaks remain. Shape a medium sized ball of the fondant/gum paste mixture into a peacock’s neck and head.
- Fold dried stamens in half, and press into a pre-poked hole on the top of the peacock’s head. Repeat two more times to make the crest.
- Using an “I” small letter cutter, cut out the shape from thinly rolled gum paste. Place on the side of the peacock’s head, and adhere with water. Using a thin paint brush, and a small amount of black coloring, paint a black stripe diagonally across the white rectangle. Repeat for the other side of the peacock’s head.
- To make the tail feather “eyes” combine green and yellow fondant to make a lime green, and additional blue fondant and gumpaste to make a light blue (use the reverse ratio as before- more white than blue).
- Roll out lime green, light blue, and regular blue fondant thinly.
- Using a tear shaped cutter, cut out a piece from the lime green.
- Using the top of a Wilton 12 tip, cut out a small circle from the light blue, and using a small amount of water attach it to the tear shaped piece.
- Using the top of a Wilton 230 tip, cut out an oval shape from the regular blue fondant and place on top of the light blue circle, adhering with water.
- Roll out yellow fondant thinly, and cut out a circle using the bottom of the Wilton 12 tip. Place other fondant piece on top of the yellow piece, adhere with water, and then shape to match the tear drop shape. Set aside to harden, and repeat steps to create more. Each cupcake should have 4-5 “eyes”.
Buttercream:
- Divide buttercream into 3 different bowls, each bowl having one cup of batter inside. Using the Color Right Performance System color guide, colour the buttercream teal, blue, and green. *You will need to use half the amount of colouring as the system is numbered based off of 2 cups.
- Using the Color Swirl 3 Colour Coupler, place coupler tips in the bottom of 3 piping bags, and fill each bag with an icing colour.
- Place a Wilton 125 petal tip on the end, and secure with the ring of the coupler.
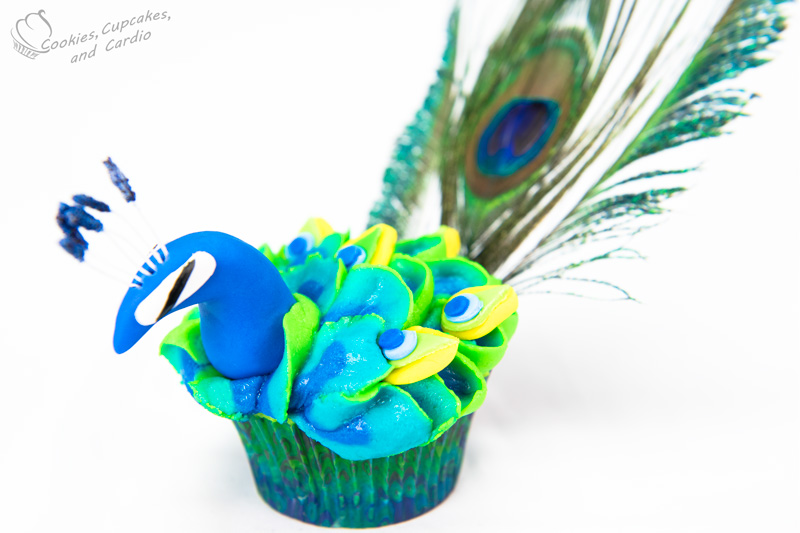
- Pipe the tail feathers of the peacock on the top of the cupcake, keeping the narrow part of the tip facing upwards, ensuring that the feathers all fall in the same direction.
- Place the completed peacock body at the front of the cupcake (tail feathers falling in behind it), and place the tail feather eyes spread out behind the body on the icing. Add real peacock feathers if desired.
- Store in the fridge, in a sealed container until ready to serve. The cupcakes are best consumed within 2-3 days.
Remember to come and meet me at the Makers and Bakers Booth at VidCon! The first 50 people each day get a Makers and Bakers Goodie Bag! I will be at Booth 212 in the Exhibition Hall from 11:00am-12:00pm on both Friday July 24 and Saturday July 25. If you need more info on VidCon, find it here.
Are you a Food or DIY Creator? If so sign up for the Makers & Baker’s Program! (It’s free)
Products used in this video:
• Color Right™ Performance Color System
• Color Swirl™ 3-Color Coupler
• Wilton® Decorator Preferred™ Fondant
• Ready-To-Use Gum Paste
• Peacock Standard Baking Cups
Hope to see you at VidCon 2015!


Love your YouTube channel and all of the yummyfood you make.