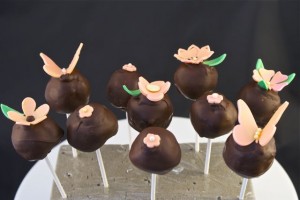
These cake pops are the greatest thing to bring to a backyard party or barbeque for summer!! I originally made them with Cinco de Mayo in mind, but now that I’m finally getting around to making the blog post, they’re perfect for summer . . . or next year’s fifth of May!
Making Cake Pops with The Babycakes Cake Pop Maker
In a previous post, I explained how I magically came across a Babycakes Cupcake Maker and a Babycakes Cake Pop Maker while searching amongst screwdrivers, bathroom faucets and TV’s!
The joys of small town Canadian shopping. Gosh, I HAVE to move. I’m going stir crazy lately, and remembering that I’m stuck shopping at a tire store aggravates me!!
Anyway. . . so while I grabbed a Babycakes Cupcake maker on a great sale, I also picked up a Babycakes Cake Pop maker. Making cake pops is not strenuous- it just tends to be a time consuming process. When I was using this maker, I quickly learned that using the maker cuts time in half!
One thing though . . . when using this cake pop maker, you risk people claiming that you aren’t making a “real” cake pop. According to smart people on the internet, a REAL cake pop must include the icing that is mixed in with the cake. But as long as you have a thick skin and the ability to make something from scratch that the smart people don’t, then I totally recommend that you buy and use this machine! Time is important people.
Have you tried any of the Babycakes products? I know there is a donut one and a mini loaf one too . . . but I think I should stop my shopping-for-mini-makers-problem right now.
You can buy the Babycakes Cake Pop Maker Here
Making Homemade Cake Pops – Video
Things on sticks:
Kebobs.
Popsicles.
Fruit.
Lollipops.
Fondue.
Corn Dogs.
Cake pops.
This video instructs you on how to make your own “thing on a stick” . . . CAKE POPS! So fun, and so easy 🙂 Cake pops are still going strong on the trend meter (shocking) and they are loved by kids and brides! The great thing about them is that they can be customized to fit any colour or theme for whatever kind of party you may be having.
Ingredients:
-
Prepared cake, or cake scraps
-
Prepared Buttercream
-
Cake pop/Lollipop sticks
-
Desired colour of melting chocolate (see note on previous page)
-
Desired colour of sprinkles
Procedure:
-
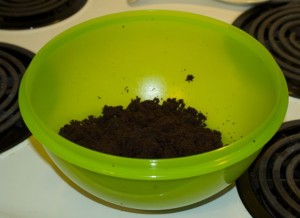
Place prepared cake or cake scraps into a large bowl. Using both hands, crumble cake into tiny cake crumbs.
-
Remove one cup of cake crumbs and combine with 2 Tablespoons (30 milliliters) of buttercream and blend together, again using your hands, until it has a playdough like consistency. If the mixture is too wet, add more crumbs. If it is too dry, add more buttercream.
-
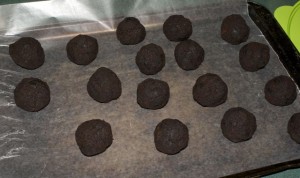
Using a small cookie scoop (2-3 Tablespoons/30-45 milliliters), scoop out equal portions of dough and roll each into a small ball. Place each ball on a parchment lined baking tray and set aside.
-
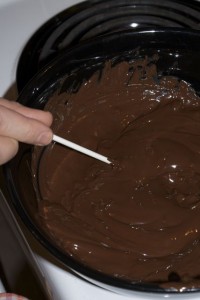
Melt the chocolate in the microwave in a microwave safe bowl, by using 30-60 second intervals at 50% power and stir repeatedly after each interval of time.
-
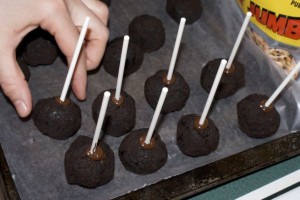
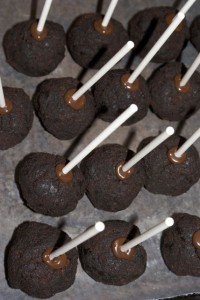
When chocolate is melted and no chocolate chunks remain, dip a lollipop stick 1 inch (2.5 centimeter) deep into the melted chocolate, then insert the dipped portion of the stick into the middle of the cake balls. Repeat as required.
-
Take tray with cake pops and place into the freezer for about 10 minutes to harden the chocolate on the sticks.
-
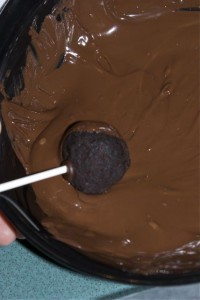
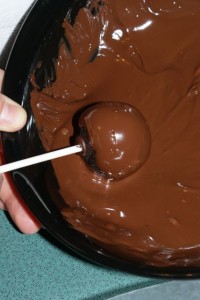
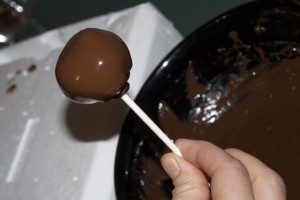
When sticks are set, remove pops from freezer, and coat cake pops completely by dipping the balls into the melted chocolate (re-melt chocolate if necessary), allow the excess chocolate to drip off and stand cake pop upright in a cake pop stand and allow them to harden completely. Repeat for required number of cake pops.
-
To cover the cake pop in sprinkles, dip cake pop into melted chocolate again, and while the chocolate is still wet, cover in sprinkles.
-
To decorate with a swirled finish, place melted chocolate into a piping bag and snip a tiny portion off the end. Apply chocolate from the piping bag in a swirl pattern around the ball, and apply sprinkles before the chocolate sets.
- Allow to harden completely and serve when desired, or store in a sealed container in the refrigerator for up to 2-3 days.
How to Make Cake Pops
Obviously you have heard of Cake Pops. If you haven’t, welcome back to the world. How was it under that rock?
In case you are covered in detritus from your long winter spent buried in the woods, a cake pop is basically this: cake, rolled in a ball, stuck on a stick and dipped in chocolate.
Sounds easy, right?
Well, lets get started.
I apologize, right off the bat, for the poor quality of the pictures! I’m not sure what happened. I’ll blame the camera. Or the tripod. But, not me of course. The step by step pics are fine . . . because they were taken by Paul, but the ones in the light hood are almost not worth showing you! **embarrassed**
One more thing . . . did you know there is a Food on a Stick Day? Random. It was a couple of weeks ago, and I meant to post this article for that, but you know, time got away from me. That, and, I didn’t see “Food on a Stick Day” on my Runner’s World Calendar.
NOW, let’s get started. I’m finished rambling. For now.
HOW TO MAKE CAKE POPS
First you need to bake a cake. Any cake will do. Once you have let it cool, add about 1/2 cup of icing to it and mix, mix, mix! Get your hands in there, and get dirty!
Using a cookie scoop, roll equal amounts of dough into round balls.
Melt your chocolate in a microwavable bowl . . . for one cake, you will need at least 2 cups of chocolate chips (or melting wafers). Using lolipop sticks, dip the top into the melted chocolate, and then immediately into the cake pop.
Repeat until all of your balls become pops!
At this points, I find it best to put all of the pops into the freezer to solidify. This helps keep the cake together when you start to dip and roll them in the melted chocolate.
When they have been in the freezer for about 20 minutes, you need to work quickly, and start rolling!
Make sure that you cover all of the cake pop!
There’s no such thing as too much chocolate, right?
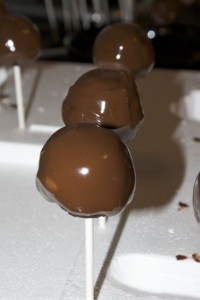
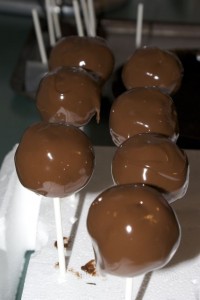
I find it best to allow my cake pops to solidify by sticking them into a piece of heavy duty styrofoam. This way, any drips that might happen follow gravity, and don’t end up making your perfectly round ball into something else!
Perfection!
Decorate however you see fit, and enjoy 🙂
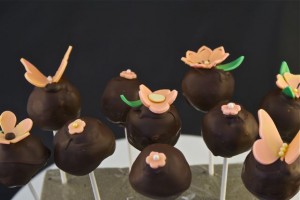
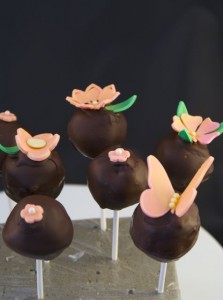
I decorated these ones for a local flower store that deserved a special treat! The flowers are made out of marbled gum paste and fondant.
We were also trying out the Cricut Cake for on these! The butterfly’s and the flower in the middle of the picture (above) and to the right of the pic are with the Cricut Cake.
Maybe next year I’ll be able to celebrate Food on a Stick Day! I better go write that down.
