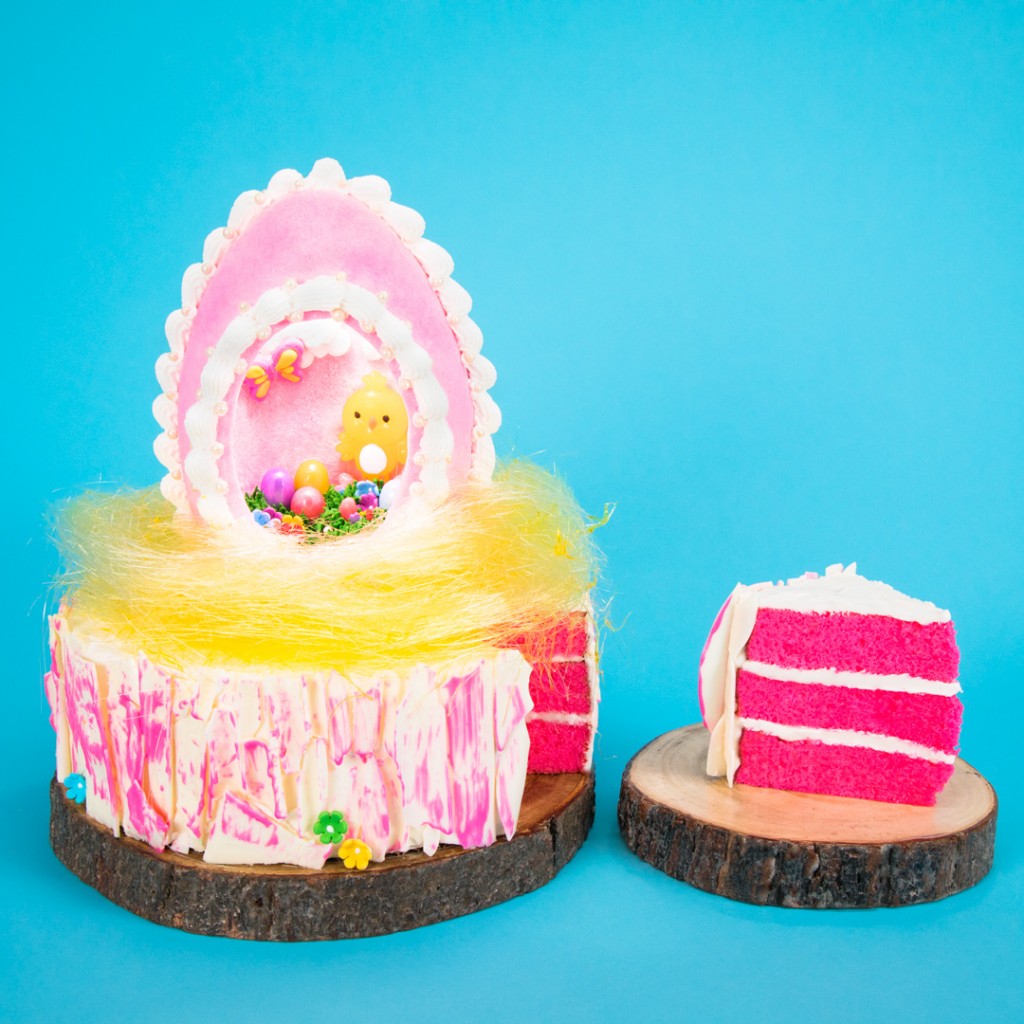
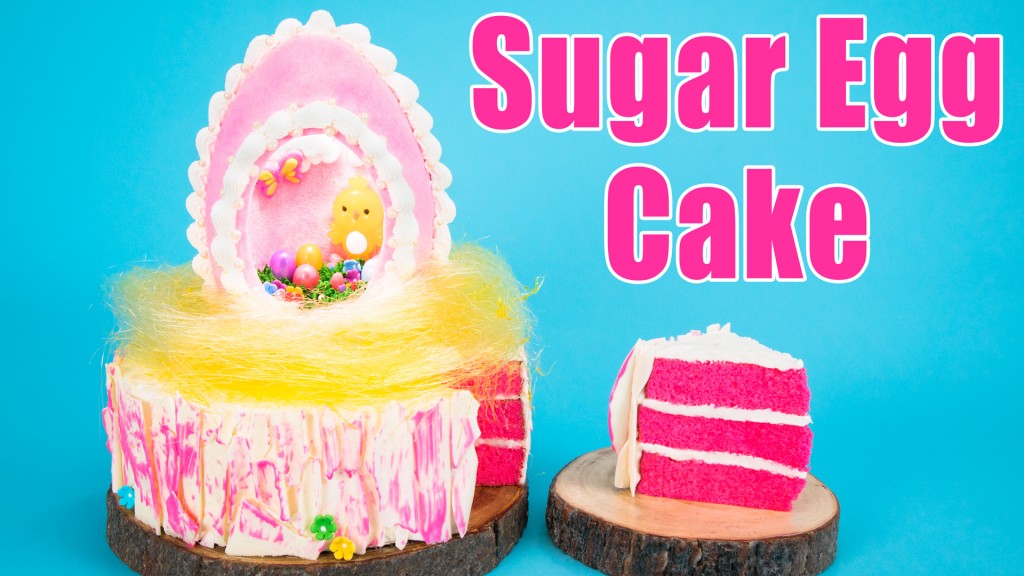
In this cake decorating tutorial video, Jenn Johns show you how to panoramic sugar egg Easter cake.
Subscribe to my NEW SECOND CHANNEL here.
Subscribe to Cupcakes and Cardio here.
Bringing it back old school today with the creation of a panoramic sugar egg atop a 10″ round cake made into a tree with pink bark. Phewf that was a lot of get out.
Easter Cake (Panoramic Sugar Egg)
Cake Ingredients:
- 10″ round pink vanilla cake
- Vanilla buttercream
- White and Pink chocolate (candy melts)
Cake Procedure:
- Cover pink vanilla cake in vanilla buttercream.
- Melt white chocolate in the microwave on 50% power for 60 second intervals until chocolate is smooth and no lumps remain.
- Spread chocolate out thinly onto a large piece of parchment paper. Roll the parchment paper up into a log and place into the fridge until the chocolate has solidified completely.
- Once the chocolate has hardened, break the pieces apart and attach to the side of the cake.
- Melt the pink chocolate, and brush it onto the white chocolate pieces with a pastry brush, or similar tool.
- Attach small flowers if desired.
- In the center, insert 4 support dowels around the center area (where the egg will sit) and place a cake board over top of the dowels. Cover the cake board with icing.
Egg (per half) Ingredients:
- 4-5 cups extra fine (berry) sugar
- 2-3 tablespoons water
- Pink gel paste
- White and green royal icing
- Easter candy/small toys
Egg Procedure:
- Stir the gel paste into the water and make sure there are no clumps of color.
- Combine sugar and water in the bowl of a stand mixer, and whisk until the sugar is a consistent shade of pink.
- Press into a silicone or plastic egg mold, pressing firmly so there are no cracks. Place a flat plate on top of the egg, and flip the plate over, so the egg is resting right side up. Place egg half into the oven, and put the oven on warm (170F). Leave the oven door propped open slightly. Repeat procedure for second half.
- Let egg halves dry in the warm oven for 3-4 hours, or until there is a hard enough shell that you can pick the egg up without breaking it. Once this can be done, carefully remove each half one at a time, and “clean” out the inside with a small spoon or sharp knife. Be careful not to remove too much of the inside or the shell will be too thin and crack. On one of the halves, remove a small “window” at the front of the egg. At the bottom of each half, remove a small divot in the bottom for a dowel to be inserted for stability once on the cake.
- Place egg halves back into the oven, and continue for another 2-3 hours, or until the entire egg is very hard. Remove from the oven and allow to cool.
- Once the egg is cool, fill it with candies, or toys to create a scene inside the egg. Use royal icing to attach everything.
- Pipe a line of royal icing along the edge of one of the halves, and place the second half on top of the royal icing. This will glue the egg together. All to harden. Pipe royal icing details however you would like to on the egg. Allow to harden completely before placing on the cake.
- Place a 4″-5″ dowel vertically into the cake, through the cake board that is already there. Contact between the icing and the egg might cause the egg to deteriorate so I placed a small round of parchment paper between the contact points of the icing and egg.
- Place the egg on top of the cake, lining up the support dowel and the whole in the egg.
Nest Ingredients:
- Yellow Isomalt
Nest Procedure:
- To make the nest, heat the isomalt according to the directions. Using a spinning sugar tool, or homemade whisk for sugar spinning like I do, throw the isomalt back and forth above a raised surface until you have enough thin strands of isomalt to make up the nest.
- To shape the nest, you carefully gather the isomalt strands and wrap around the egg on the cake.
- If you want to use real sugar for the nest, mix together 1/2 cup of sugar plus 2 tablespoons of water in a saucepan. Heat sugar mixture until golden amber color.
Lighting the Egg:
Due to the fact that we shot this cake and egg tutorial under studio lights, it was hard to see inside the egg so I rigged up a light for the display cake! I cut out a hole from the top, and put a LED light in it and ran the wires down where the egg halves attach. I cut a hole in the cake and hid the battery there, covering the wires with buttercream and the nest along the way. The simple way to do this if you aren’t under studio lights is to use a tealight and attach it to the top with royal icing.


awesome…I so want to try something like this for Easter this year…Thanks for sharing Jen.