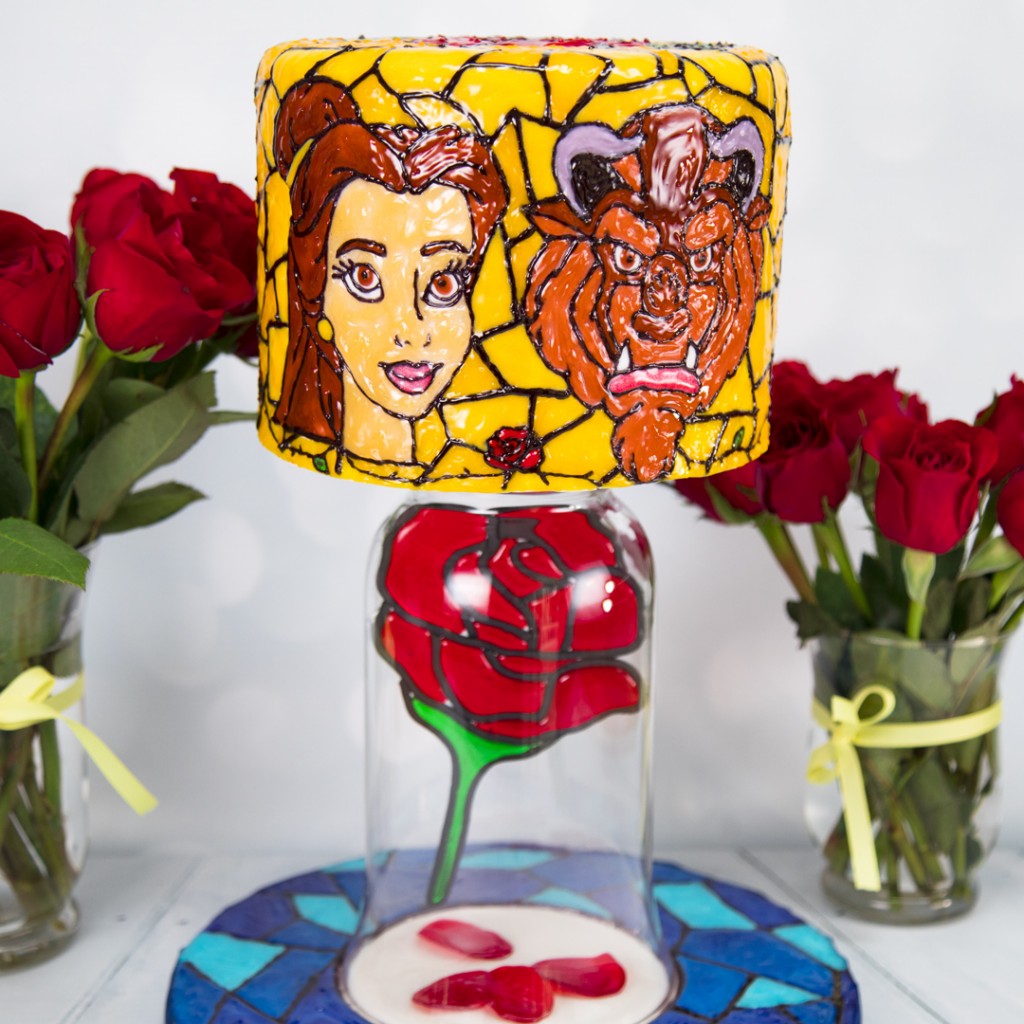
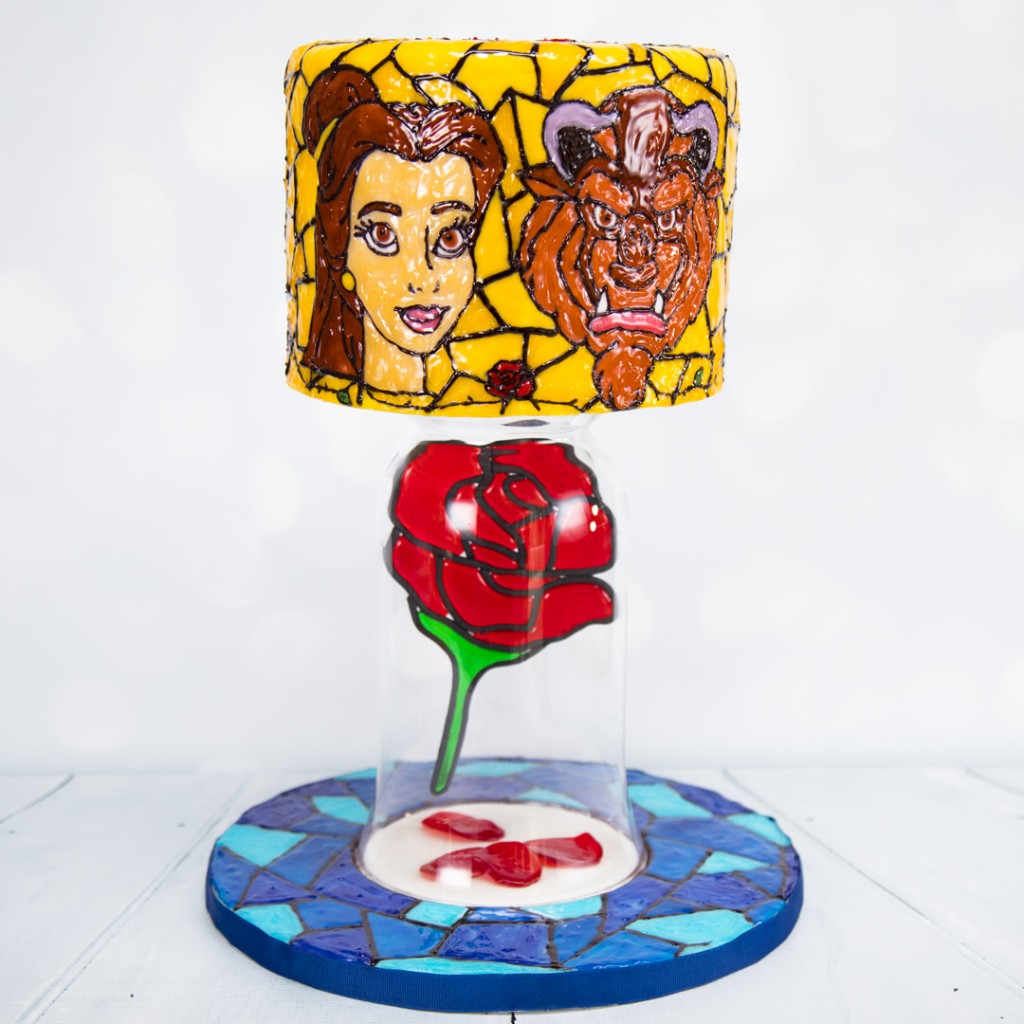
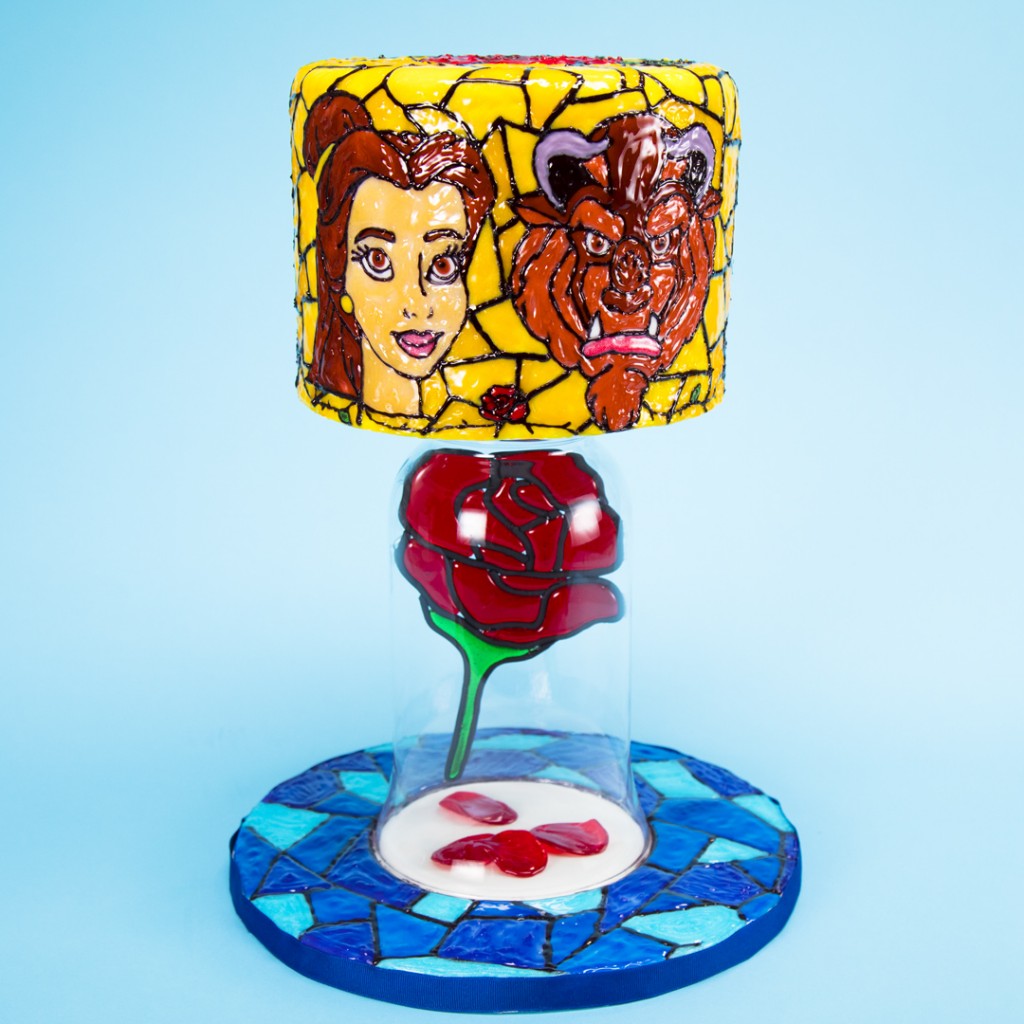
Today I am showing you how to make a Beauty and the Beast Stained Glass Cake with an edible floating isomalt rose. The new Beauty and the Beast movie is coming out this March 2017 and I had so many requests to make a cake based on it!
Subscribe to Cupcakes and Cardio for weekly videos here.
Beauty and the Beast is up for a revamp this spring, and I’m excited to see the cartoon come to life! Emma Watson looks beautiful, and the Beast looks so hideous! When I think about Beauty and the Beast, the first thing that comes to mind is the stained glass elements that tell the story of how the Beast ended up a Beast. So when I went to come up with a concept for this cake, I knew I wanted to have stained glass play a major role.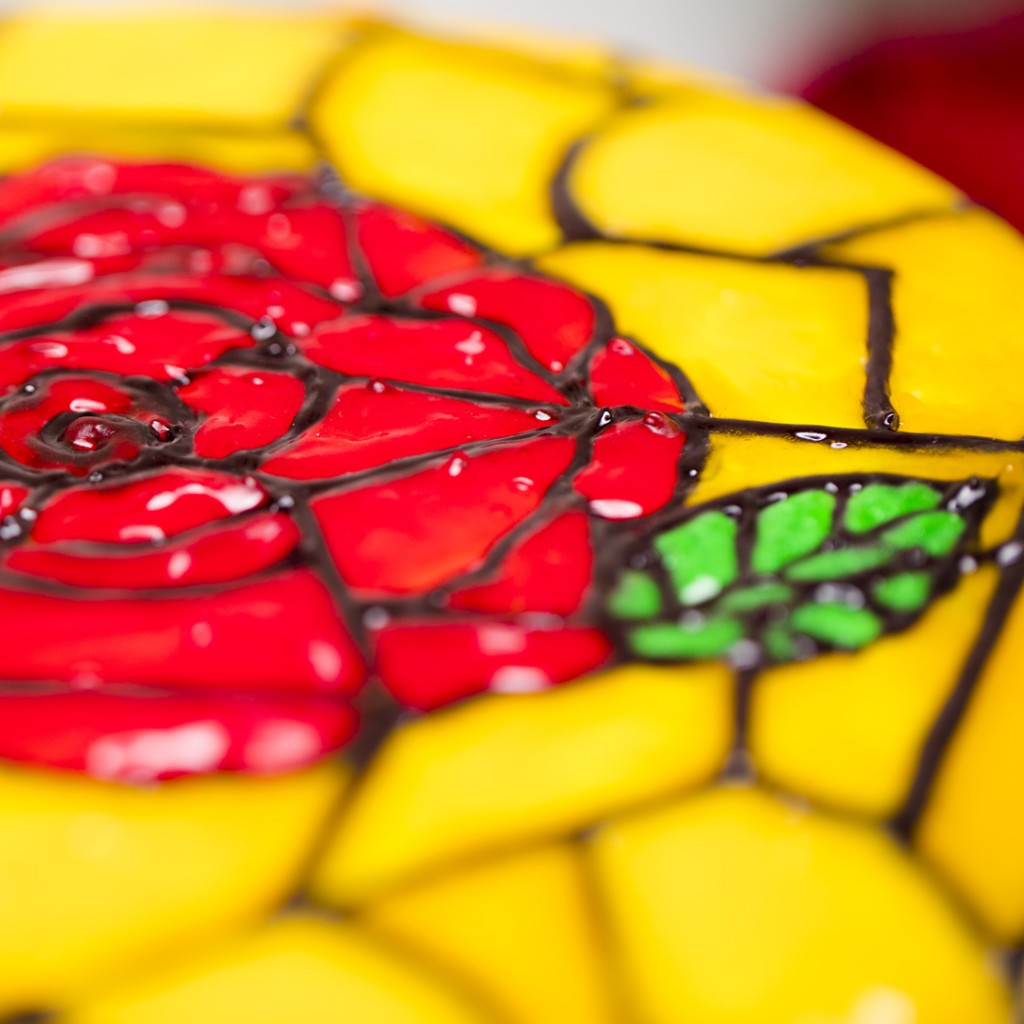
There are a number of ways to achieve the stained glass look- buttercream, royal icing, fondant and the one I chose to demonstrate with was piping gel. I went with piping gel due to shine factor. If you were to use the other mediums (other than fondant) you could follow the same procedure as I do in my tutorial. For fondant, you would have a lot of cutting, and lining of shapes to do!
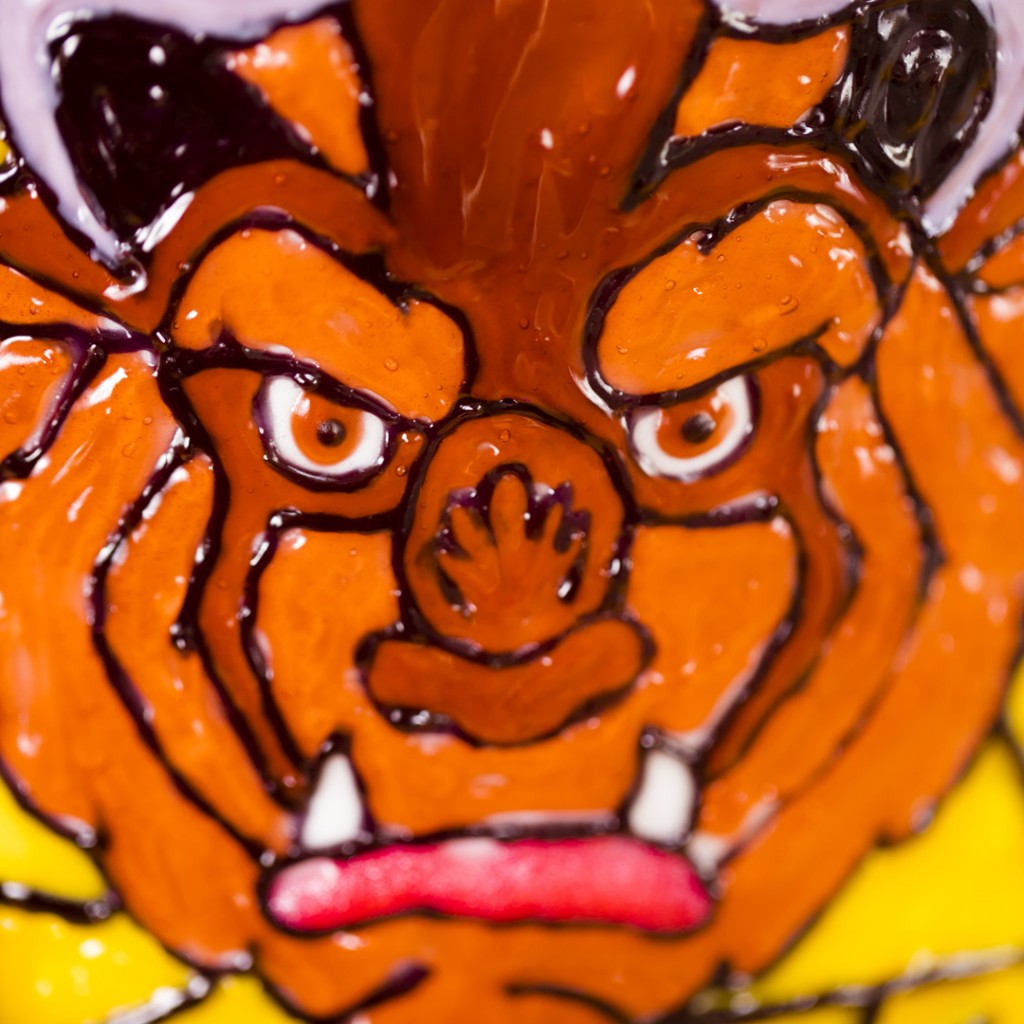
I wanted complete control of the gel when I was outlining the shapes and figures, so I used my smallest tip- #1. For filling in the colors, I used a larger tip in order to get the job done faster. You don’t have to worry about getting completely to the lines when filling, as you can use a tiny paint brush to spread and fill in the gaps. This project uses a lot of piping gel, and not all of the colors I wanted to work with were available commercially in my area, so I had to make them! Starting with clear piping gel, you can add gel paste of any color to make the different shades of browns and yellows I have on my version.
Working with isomalt has become one of my favourite mediums to play with. It is so easy! Which is nice, since it’s rather hard to work with sugar. But, even with that said, it’s still so hot that you can very easily burn yourself, so be careful with it. In case you missed me professing my love for isomalt in previous posts, isomalt is a sugar substitute and you can make amazing things with it. Once the isomalt has melted, which is very easy to do in the microwave, you can pretty much make it into any shape by following the technique I show in the video. This guide works really well using strips of silicone, but since I wanted my rose to be one complete unit, I used gum paste. The gum paste also added to the realistic look of of the glass as I coloured it black.
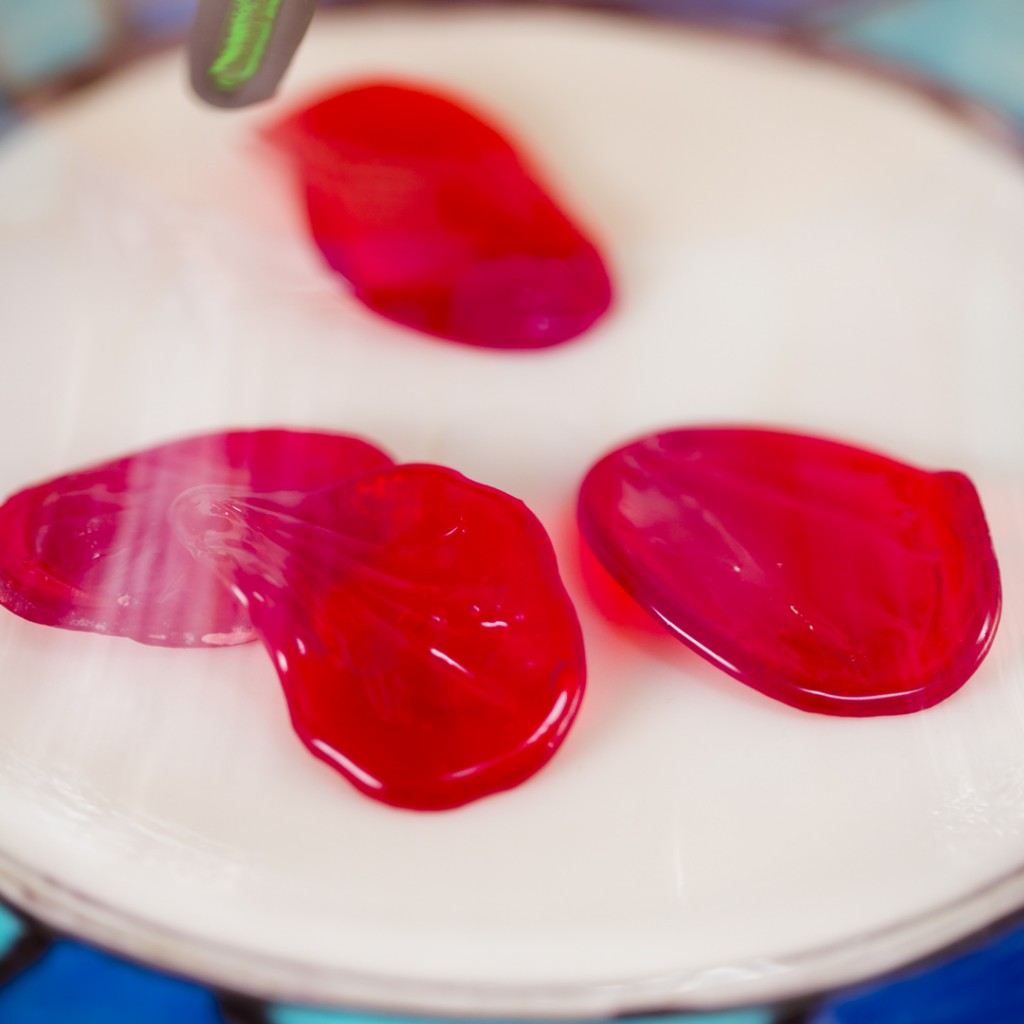
For the rose petals, I free poured the isomalt on my silicone mat and once it had started to harden, but was still flexible, I lifted the mat to shape the petal. I then let it cool completely before placing it onto my cake board.
Beauty and the Beast Cake (floating isomalt rose)
Ingredients:
-4 layer 8″ round cake, white fondant covered
-Piping gel (red, yellow, blue, black, green, ivory, light brown, dark brown, pink)
-Red, green, clear isomalt
–Belle, Beast, Rose templates
-Black gum paste
Procedure:
1. Cover Belle template with a piece of parchment paper and trace outline with black piping gel. Place gel picture into the freezer for 10 minutes. Once chilled, remove from the freezer and line up on the cake, gently press the image onto the side of the cake, making sure to press each line onto the cake. Tidy up any lines that need it with a paint brush, and pipe over any sections that need it. Color in the picture with piping gel.
2. Repeat for the Beast drawing.
3. To cover the rest of the cake, pipe black lines on the cake, and fill in spaces with yellow piping gel. On the top, color in the shape of a rose.
4. Place a piece of parchment paper over top of the rose picture. Place black gum paste into a fondant extruder, with the second smallest round tip, and squeeze out the gum paste. Use the thin line of gum paste to trace the outline of the rose. Use water if needed to attack pieces.
5. Melt red isomalt in the microwave according to directions. Carefully pour melted red isomalt into the petal area of the rose. Pour green isomalt into the stem area. Allow to cool completely before trying to move. To make loose rose petals, pour red isomalt in the shape of a tear drop and allow to cool.
6. Using clear isomalt, attach rose to the inside of a hurricane vase.
7. Cover cake board in white fondant and repeat process used for covering the cake, this time using shades of blue to cover the board. Place petals into the center of the cake board, an turn vase upside down to create the illusion of the rose floating.
8. Place cake on top of vase when ready to serve. Cake is best consumed within 2-3 days and should be kept in the fridge.


This cake is beautiful and you are extremely talented! I really wanted to recreate this cake but I can’t seem to find the templates anywhere. Do you happen to have a link for them?
I was trying to link them but haven’t been able to. If you send me an email, I can upload them to you.
Hi Jenn, loved the video. Thank you very much. I love B&theB so much I am wearing her provincial costume to the premiere. Hopefully I can make this cake and take it along too. Can you please email me the templates?
They’re linked in the recipe now!
I’ve got the templates linked in the recipe now!