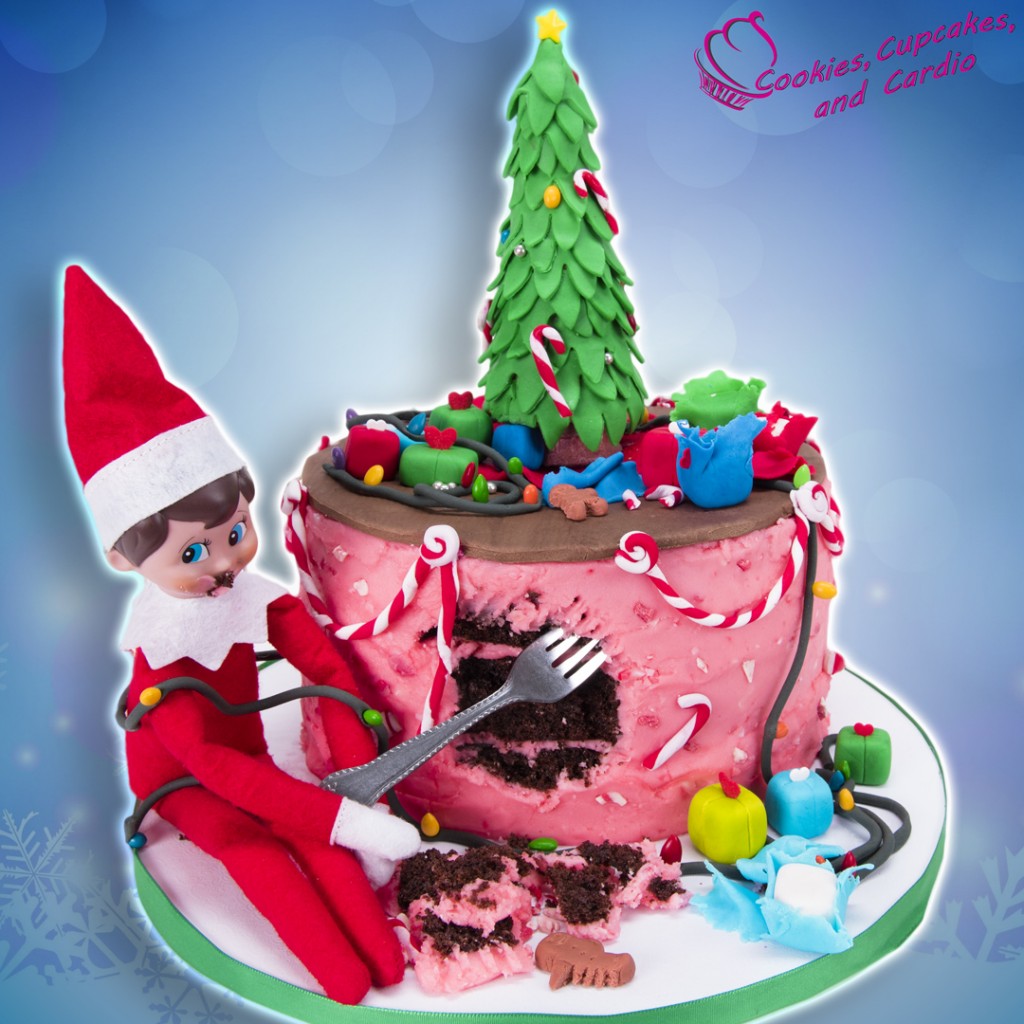
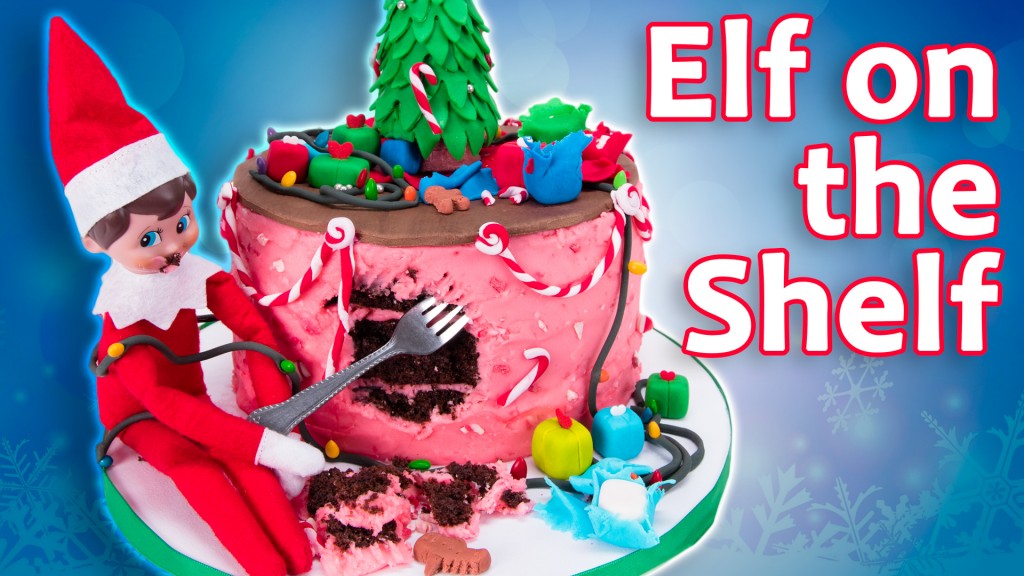
Today I am showing you how to make an Elf on the Shelf Cake! Elf on the Shelf is one of Santa’s scout elves and he is responsible for reporting to Santa as to who has been naughty or nice. My scout elf Whisk-ee can be a little mischievous and helped me make this cake.
Subscribe to our NEWSLETTER here.
Subscribe to Cupcakes and Cardio here.
Order my COOKBOOK here.
My Elf on the Shelf Whisk-ee keeps getting crazier and crazier over the years. Last year he was flying on the drone, and now this year he’s ruining my cake. I guess he only gets out of the North Pole once a year, so he’s a little bit nuts!
On this cake, Whisk-ee has ruined the lights on the tree, has opened the presents, but worst of all, he’s eaten the cake and the cookies left out for Santa Claus.
How to Make an Elf on the Shelf Cake
Ingredients and Materials:
• 3 x 8″ round prepared chocolate cakes
• peppermint crunch buttercream (recipe below)
• Fondant (greens, red, white, etc)
• Candies- heart sprinkles, peppermint pillows, chocolate covered sunflower seeds
• Ice cream cones (cake cone, sugar cone, pointed cake cone)
Procedure:
1. Stack chocolate cakes with a layer of buttercream in between each layer, and cover the entire cake in the peppermint buttercream. Place the cake in the fridge while preparing the fondant pieces.
2. Stack the 3 ice cream cones together, using buttercream to secure. Roll out green fondant and cut out leaves for the tree. Attach the leaves to the tree with buttercream. Add chocolate covered sun flower seeds, silver dragees and a star for the top of the tree.
3. To make the presents, shape fondant of desired color into a cube. Press a heart sprinkle into the top for a bow. Using a sharp fondant tool, etch in the areas where the bow would wrap around the present.
4. For the unwrapped (open) presents, shape a piece of white fondant into a cube shape. Roll out a thin piece of fondant and tear the smooth edges off of the piece of fondant. Wrap piece around the cube.
5. To make the candy canes, pinwheels and draping elements, roll out pieces of white and red fondant into long narrow logs. Press the two colors together, and continue to roll, twisting while rolling. Cut pieces off and shape into candy canes and pinwheels.
6. Roll out an 8″ round piece of brown fondant and emboss it with a wood grain embossing mat. Place on the cake, towards the back of the top.
7. Roll out a 4″ round piece of red fondant and press a snowflake cutter lightly into the fondant. Place on the cake, towards the back of the top.
8. Take the fondant elements and place them on top of the cake. Drape the red and white ropes around the cake and place a pinwheel where the lines peak/meet.
9. Cake is best consumed within 2-3 days and kept in the fridge in a sealed container.


Hi my name is Lydia am 9 years old you just just so creative and every day has a new idea.do you make up your recipes. You’r so coolllllllllllll.
Hi jen my name is sterling i am 16 and i have like all yur videos and i love them and i would really like one of your cookbooks