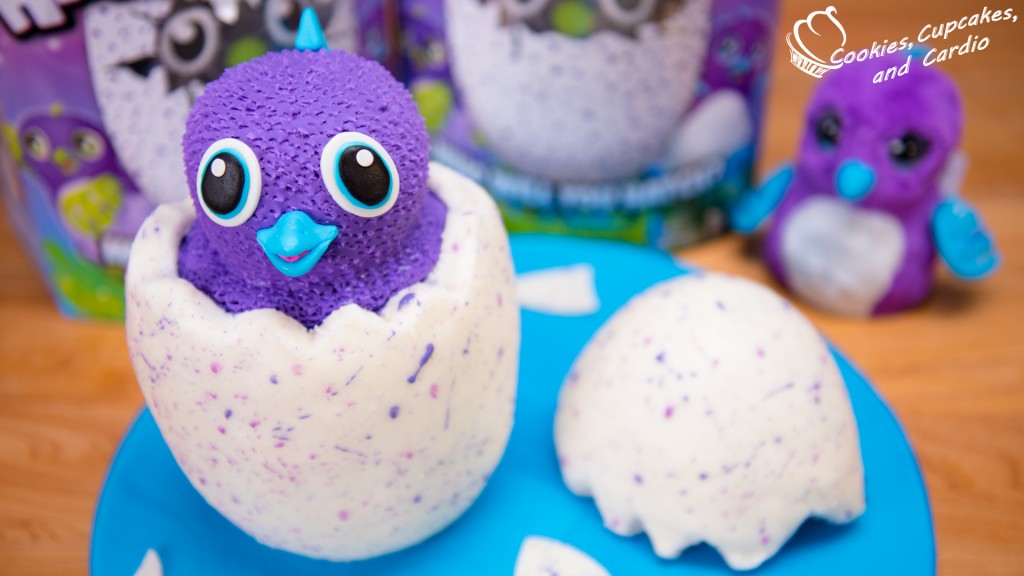
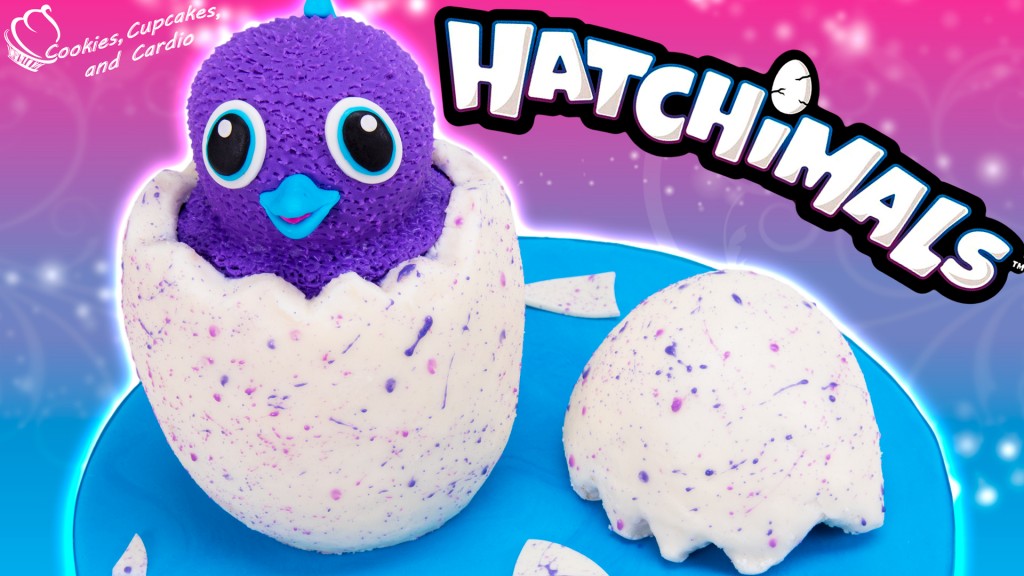
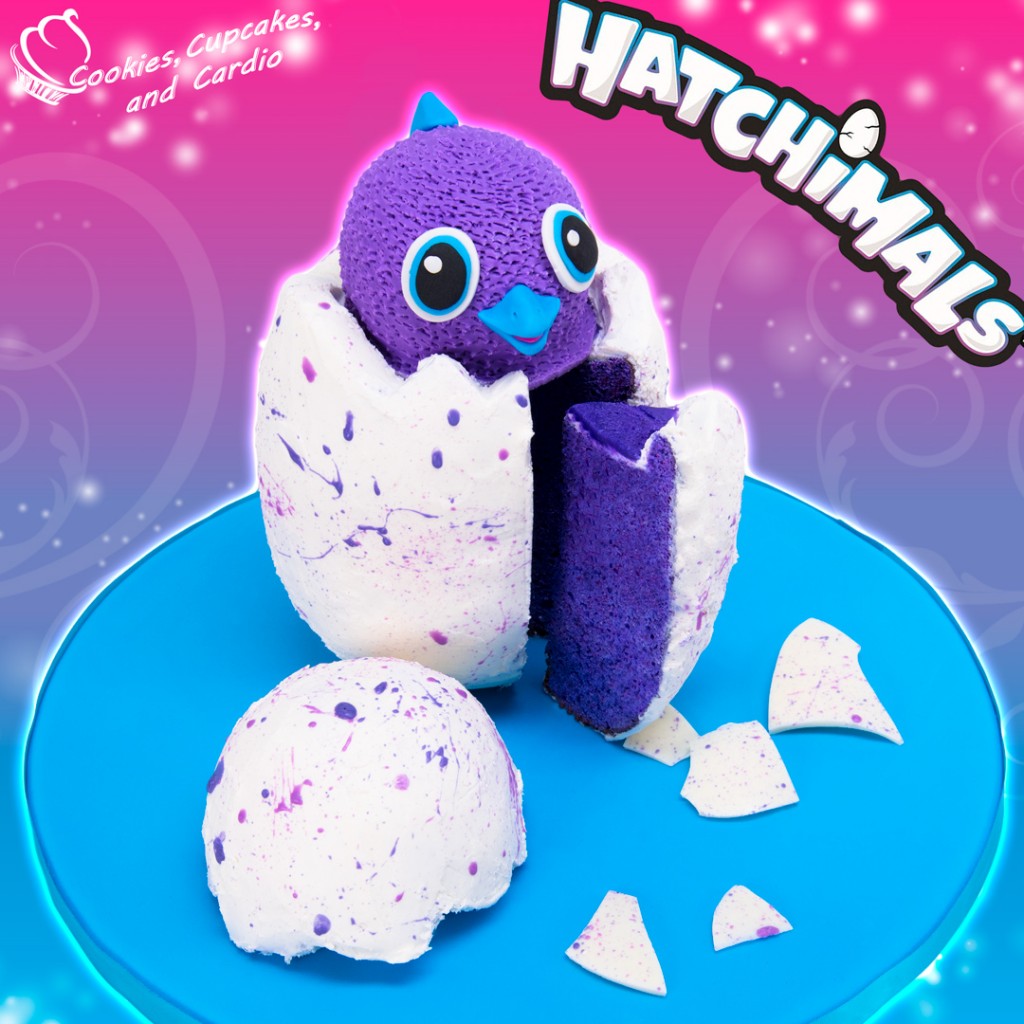
Today I’m showing you how to make a Hatchimals Cake! If you haven’t heard of Hatchimals yet, where have you been? Probably the same blissfully ignorant place I was until I was told about them by a friend with a young daughter. Hatchimals are the most popular toy for Christmas 2016. I hope you’ve got one already because if you don’t, you’re likely out of luck as they’re sold out everywhere! Good thing I’ve got this tutorial for you in case you can’t find one! Maybe the kids won’t notice . . .
Subscribe to Cupcakes and Cardio on YouTube for weekly cake tutorials and more!
Order my COOKBOOK here.
Seriously, these toys are too cute! I was totally creeped out at first when we opened the box and it made it’s first noise, but it kind of grows on you! The hatching process takes a while (like 20-25 minutes) and though I knew this ahead of time, I was still impatient! Once it finally starts pecking though, it gets a little bit more interesting.
When planning to make a cake, I knew it had to have a hatching element to it, since it is after all named “Hatch”imal! I had an egg cake pan on hand from a project I didn’t end up doing last Easter and it worked perfectly for this cake. If you don’t have the pan, you can carve the cake out of rounds. What I like about using a molded pan for projects whenever I can is that there is less waste of product. Sometimes you can’t get around that though.
As far as baking the cake goes, there aren’t any tricks I’ve hidden. One thing to note though is the baking time in the cake molds was around 70 minutes. I filled the pans 90% full as I wanted to make sure to get a rounded egg.You can always trim the extra off.
How to Make a Hatchimals Cake
Ingredients and Materials:
• Prepared Vanilla cake batter
• Vanilla buttercream coloured purple and white
• Black fondant
• Turquoise Blue Fondant
• White Fondant
• Purple Fondant
• Egg Cake Pan
• Regal Purple Americolor Gel Paste
• White Americolor Coloring
• Oval Cutters
• Fondant/Gum Paste Decorating Tool Kit
• Fondant Smoother
• Hatchimals Draggle
• Purple Candy Melts
• Navy blue candy melts
• Rice Krispie treats
Procedure:
- Bake vanilla cake batter colored purple in the egg cake pan. Allow to cool completely before levelling and icing.
- Cover middle of egg with buttercream and press halves together. Place into the freezer to solidify completely (or until icing is solid).
- Once frozen, cut top off of the egg in a jagged design (or follow lines from cake pan). Carve a recessed area on the top of the larger portion of egg, leaving a 1/4″ thickness of cake along the jagged edges and going to a depth of about 1/2″.
- Cover that area with purple buttercream, and the rest of the cake (both portions) in white buttercream.
- Splatter paint the egg with thinned candy melts and a paint brush. I used coconut oil to thin the chocolate.
- Roll 141 grams of rice krispie treats into a ball and cover in purple fondant, leaving a “skirt” around the bottom for the neck. Using a small pair of scissors, make tiny snips in the fondant to give the appearance of fur/feathers.
- Roll out white, blue and black fondant thinly and using the oval cutters, cut out the sections of the eye. White with the largest, then blue then black. Finish with a tiny piece of white for the highlight in the eye. Attach to the head of the hatchimal with water.
- To make the beak, roll out a small piece of blue fondant and carefully shape into a beak using the fondant tools and your fingers. Attach to the head of the hatchimal with a toothpick and water.
- To make the draggles spiny back, roll out a piece of blue fondant into a thin cylinder. Gently pinch away at the fondant to form spikes. Attach to the cake with water and toothpicks as needed.
- Place Hatchimal head inside the recessed area of the cake. Place cake pieces onto a prepared cake board.
- Cake is best consumed within 2-3 days and should be kept in the fridge until ready to be cut and eaten.


Name your hatchamal BLIP. Thank you for the tutorial.