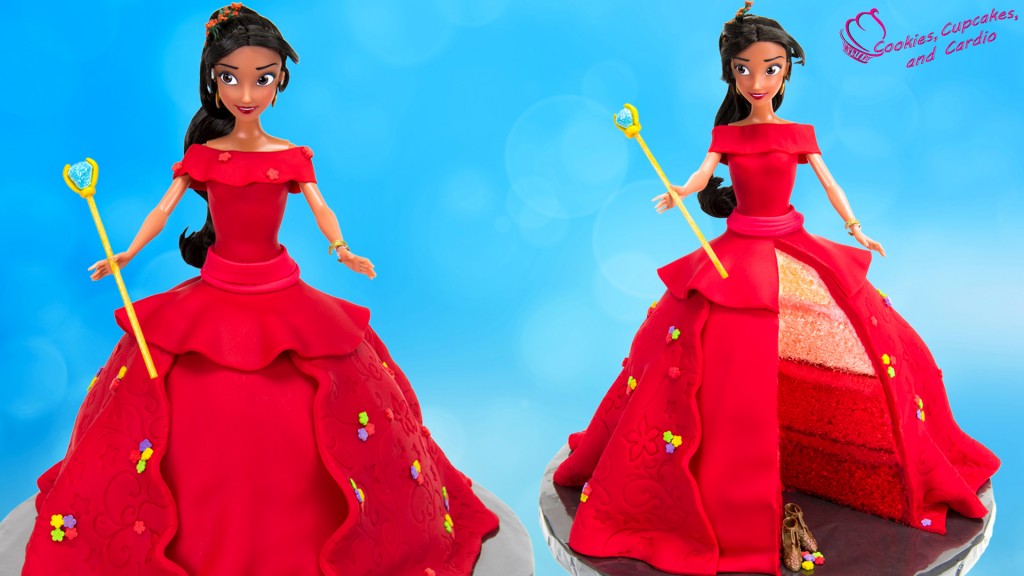
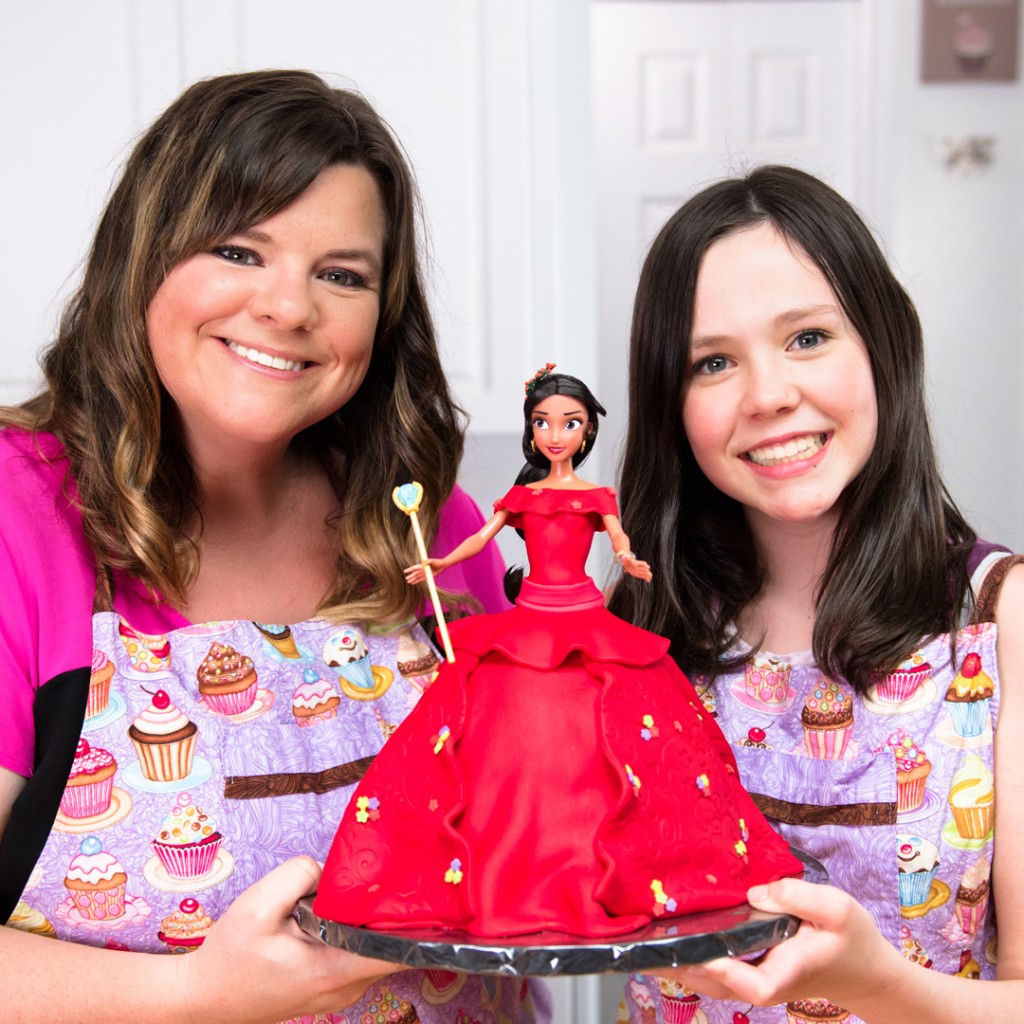
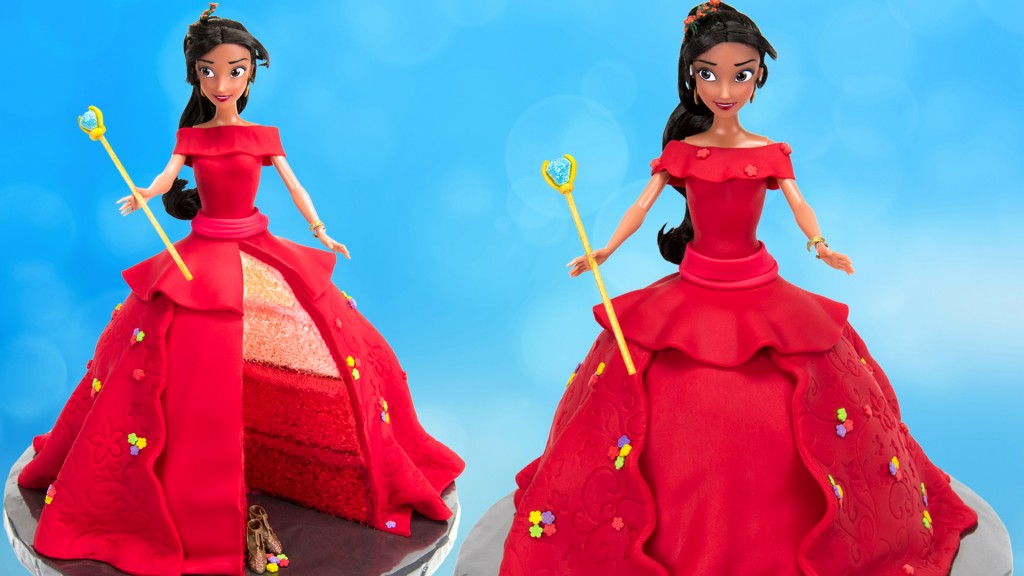
Today Paityn and I show you how to make a Princess Elena of Avalor Doll Cake made out of fondant, complete with a layered ombre cake design on the inside!
Subscribe to Cupcakes and Cardio on YouTube.
I love making doll cakes, so when Disney asked me to work on an idea to celebrate the release of their new Princess, Elena of Avalor, I knew I had to make a new version of one. “Teenage princess Elena Castillo Flores has saved her magical kingdom, Avalor, from an evil sorceress and must now learn to rule as its crown princess. Elena’s adventures will lead her to understand that her new role requires thoughtfulness, resilience and compassion, the traits of all truly great leaders. Since she is only 16-years-old, she has a Grand Council composed of her grandparents, older cousin Chancellor Esteban and a new friend, Naomi, to give advice along the way. Elena also looks to her younger sister Isabel, her friends Mateo and Gabe, a spirit animal named Zuzo, and a trio of magical flying creatures called Jaquins (a race of winged jaguars) for guidance and support.” -Wikipedia
The doll cakes that I’ve made previously have been using buttercream and a doll cake pan, but this time, I wanted to bring a fresh design approach. My Princess Elena of Avalor doll cake is made with round cake pans and decorated with fondant. I have used the doll cake pan previously (and I love it) but I thought that in order to get a true ombre color to the design, that round cake pans were in order. As Paityn and I discuss in the video, the top layer is mostly carved away so you could cheat and use a 6″ cake on the top if you prefer to waste less cake.
Covering the doll cake in fondant was way easier than I thought it would be! I was shocked actually. I tried to copy the design of Elena’s dress with the flat, pleated front, and the billowing, ruffled rest of the cake and it worked out excellently for my first time using fondant this way. To get the designs on the cake, I used an imprint mat from Wilton. It gave the dress exactly the texture I was looking for. I hadn’t used a large imprint mat before either, just smaller ones for detail work. They were super simple and the overall effect was great. I wish I had been using them for years!
How to Make a Princess Elena of Avalor Doll Cake
Ingredients/Materials
- 4 x 8″ round vanilla cakes coloured white (or leave plain), red, light pink, and coral
- Vanilla buttercream coloured red, light pink, and coral
- Fondant- red, coral, yellow
- Blue gum paste blue
- Princess Elena Doll
- Flower sprinkles/quins
- Jumbo straws
- Ivy imprint mat
- Yellow craft sticks
- Edible gold paint
- Clear piping gel
- Silicone gem mold
- Edible glitter (rainbow)
Procedure
- Prepare and colour cakes as recipe requires. Allow to cool completely, and level off any doming that has occurred. Prepare and colour buttercreams as required but the recipe.
- Attach red cake to a cake board with a swipe of red buttercream to secure the cake to the board. Apply a layer of red buttercream on top of the red cake, and smooth with a cake spatula.
- Place coral coloured cake on top of the red buttercream, and apply a layer of coral buttercream on top of the coral cake, and smooth with a cake spatula.
- Place light pink coloured cake on top of the coral buttercream, and apply a layer of light pink buttercream on top of the light pink cake, and smooth with a cake spatula.
- Place white cake on top of the light pink buttercream, and place stack of cakes into the freezer to solidify.
- Once cake has solidified, carve with a serrated into a ballgown shape, tapering the cake from a narrow top, to a wider bottom. Once carved, cover cake entirely in light pink buttercream.
- Roll out red fondant into the shape of a triangle. Cut the top of the triangle off to that there is no point. Lay out 4 large straws, or dowels, and transfer fondant piece to sit on top of them. Gently run the grooves from the straws into the fondant for “pleats” on the dress front. Once grooves have been made, remove straws, and transfer piece of fondant to the front of the dress. Cut off any excess at the top.
- Roll out a large 18″ round circle of red fondant. Using an ivy imprint mat, imprint the fondant with the mat by pressing directly down onto it with a large rolling pin. Cut out a 2.5″-3″ circle from the center of the fondant, and use a sharp knife or pizza cutter to cut from the circle cut out, to the edge of the fondant. Roll the fondant up onto the rolling pin, and transfer it to the cake, with the cut/slit at the front, placed on either side of the pleated front. Adjust fondant as needed for the dress.
- Using a small 1.5″ cutter as a guide, cut out a small hole from the top of the cake, deep enough so that the doll will fit to her waistline inside the cake.
- Roll out a rectangular piece of fondant and cover the doll’s torso area with it. Attach the fondant piece together at the back of the doll, ensuring that the seem is straight. Place the doll into the hole in the cake.
- Roll out small circle of red fondant and cut a small oval shaped opening from the center of it, and cut a slit from the oval, to the edge of the fondant circle. Wrap this piece of fondant around the waist of the doll, covering the opening completely. Press the slit back together as best you can.
- To make the belt, roll out a thicker piece of coral fondant, score with a veining tool, and wrap it around the doll’s waist, covering the seem.
- Using a 1/2″ rectangular piece of red fondant, wrap the fondant around the doll’s shoulders to complete the top of the dress. You can add a frill to the piece using a fondant frilling tool.
- Using clear piping gel and a paint brush, attach flowers to the imprinted portion of the dress.
- To make the scepter, colour the yellow craft stick (inedible) in gold paint. Allow to dry. Press a 1 gram piece of blue gum paste, into the gem mold, and shape the back end to a point so that it looks like a jewel. Using a sharp blade, cut the tip of the jewel to make a small pilot hole for the craft stick. Place a small amount of piping gel into the hole, and press the stick carefully in. Cover the jewel in piping gel and sprinkle on edible glitter to make it shine.
- Roll out a very skinny worm amount of yellow fondant and attach small pieces of it to the jewel. Use the piping gel to help the fondant stick to the glitter/rod. Paint the yellow fondant pieces with the gold paint. Attach the scepter to the doll’s hand using glue.
- Slice and serve when desired. Cake is best kept in a sealed container in the fridge and consumed within 2-3 days.
Watch More Doll Cakes here:


Thank you so much for posting this tutorial! I watched it diligently and made my daughter’s birthday cake in Feb and it was a huge hit. I’d love to share a pic with you. 🙂 Next up, Moana cake in July for my littlest.
Sounds great Laura, would love to see your work!
Hi! This cake is amazing! Could I use a doll cake pan instead and get the same shape from carving the cake layers? I’m pressed for time so I’d like to eliminate that step if I can. Thanks!
hi, I am planning on making one of these but wasn’t sure how much red fondant I should buy. I haven’t worked with it very much. My store sells it in 4.4 oz bags. Thank you!