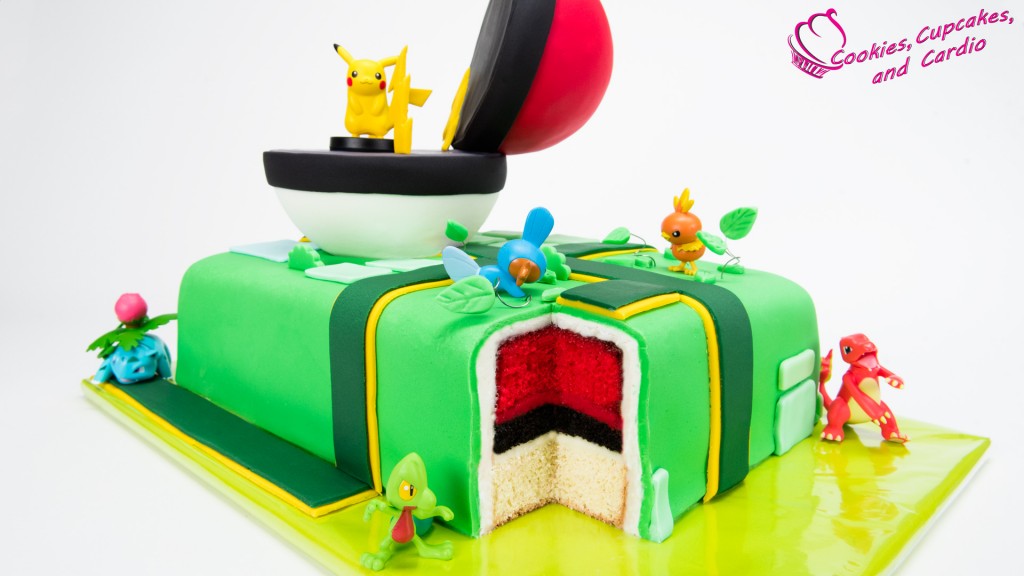
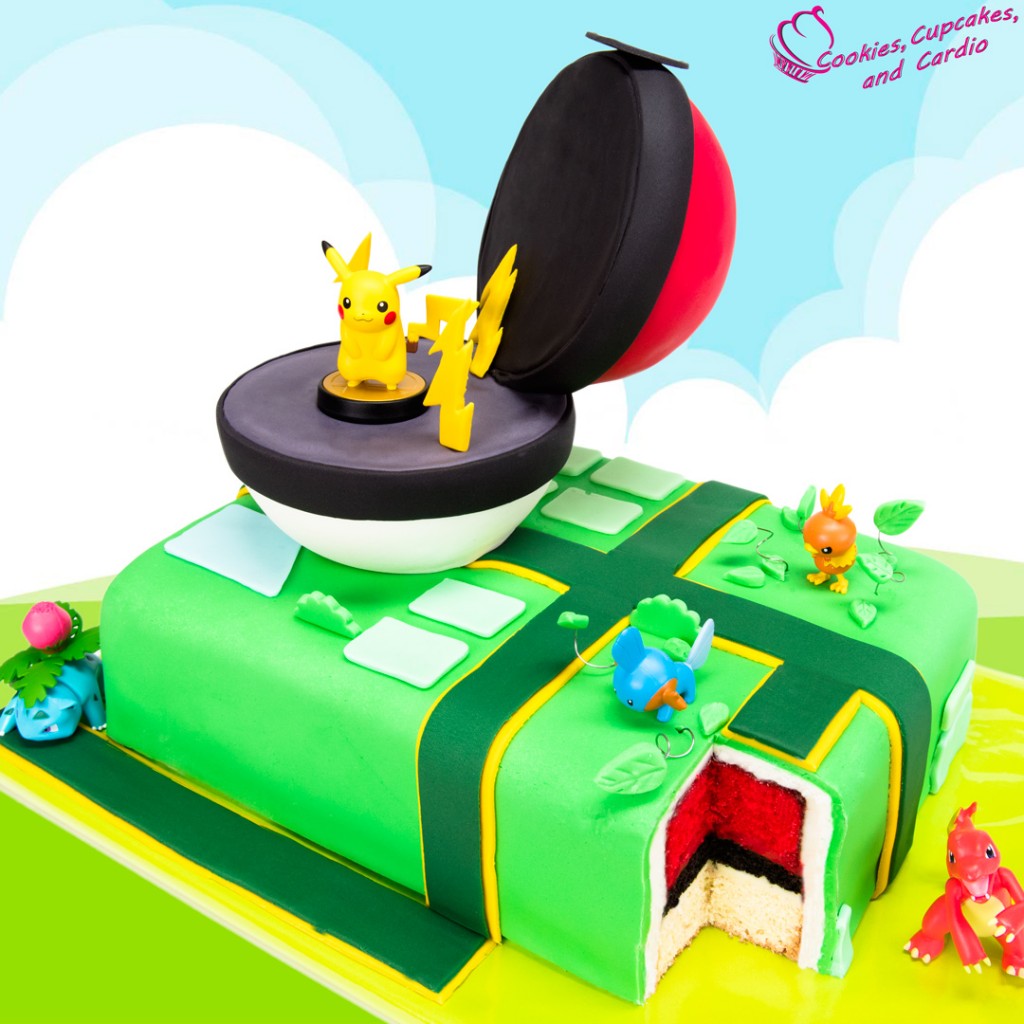
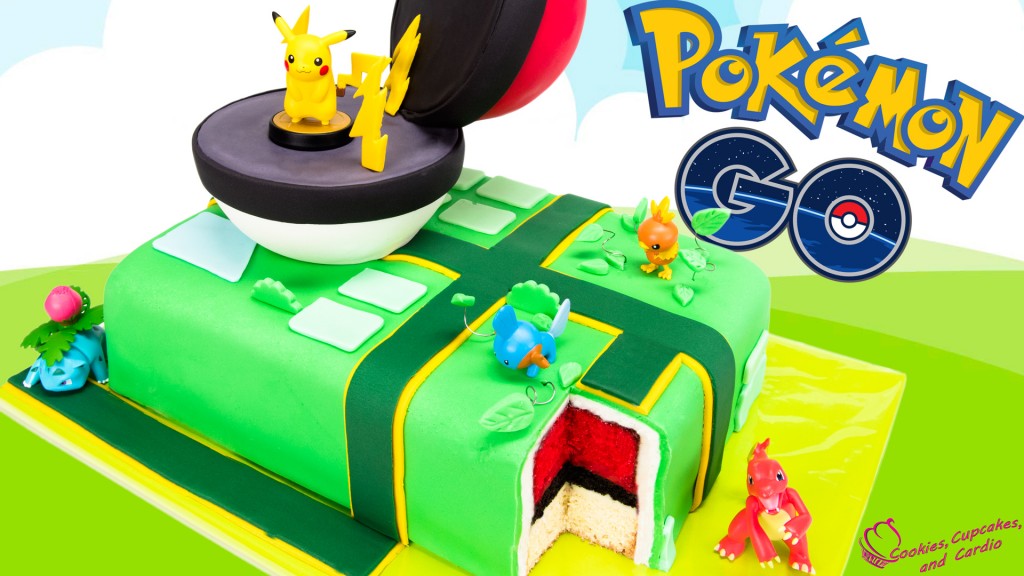
Today, along with my co host Paityn, I’m showing you how to make a Pokemon Go Cake which includes a gravity defying Pikachu Pokeball Cake! Pokemon Go has exploded all over the world and we have had so many viewers request how to make the game into a cake, so we’re bringing it to you today. Gotta catch ’em all!
Subscribe to Cookies Cupcakes and Cardio on YouTube.
Visit Paityn on her Instagram here.
Making this cake was definitely a challenge for me. Let me repeat myself for the 1000 time- I hate working with fondant. I need to attend a help group for this problem. It is such a pain! As I’ve told you before, it boils down to the fact that I don’t work with it enough, so I’m out of practice and therefore working with it is way harder than it should be, and way harder than it used to be when I made fondant cakes every day! Anyway, whining over. For now.
To get the smooth surface of the pokeball, fondant was required for this cake. Thank goodness this was a half sphere cake as I have no idea how I would have covered a sphere. At one point I tried to cover the bottom half of the ball by draping the fondant over the flat part, and then smoothing it down to the narrow underneath and that was a disaster! There’s no where for all the fondant to go when you get to the bottom of the ball. With that way a clear failure, I had to come up with another way to do it, which lead to first cutting out a 6″ circle, then turning the ball upside down and then draping it with fondant. You might be able to see a bit of the red and white poking through it you don’t trim the fondant about an 1/8″ up the ball. To hide the gap, add the black stripe around it and you’ve survived covering the pokeballs in fondant! Well, until you try to press the top half into the cake! Haha!
The anti gravity part of this cake comes into play as the top of the pokeball appears to be open. This effect is achieved by using half of a styrofoam ball with a dowel attached. Using styrofoam, or rice krispie treats is required due to the weight of the ball. Using a ball of solid cake wouldn’t work as the cake below it wouldn’t be able to support the awkward angle the upper ball is sitting. Being that this is my first attempt at gravity illusion cake, I think it was a relatively easy way to venture into this type of cake.
How to Make a Pokemon Go Cake (Pikachu Pokeball Cake)
Ingredients and Materials:
- Prepared 9″ x 13″ vanilla cakes coloured black, red and white
- Prepared vanilla buttercream coloured red and white
- Fondant- red, black, white, forest green, pastel green, leaf green, pastel blue, yellow, grey
- 6″ ball cake
- 6″ Styrofoam half sphere
- 6″ round cardboard cake board
- Wooden dowels
- Hot glue gun
- Mini teardrop cutter
- Mini circle cutter
- Stainless steel wire
- Tylose powder
Procedure:
- Prepare cakes according to directions and allow to cool completely. Level each cake after they are cooled, and cut black cake into a 1/2″ in thickness. Place the white 9″x 13″ cake on top of a cake board and attach with a swipe of buttercream.
- Cover the white cake in a layer of white buttercream. Place the black layer on top and cover the black cake with red buttercream. Once the cakes are stacked, cover the entire cake in white buttercream.
- Roll out enough leaf green buttercream to cover the cake. Transfer the fondant from the board to the cake and using a fondant smoother, press the fondant to the cake. Trim fondant to fit the cake. Set cake aside in the fridge.
- To make the pokeball, hot glue gun a sharpened skewer to the 6″ cake board, then hot glue gun the half sphere to the skewer and board. Allow to cool completely.
- Roll out black fondant and cut into a 6″ round circle. Place the flat side of the Styrofoam ball onto the black fondant. Use piping gel help the cardboard stick to the fondant.
- Roll out red fondant, and cover the rest of the sphere with it, using a fondant smoother, press the fondant to the cake. Trim fondant to fit the cake.
- Roll out black fondant, and using a ribbon cutter, cut a 19″ x 1/2″ piece. Wrap that piece along the bottom of the face down ball, using piping gel or water to adhere.
- Cover the ball cake with a thin layer of buttercream. Roll out grey fondant and cut into a 6″ round circle. Place the flat side of the ball cake onto the grey fondant.
- Roll out white fondant, and cover the rest of the sphere with it, using a fondant smoother, press the fondant to the cake. Trim fondant to fit the cake.
- Roll out black fondant, and using a ribbon cutter, cut a 19″ x 1/2″ piece. Wrap that piece along the bottom of the face down ball, using piping gel or water to adhere. Set pokeball aside in the fridge.
- To make the roads, roll out yellow fondant and cut with a fondant ribbon cutter to 1 1/4″ width, varying lengths. Then, roll out forest green fondant and cut at a width of 1″, again, at varying lengths. Place the green strips on top of the yellow ones and use water to adhere if necessary. Lay the roads on top of the cake as desired.
- Mix a teaspoon of tylose into some leaf green fondant. To create a disturbance, cut leaves out of rolled leaf green fondant. Insert a small piece of stainless steel wire, or a toothpick into 4-5 leaves. Allow to harden.
- For the houses, or buildings on the map, use a square or rectangular cutter with rounded corners to cut out rectangular and square shapes.
- For the water (or lake) roll out the pastel blue and cut into a rectangular shape with rounded corners.
- Place buildings on to the cake near to the roads, add the disturbances in the grassy areas and if desired, cut bushes from the leaf green fondant using a scalloped cutter.
- Use dowels and a small cardboard piece to create a support where the pokeball will be on the cake. This will prevent the pokeball from sinking into the cake underneath, especially during the pressure when the ball is inserted.
- To assemble the pokeball, place the bottom of the pokeball onto the cake, covering the support area. Press a dowel into the middle of the cake, to hold it in place. Take the Styrofoam ball and press the sharpened dowel into the cake at an angle so that the top of the ball looks like it is fully open.
- To make the button/clasp for the pokeball, roll out a piece of black and a piece of white fondant. Using circle cutters, cut out a larger black one, and a circle about a 1/4″ smaller from the white. Taking a mini circle cutter, make an indentation in the white fondant. Use a small dab of water to adhere the button to the black band around the top half of the pokeball.
- To make Pikachu’s lightning, add a teaspoon of tylose powder to the yellow fondant and roll it out. Cut out with a template, or freehand a lightning bolt. Insert a small piece of stainless steel into the larger end. Allow to harden before inserting into the cake.
- Keep cake in fridge until you are ready to serve and reveal the surprise pokeball cake layers inside! It is best consumed within 2-3 days.
Video Credit:
Boy on bike- Jayce SilverwaterGaming123


Where did you get the Pokémon character at? My son wants me to make this cake for him but I can’t find the characters anywhere.
I found them at WalMart and EB Games. Good luck!
I made a version of this cake last weekend. It turned out pretty good, even found a way to create the flurry of pink hearts around a Pokestop.
My Pokeball though…the top was fine and stayed open well. But the bottom, what kind of cake did you use? I used my usual White vanilla cake, which is a light cake. I let the fondant dry on the ball for several hours before the party. And I added Skewers underneath to try to prevent it from sinking. But it sunk a bit crunching the bottom.
How did you prevent that?
My vanilla cake is thick and strong so I didn’t have much problem with that…that might have been your problem.
I love this cake and all of the elements included. It’s the perfect celebration cake! Fantastic job on putting it together!!! Where did you find/order the toys that you put on the cake?
Thanks so much! I got them at the local gaming store- EB games.