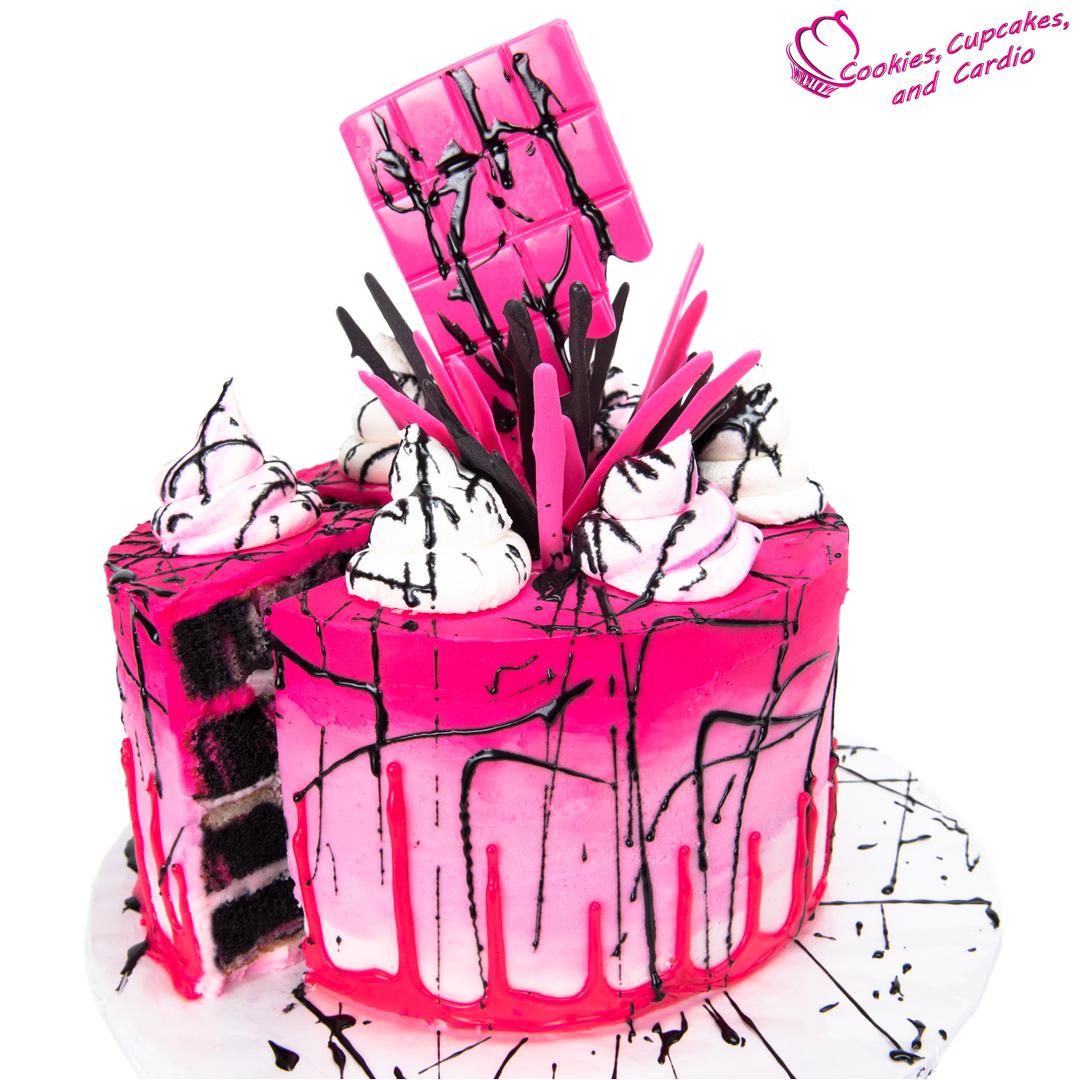
Today I am showing you how to make a reverse drip splatter cake. Drip cakes are all the rage, but have you ever seen one that defies gravity? Let’s get messy!
Subscribe to Cupcakes and Cardio for two new videos every week.
This cake was a combination of ideas that I have been wanting to do for a while. I’ve done, and done, and done the drip cake (and have a whole playlist devoted to them) but I haven’t tried an upside down/reverse drip on camera, so I thought it would go really well with another technique I’ve been wanting to do- SPLATTER! If I was to do it again, I would make the drip portion a bit more obvious and make it with larger drips.
The cake is very messy, so be prepared! What I did was slice open a garbage bag, line my counter top with it, and then in the direction that I was flinging the chocolate, I pinned up the bag to two tripods to block it from covering my kitchen. It still got everywhere, but I like to think not as far as it would have if I hadn’t have put up the barrier! It ends up looking a little Dexter-like but your counter top with thank you.
In order for the chocolate to be flung around the kitchen- I mean cake, have it warmed to a liquid state. Ganache thickens over time as it cools, when this happens, heat it in the microwave for 20-30 seconds to get it back to a liquid.
One of the things I like best about this cake is that you could do it in any color that you want to. It would look amazing in blue or purple too I think!
How to Make A Reverse Drip Splatter Cake
Ingredients:
- 8 cups black, white, and pink vanilla cake batter
- 3 shades of pink and white buttercream
- One batch of white chocolate ganache, colored pink and black
- Pink melting wafers
- Chocolate bar mold
- 1 Cake pop stick
- Pink gel paste
- Black gel paste
Procedure:
- Pre-heat oven to 350 degrees. Grease and prepare four 8” round cake pans. Prepare vanilla cake batter and divide into three equal amounts. Using food coloring or gel paste, color one portion of the cake batter black, one hot pink, and leave one white. Scoop cake batter into piping bags, and, alternating colors, splatter equally into four cake pans for the splatter effect. Bake in preheated oven for 30-35 minutes, or until a toothpick inserted in the center comes out clean. Allow the cakes to cool completely.
- Prepare vanilla buttercream frosting. Divide into into four equal portions. Color the portions hot pink, medium pink, and light pink, leaving the last portion white. Using a swipe of buttercream frosting, attach a piece of parchment paper to a cake board. Then, cover the piece of parchment paper with a 9″ round layer of hot pink buttercream. Stack your first layer of splatter cake on top of the buttercream, and cover with light pink buttercream. Stack remaining three layers, continuing to fill between each layer with remaining light pink buttercream.
- Cover the top of cake entirely in light pink buttercream. At the base of the cake, apply a 1.5″ band of hot pink buttercream. Apply a 1.5″ band of medium pink buttercream to the middle of the cake, and finish the top of the cake with a 1.5″ band of light pink buttercream, meeting up with the top of the cake. Using a long cake spatula, blend the layers of buttercream around the sides of the cake. Prepare black and pink ganache and place into piping bags. Drip pink ganache down the sides of the cake, and place the cake into the freezer for 10-15 minutes to allow the ganache to set.
- Once your cake has set, you are ready for the flip! Using a second cake board, flip the cake upside down so the drips are traveling up the cake. Fill a piping bag fitted with an 809 Ateco tip, (or a large, open round tip) with half of the white buttercream. Place a second 809 tip in a second piping bag, and using a paintbrush, stripe the bag with pink gel paste, and fill with remaining white buttercream. Pipe three swirls of each color onto the top of the cake.
- Cover your work surface with plastic, and prepare for the splatter! Using a paintbrush and the black ganache, splatter the surface of the cake. Have fun with it!
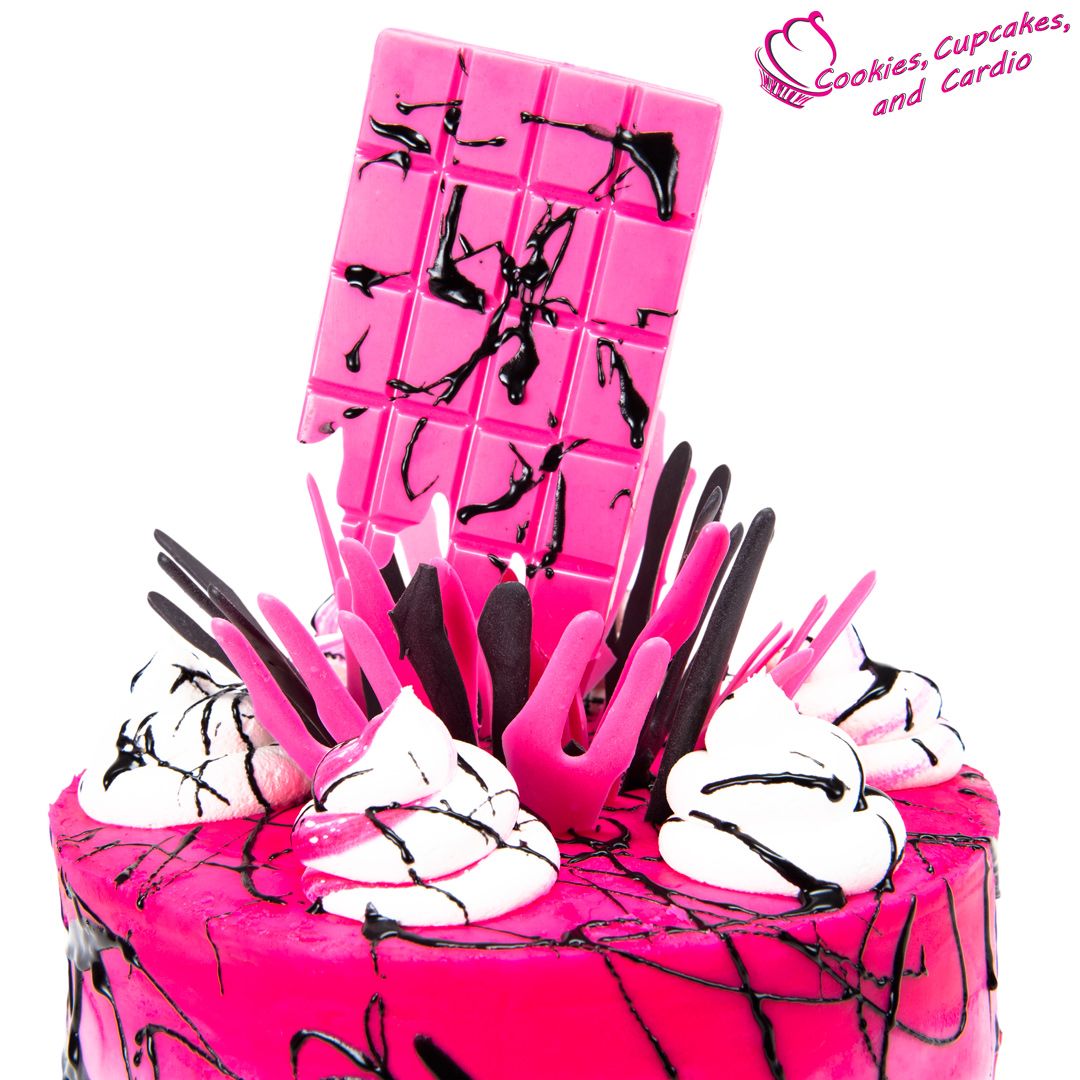
- Melt black chocolate wafers and pink chocolate wafers, and place into piping bags. Using a chocolate bar mould and the pink chocolate, create the appearance of a dripping bar of chocolate and place a cake pop stick into the end of the dripping side. Place in the fridge to solidify.
- Pipe drips of chocolate onto a piece of parchment paper using both pink and black chocolate. Lift the parchment paper vertically so that the melted chocolate drips down the paper. Allow to harden completely.
- Remove the chocolate bar from the fridge. Place into the center of the cake, with the splash of drips arranged around the chocolate bar in a circle.
- Slice and serve when desired. Cake is best consumed within 2-3 days, and can be stored in a sealed container in the fridge.


