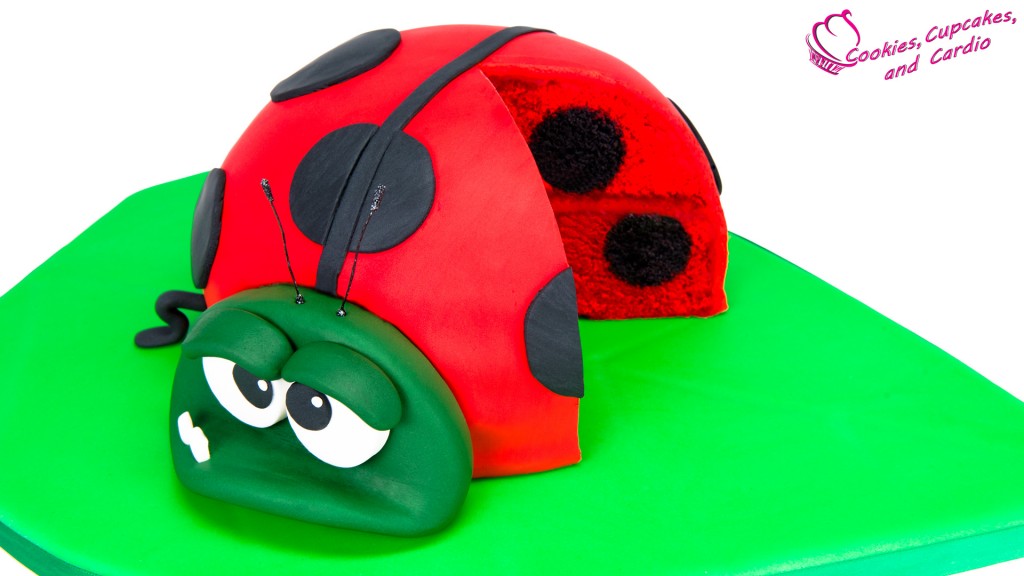
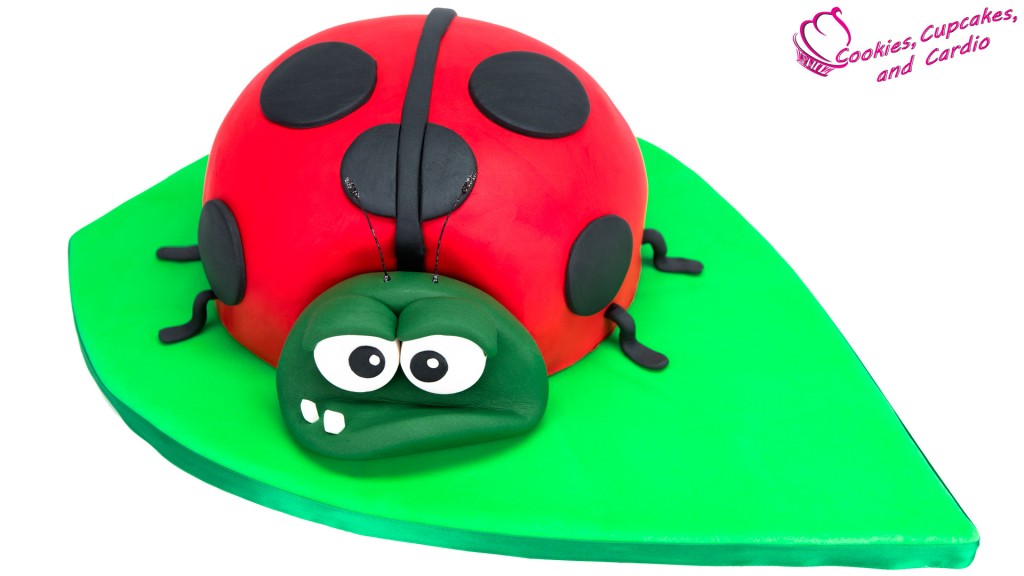
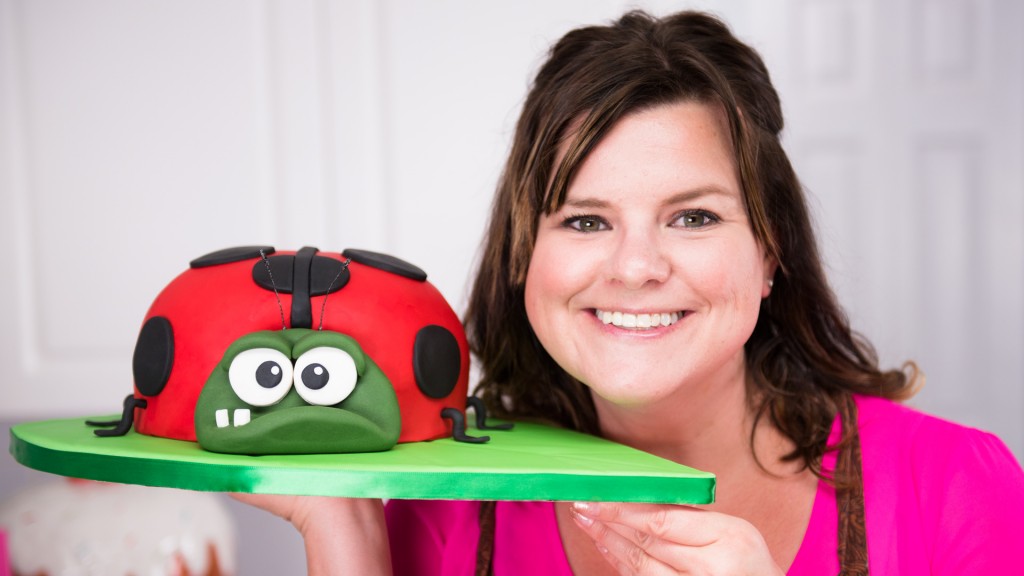
Today I’m showing you how to make a ladybug cake based off my favourite fiend Bob from the app Best Fiends!
Subscribe to Cupcakes and Cardio here.
I’m not much of a video game player but I would be if I had more time to be one! Last year I bought the new Nintendo system to play Super Mario and I’ve used it a total of three times. Three! I just don’t have time to sit down and play. I wish I did, but being in the kitchen with cakes and filming videos takes up all my time. By the time the end of the day comes, my head hits the pillow and I’m out. I find that playing games on my phone is a lot easier to fit in- at the dentist’s office, in the lineup at the grocery store . . . all those places where you find yourself with nothing else to do but wait.
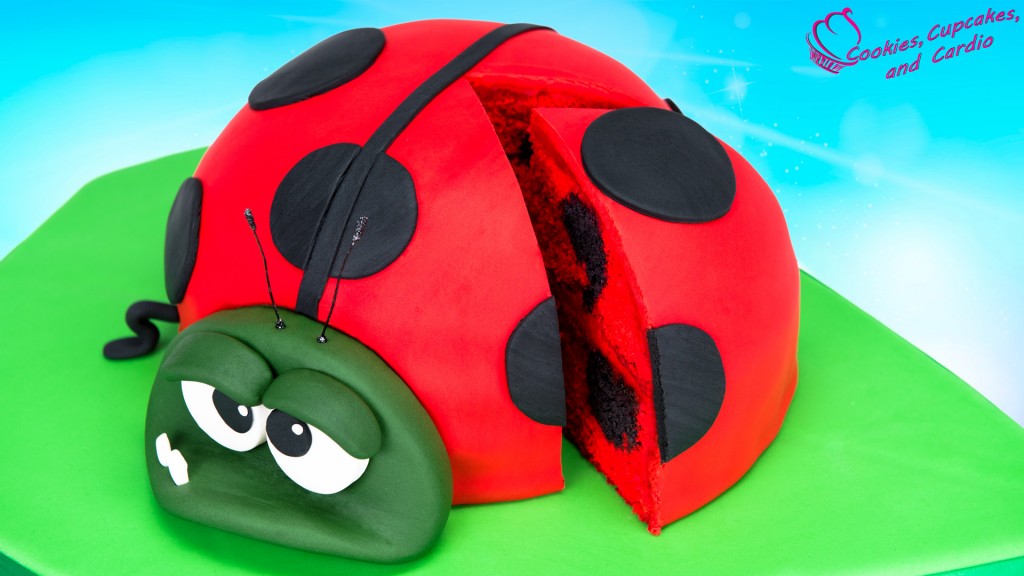
The makers of Best Fiends approached me to see if I was interested in doing a video for them, and as soon as I started playing, I knew I had to make a cake. The cutest character you can get in my opinion is Bob, the ladybug, so I decided on him for the video. Not only is he spotted on the outside, he’s got ladybug spots on the inside hiding for the first slice to reveal when cut open.
I though about making the body with a domed cake pan, or a large glass bowl, but then realized it wouldn’t be easy to get the spots into place. I thought about cutting out a divot/trough for the spots and about double baking cake pops, but I wanted guaranteed spots in their correct place.
I found that the hardest part of this cake was getting the head right. No matter what I did, when I turned up the bottom lip, the fondant wrinkled. I tried using gum paste but it wrinkled even more than the fondant. I mixed gum paste into the fondant- same problem. What eventually worked out the best was mixing tylose into the fondant and starting to work the fondant smoother on the area until some of the wrinkles were worked out.
This was the first time that I have measured out fondant. I wanted to have the same weight for each of the cakes that I did, so I finally used the trick that real cake decorators do! Measure and weigh the fondant! For your reference, the head weighed 9 oz, the eyebrows were 0.2 oz each . . . and that’s all I measured. We all have to start somewhere, right. This cake is also the first time that I EVER put fondant on a board. Ever! How have I been decorating cakes for 5 years and not done that before? It’s called laziness. It was surprising simple too, and I love any kind of project that requires a glue gun!
Best Fiends Ladybug Cake
Ingredients:
- Prepared 8″ (23 cm) black cake
- Prepared vanilla cake batter coloured red
- Prepared vanilla buttercream coloured red
- Fondant- red, green, black, white
- flower stamens
- black gel paste
Procedure:
- Preheat oven to 350F. Grease two 8″ cake pans.
- Cover bottom of each cake pan with one cup of cake batter, spread thinly.
- Cut black cake into wedges. Using a 1.25″ circle cutter, cut the wedge into 2 circles. Place the thinner circle in one pan, and press it into the batter near the center of the pan, and the thicker circle in the other pan, towards the outer edge. Repeat cutting wedges, and cutting cirlces out and placing into the batter until two rings of lady bug spots is complete.
- Cover black cake with additional cake batter until all pieces are covered.
- Bake the cakes in the preheated oven for 60-70 minutes, or until the edges are golden brown and the cake is completely cooked in the centre. Allow to cool completely.
- Once cake has cooled completely, stack cake with the smaller circle of dots as the top layer. Carve top cake into a dome and cover the whole cake in red buttercream.
- Cut out a small cave area from the front of the cake where the head will be.
- Roll out red fondant and cover cake with it.
- Roll out black fondant and cut 2 large spots, and 5 medium spots from it. Cut one 12-14″ strip of fondant as well.
- Attach black pieces of fondant to the top of the cake, attaching with water if needed. Run the strip from the front to the back of the cake, the larger spots on the sides of the top, and the smaller spots near the bottom. Cut the fifth spot in half, and apply at the front of the cake on either side of the strip.
- Cut out pupils and legs from black fondant. Color the stamens with black gel paste and set aside to dry.
- Roll out white fondant and cut out white eyes using a 1.25″ round cutter. Place pupil onto the eye, and cut a tiny piece of white out to highlight the pupil. Cut out two teeth from the white fondant as well.
- Roll out a 9oz piece of green fondant and shape into a disc. Roll up the the bottom of the disc up towards the center of the disc for the mouth of Bob. Using green fondant, roll out two eyebrows and attach with water.
- Poke two small holes in the top of the head and insert the stamens (antennas).
- Attach the eyes to the head with a small amount of water. Attach the teeth with water as well.
- Position the head in place and secure with toothpicks or water if necessary.
- Attach legs to the cake with water.
- Keep cake in fridge until you are ready to serve and reveal the surprise inside! It is best consumed within 2-3 days.


CAN YOU MAKE A SPIDERMAN CAKE AND CUPCAKE I WOULD LIKE TO KNOW SOON
when are you going to make the piano cupcakes? would you let me know soon?