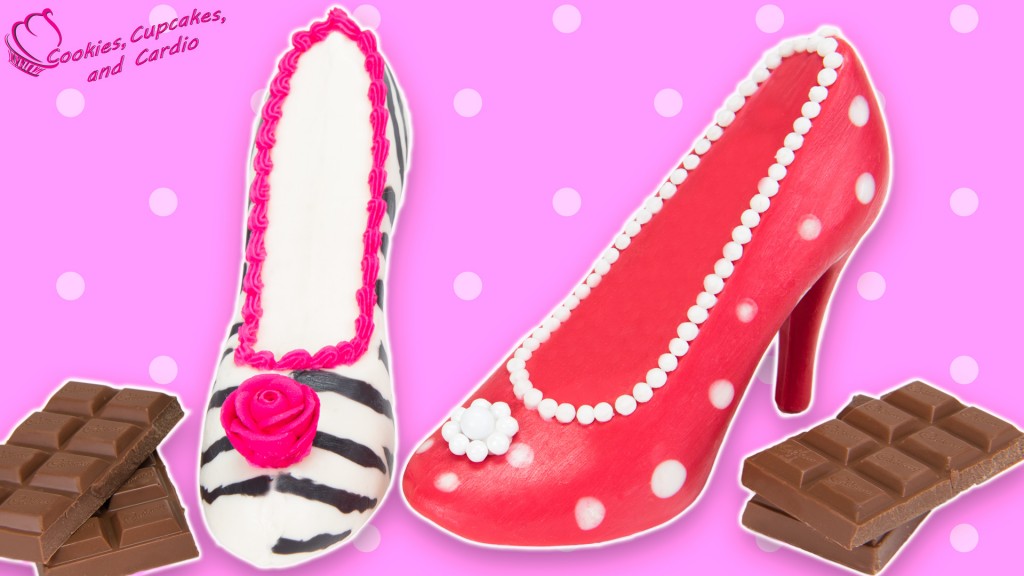
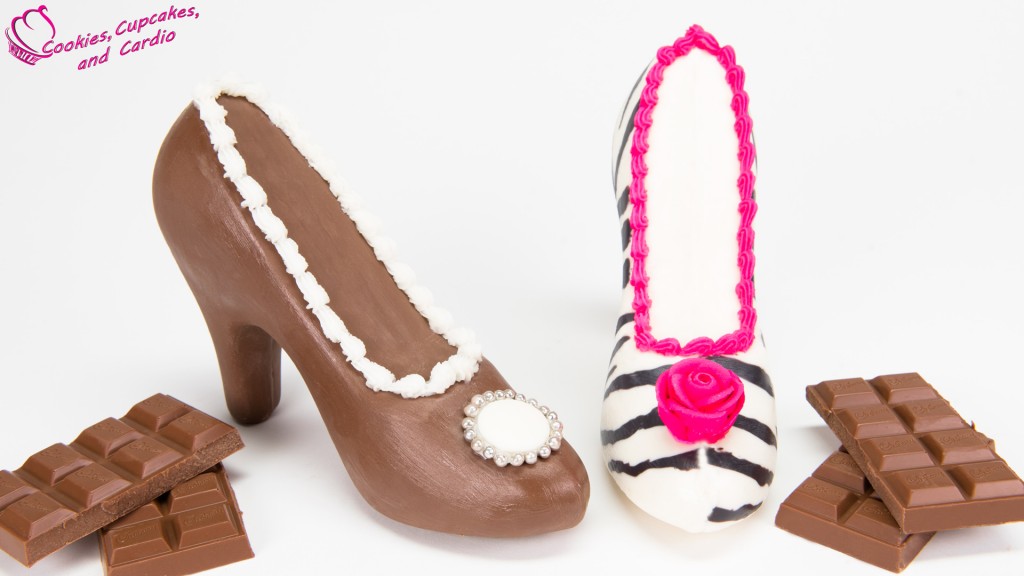
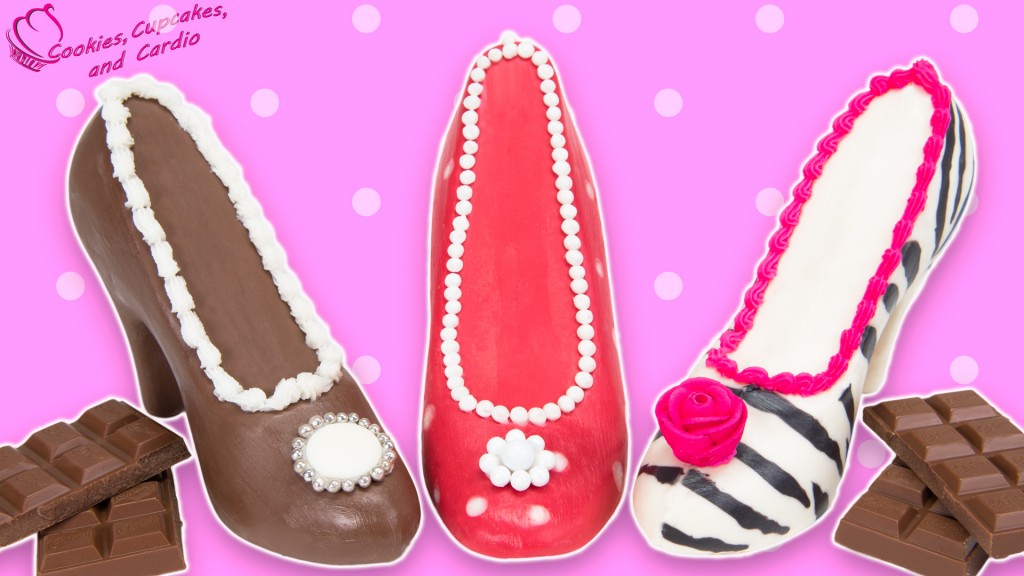
Today I am showing you how to make chocolate shoes! I love shoes and have a slight obsession with them, and I love chocolate, so obviously I had to combine them into one amazing idea! In the video I show you a solid chocolate shoe, a red and white polka dot shoe and a zebra print chocolate shoe design!
Subscribe to Cupcakes and Cardio here.
Combining two of my loves makes for an easy video idea to create! Sort of. When I imagined it, I didn’t see needing industrial strength clamps for the process.
I don’t find working with chocolate fun, or relaxing or cathartic. I find it stressful! I have no idea why- perhaps because I don’t have a ton of experience? Anyway, because of this I deliberately use chocolate melting wafers when I’m making chocolate things. The advantage over them is that they melt quickly, solidify quickly and you don’t have to temper them. Apparently you have to temper chocolate. It’s something people say. I’m not one of those people. Add it to my long list of “Things I Must Learn”. I know what it means, and I know why you’re supposed to do it, but simply I haven’t felt like spending the time to learn how. There are other things to work on- like how to walk in high heels.
There are a number of ways that you can go about filling the chocolate shoe molds (link below in recipe) and I thought it would be fun to try a couple of different ways to design them, you know, add a little fashion into the chocolate art! I decided to go with a polka dot and a zebra print. For these designs, they require 2 coats different layers of chocolate. When you apply the initial design, you want it to be seen, so it goes onto the mold first. I used a ball tool for the polka dots as they gave better circles than the toothpicks I tried first. For the zebra stripes, I went with an angled paint brush so I could get a fine point at the tip, and a wider finish. Once you have the initial design applied, wait for it to harden entirely before filling the shoe. The chocolate that you use to fill the shoe should be warm and a liquid (obviously) but it shouldn’t be too hot or it could melt the initial layer, and ruin your hard work.
Once the shoe molds are filled with chocolate, let the half solidify completely before trying to attach together. You can cheat this a little bit if you’re just doing a regular chocolate shoe as there isn’t any detail to it to disturb. Once the halves are hardened, pour some additional melted chocolate (you’ll have to reheat your chocolate by this time) and then sandwich the halves together. Close the gap with the clamps and let the chocolate harden again. Once it’s hardened completely, the shoe will pop right out when you remove the clamps. If there is a seem between the halves, simply remove it with a sharp knife.
Applying the features at the toe of the shoe can be done with any sort of candy embellishments. I chose to go with sugar pearls, dragees and royal icing flowers. They are an easy way to make the shoes just that much better!
How to Make Chocolate Shoes
Ingredients
- Chocolate (brown, red, black, white)
- 3D Shoe mold (Buy it here)
- Buttercream (pink, white) Recipe found here.
- Dragees, sixlets, candy covered chocolates, royal icing flowers
Chocolate Shoe
- Melt chocolate in heat proof container in the microwave, at 50% power for 1 minute intervals.
- Pour chocolate into 3D shoe molds, filling about 90% full. Allow to harden for a few hours.
- Once chocolate has hardened, fill remaining portion of mold with chocolate and sandwich molds together. Squeeze tightly together with clamps.
- Allow to harden again, and once hardened, shoe will pop out easily.
- Decorate with piped white buttercream and silver dragees.
Zebra Print Chocolate Shoe
- Melt black and white chocolate in heat proof container in the microwave, at 50% power for 1 minute intervals.
- Using a paint brush, paint zebra stripes with black chocolate. Allow to harden.
- Pour white chocolate into 3D shoe molds, filling about 90% full. Allow to harden for a few hours.
- Once chocolate has hardened, fill remaining portion of mold with chocolate and sandwich molds together. Squeeze tightly together with clamps.
- Allow to harden again, and once hardened, shoe will pop out easily.
- Decorate with piped pink buttercream and pink royal icing flower.
Polka Dot Chocolate Shoe
- Melt red and white chocolate in heat proof container in the microwave, at 50% power for 1 minute intervals.
- Using a fondant ball tool, dot shoe mold with white chocolate. Allow to harden.
- Pour red chocolate into 3D shoe molds, filling about 90% full. Allow to harden for a few hours.
- Once chocolate has hardened, fill remaining portion of mold with chocolate and sandwich molds together. Squeeze tightly together with clamps.
- Allow to harden again, and once hardened, shoe will pop out easily.
- Decorate with piped white buttercream and white dragees.


They are so cute!!! 🙂