Do you want to build a snowman?
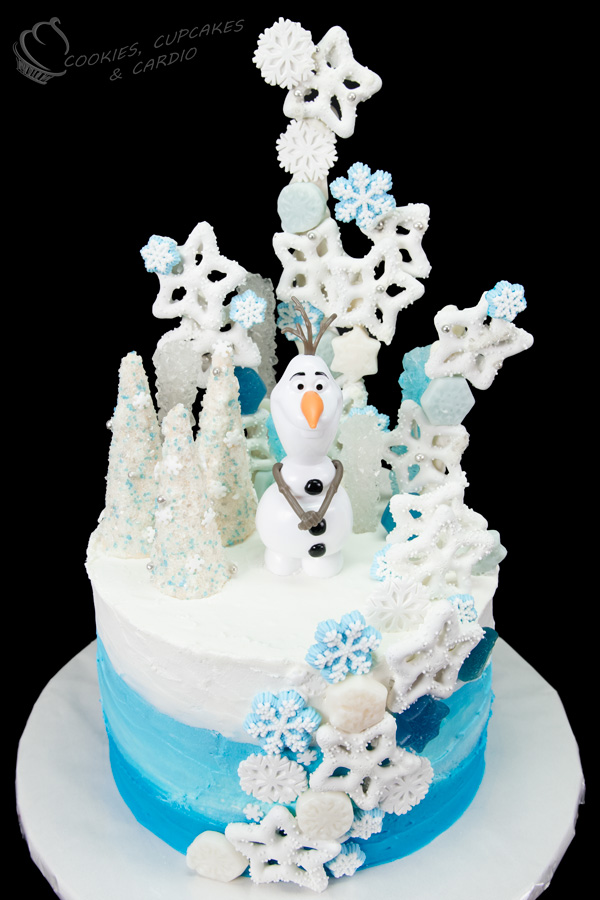
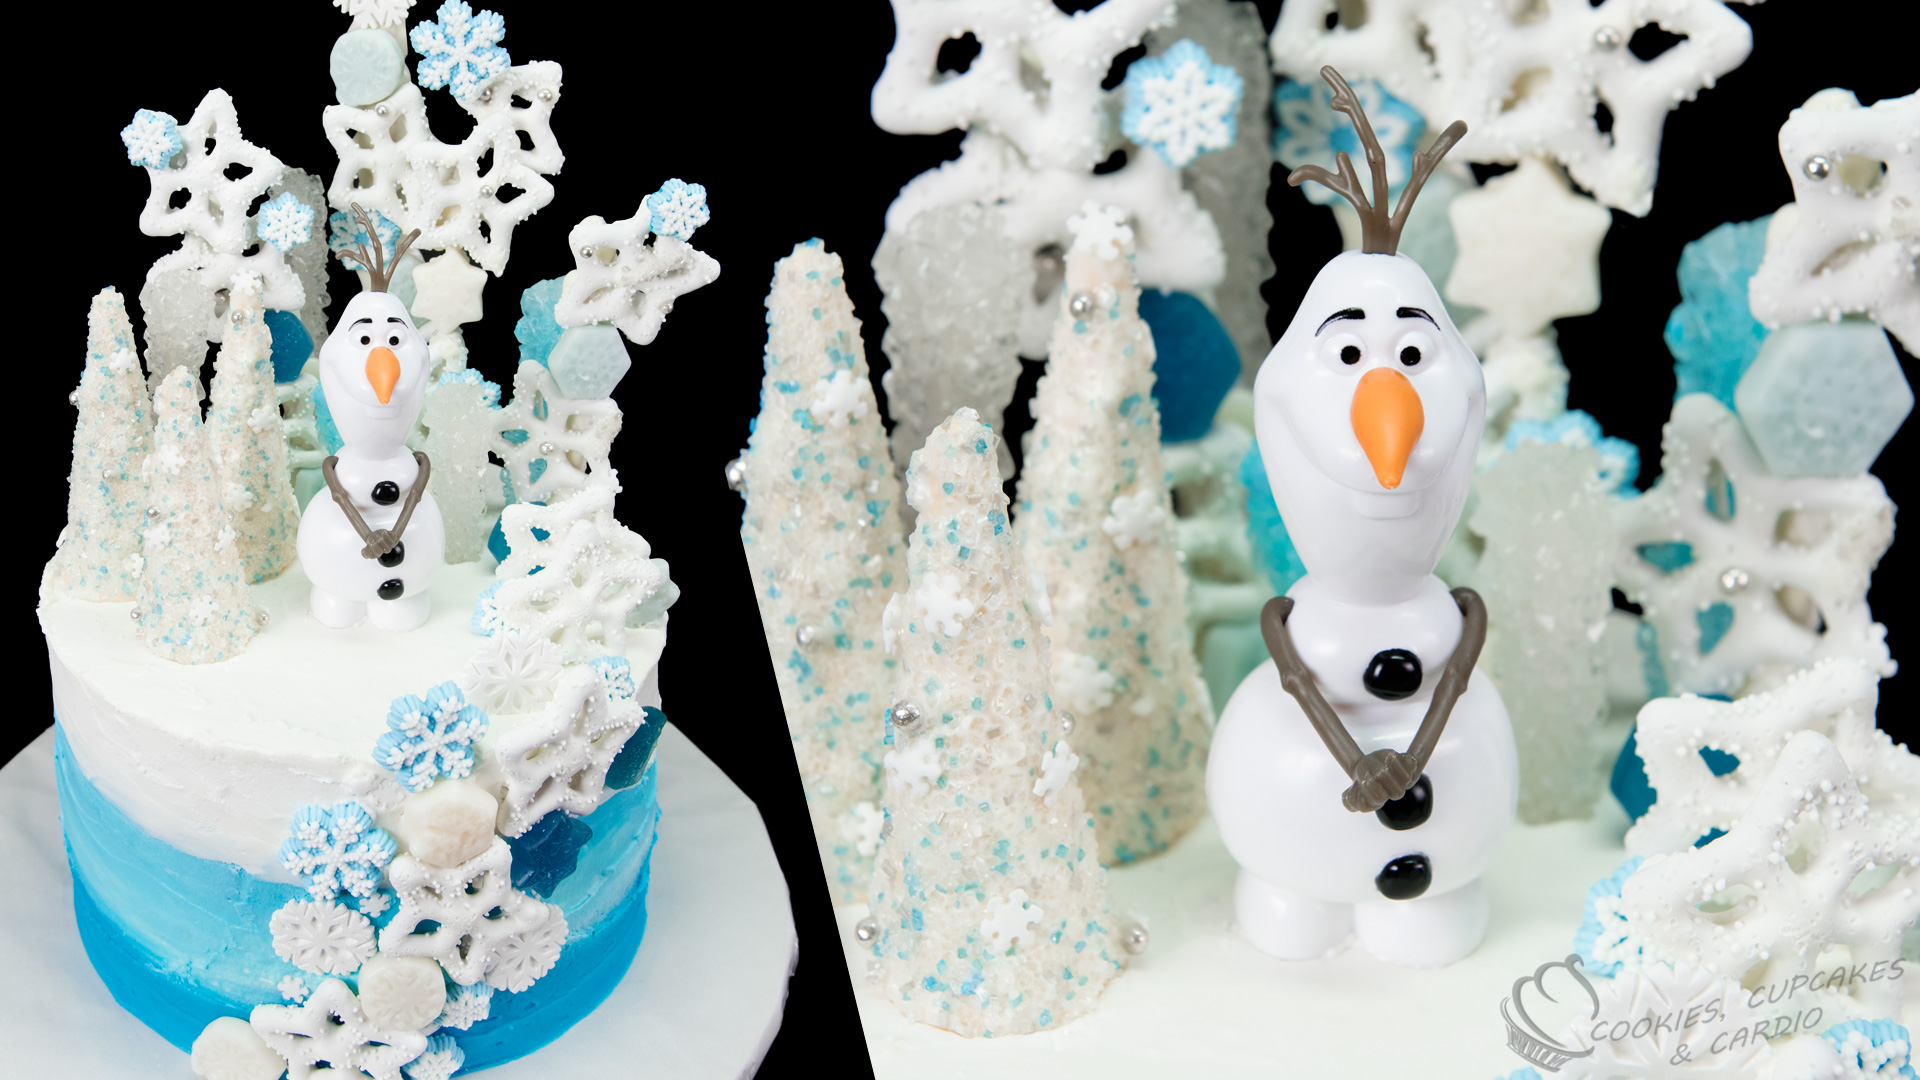
Today I’m showing you how to make a Frozen Cake, this time, with Olaf in the center of the winter wonderland cake! Previously I have shown you how to make another Frozen cake, with my niece Elsa as my helper and you can watch that video here.
BUY MY COOKBOOK.
Subscribe to Cupcakes and Cardio on YouTube!
Subscribe to our NEWSLETTER here!
I’ve been wanting to do another Frozen movie cake for a while now, and with winter covering Canada (at least where I am), it was the perfect time to make an ode to winter and everyone’s favourite snowman- Olaf! A few years ago, I made my first Frozen cake with the help of my adorable niece Elsa. Yes, that’s her real name, and no she wasn’t named after the movie– I get those questions all. the. time. in the comment section. Since she lives in Minnesota, thousands of miles from me, I did this video without her (sob) but I know she’ll love it!
The most important aspect to this cake is the snowflakes. If you’re thinking about making it, start collecting them now. I knew I was going to be doing something with snowflakes and Olaf, so a few months ago, whenever I saw them anywhere, I grabbed them. You can find the links to most of the items in the recipe section below if you want to order them on Amazon (which is way easier than the way I did it!).
I really stepped out of the box in this video when I MIXED my sanding sugar colours together. I KNOW! It’s shocking and made me feel a little queezy but it was for the greater good of the cake. Olaf made me do it.
Besides the snowflakes, blue is the other main element to this cake design. I wanted it to look cool (as in the temperature) but I also wanted white incorporated, so do combine both elements, blue ombre was in need! To make the sides of the cake ombre, I started with the blue section first at the bottom, then combined the middle section with white and spread those both around the cake. Use a clean spatula before switching to the solid white section on the top.
Olaf Cake (Frozen Cake)
Ingredients:
- 3x 8″ round cakes (baked, leveled and stacked)
- White and blue buttercream (buttercream recipe)
- Snowflake candies
- Sprinkles
- Snowflakes Icing Decorations
- Dragees (silver edible sprinkles)
- Ice cream cones
- White chocolate (melted)
- Cake pop sticks/cake dowels
- Sanding sugar (white, blue, silver)
- Rock candy sticks (blue and white)
- Olaf figurine
Procedure:
- Prepare cakes and melt white chocolate.
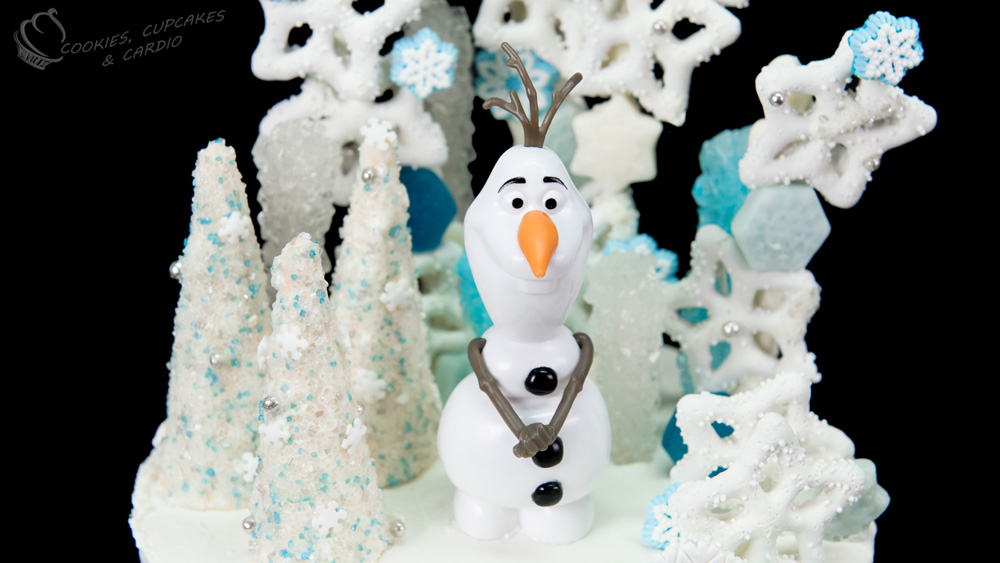
- Trim ice cream cones so that they are between 3-5 inches tall. Cover with melted white chocolate, and sprinkle on sanding sugar while still tacky. Apply additional snowflake sprinkles and dragees with more melted chocolate as needed. Set aside to harden.
- Attach snowflake cookies, candies and toppers to cake pop sticks and dowels of different heights, using the melted chocolate. – Set aside to harden. I used 3 cake pop sticks and one cake dowel.
- Cover the bottom third of the cake with the blue buttercream, the middle with white and blue, and the top third with white only. – Using a flat paddle knife, or a cake spatula, spread icing until it is on the sides of the cake smoothly.
- Cover the top of the cake entirely with white buttercream.
- Press snowflake shapes up the side of the cake, swooping from the bottom, across, and up the side.
- On the top of the cake, where the side swoop of snowflakes comes up to the top, press the cake pop sticks and cake dowels in.
- On the opposite side of the cake top, place the trees into place. Fill in any gaps with the rock candy sticks.
- Finish off with the Olaf figurine on top in the center of the cake.
- Slice and serve when desired. The cake can be kept in a sealed container in the fridge for 2-3 days.
If you haven’t had a chance to check out my niece’s YouTube debut on the Frozen Cake we did together, here it is for you!


