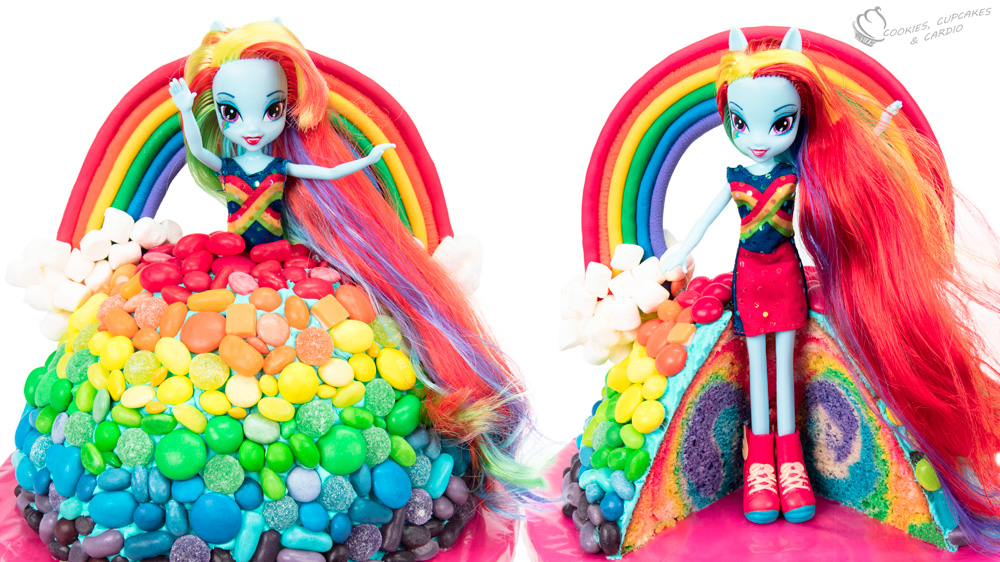
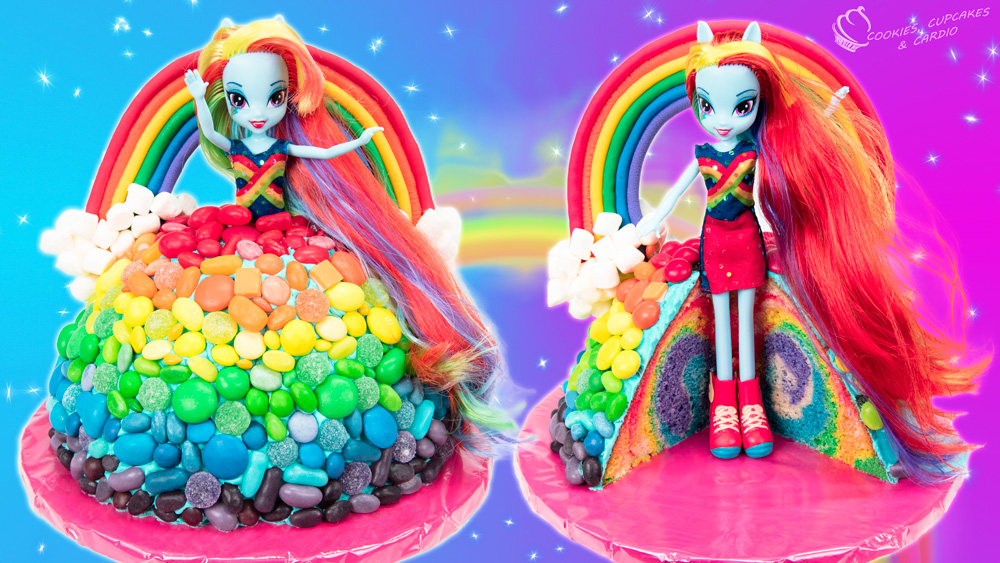
Today I’m showing you how to make an epic rainbow cake! Not only is it a doll cake based off of one of my favourite childhood toys (My Little Pony), but it’s a cake completely covered in a rainbow coating of candies! The inside is a surprise inside of rainbows too! If that weren’t enough rainbows, there is also a beautiful fondant rainbow arch to complete the cake.
Subscribe to Cupcakes and Cardio on YouTube.
Equestria Girls is a spin-off of the ultra popular My Little Pony TV series and toys. In Equestria, the ponies are transformed into human teenagers and live their day to day lives in high school . . . better than the stable I guess? Life for the ponies was much simpler in the 80’s when I played with them. They only went to school if I made them! I had tons of My Little Pony ponies when I was growing up, and I loved gathering all the figurines to go with the cake…it felt like I was a kid again! I should start an 80’s toy room. Guys get to have a Man Cave- why can’t we get 80’s childhood toy rooms??
Enough of a trip down memory lane and onto the cake! My favourite part about this cake are the rainbow candies covering the entire thing. I love the way the different shapes and sizes fit together to make one fluid candy dress. Who wouldn’t want a dress made out of candies? The fondant rainbow was a last minute addition, as I felt it needed something extra to make it really stand out. The illusion that the rainbow is floating in the clouds is so easy to do, but looks great.
There are a couple of purchases that will help to make this cake a little bit easier to reproduce. The most important one is a fondant extruder. You know when you were a kid and you used to play with playdough and tried to make snakes, but they never really came out properly . . . sections were always bulging? Well, working with fondant is just like that. Rolling the rainbow arc sections out by hand is definitely possible, but so much easier with the right tool. The extruder helps produce a smooth and perfectly round rainbow section, and saves you from fighting with uneven snakes. In fact, they’re even making a fondant extruder gun that I’m really eager to try out at some point.
The second recommendation I have for making this cake easier, is to purchase a doll cake pan. You can use a large, deep, tapered glass bowl, but the metal pan does a great job, and I’ve used this one so many times. The metal rod in the middle helps the cake to bake a little bit faster than a glass bowl, and it provides a helpful existing hole to place the doll into.
I love making doll cakes, so let me know in the comments about the ones you’d like to see in the future!
Rainbow Dash Cake (Equestria Girls) My Little Pony Cake
Ingredients:
- 1 cup red, orange, yellow, green, blue, purple candies of all shapes, sizes and separated by colour
- 5 cups prepared vanilla cake batter coloured red, orange, yellow, green, blue, purple
- 1 cup prepared vanilla cake batter (no colour)
- Sky blue buttercream
- Rainbow Dash Equestria Girls Doll
- Doll Cake Pan mold
- Fondant- red, orange, yellow, green, blue, purple
- Marshmallows
- Melted white chocolate
- Fondant extruder
Procedure:
- A day or two ahead, prepare fondant rainbow. Using a fondant extruder, create a long “rope”, with the yellow fondant. Using a 6″ diameter bowl/mold wrap the yellow rope around the top of the mold. Use the extruder to make an orange rope, and press the orange rope above the yellow rope, and use water to adhere the two fondant ropes. Repeat making fondant ropes with the extruder in the other colours and use water to adhere them in place.
- Once rainbow is built, trim ends to equal lengths, and place toothpicks in the purple and blue ends to press into the cake later. Allow rainbow to harden overnight.
- Preheat oven to 350F/180C and prepare cake pan with non-stick spray and parchment strips.
- Pour red cake batter into the pan. Put one scoop of plain vanilla cake batter on top of the red batter.
- Pour orange cake batter into the pan, on top of the white and red batters. Put one scoop of plain vanilla cake batter on top of the red. Repeat procedure with all colours of batter.
- Place pan into preheated oven, and bake for 45-60 minutes, or until a toothpick inserted into the centers comes out clean. Place on cooling rack to cool.
- Once cake has cooled, level bottom if necessary, and place on top of a cake board, securing cake to board with a swipe of buttercream.
- Wrap doll hair and legs in plastic wrap. Remove shoes if necessary. Insert doll into the top of the cake, pressing doll in as far as it can go.
- Spread buttercream in small sections at a time. Working from the bottom up to the top, place 2-3 rows of purple candies at the bottom of the dress. Ensure candies are tightly placed together and there are no gaps.
- Once the purple layers are complete, apply additional buttercream higher up the cake, and press candies into 2-3 rows of blue. Repeat candy application to the top of the dress, where it meets the doll, with green, yellow, orange and lastly, red. Place a few extra red candies around her waist for a smooth transition of cake to doll.
- Carefully press hardened rainbow into the cake, behind the doll.
- Use mini marshmallows and melted white chocolate to create clouds, and fill gaps at the bottom of the rainbow.
- Serve cake when desired. The cake is best consumed within 2-3 days, and can be stored in the fridge in a sealed container.


