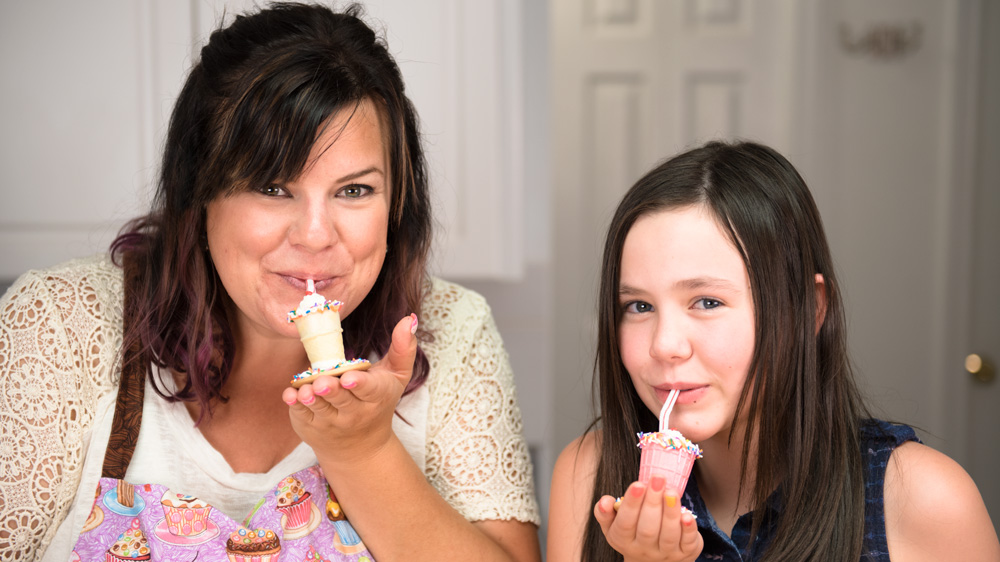
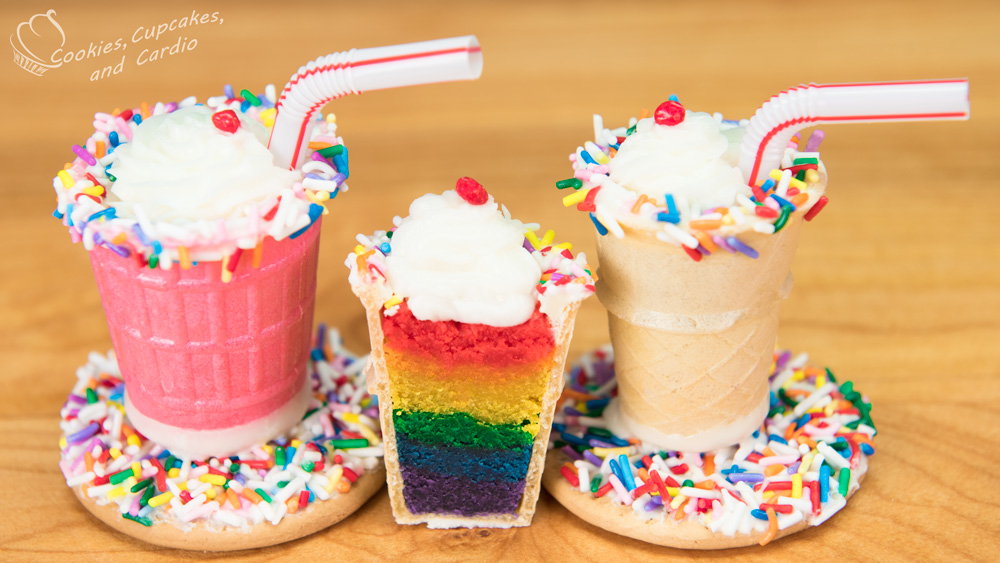
These mini milkshakes are ADORABLE! Thanks to my guest host Paityn for helping me put these together. They’re super easy to do with kids and would make for a fun birthday party assembly activity.
I can’t make a milkshake video without referring to “my milkshake brings all the boys to the yard.” I just had to get that out of the way immediately. Now, I can move onto important information. Like, the wonderful colourful cake crumbs you’re going to need mixed together with buttercream and jammed inside of an empty ice cream cone!
Paityn is my 13 year old special guest host that I have had join me on my channel over the last couple of years. In this tutorial, I had her help me cleaning out the inside of the ice cream cones, layering the rainbow cake pop filling and playing with chocolate and sprinkles! What kid wouldn’t want to be involved in that?
I’m not a huge fan of working on cake pops, but these ones were super fun because they were easy, and not round! I hate making the round ones. I love making cake pops into mini copies of the real thing, and in this case, a mini milkshake! You could put whatever kind of cake pop filling inside of these- they don’t have to be rainbow. I have an obsession with rainbow though, so I had to make the insides bright and colourful.
Mini Rainbow Milkshake Cake Pops
You can make as many of these cake pops as you wish, depending on the amount of cake pop filling you make.
Ingredients:
-
prepared cake pop filling (red, orange, yellow, green, blue, purple)
-
mini ice cream cones
-
regular size ice cream cones
-
round tea biscuits (cookies)
-
melted white chocolate
-
sprinkles/jimmies
-
white buttercream
-
small red round sprinkles
Procedure:
-
Prepare the regular sized cones by using a serrated knife to remove the top/wide portion of the cone. Prepare the inside of the cones by cutting out the inner pieces with a pair of kitchen scissors.
-
Prepare the inside of the mini cones by cutting out the inner pieces with a pair of kitchen scissors.
-
Fill the inside with layers of coloured cake pop filling. Use a small flat object to gently press the filling down to the bottom of the cone. Continue until cone is filled.
-
Dip the top outer edge of the cone into the melted chocolate, and then into the sprinkles.
-
To prepare the plates, spread a small amount of melted chocolate on to the cookie, and press the cookie into the sprinkles. Press sprinkles flat.
-
Dip the bottom of the cone into the melted chocolate, and place on top of the cookie plate.
-
To finish, pipe a cupcake swirl on top of the cone, and top with a round red sprinkle for a cherry. Garnish with a straw if desired.
- Serve cake pops when chocolate has hardened. These can be refrigerated and stored in a sealed container for 2-3 days.


