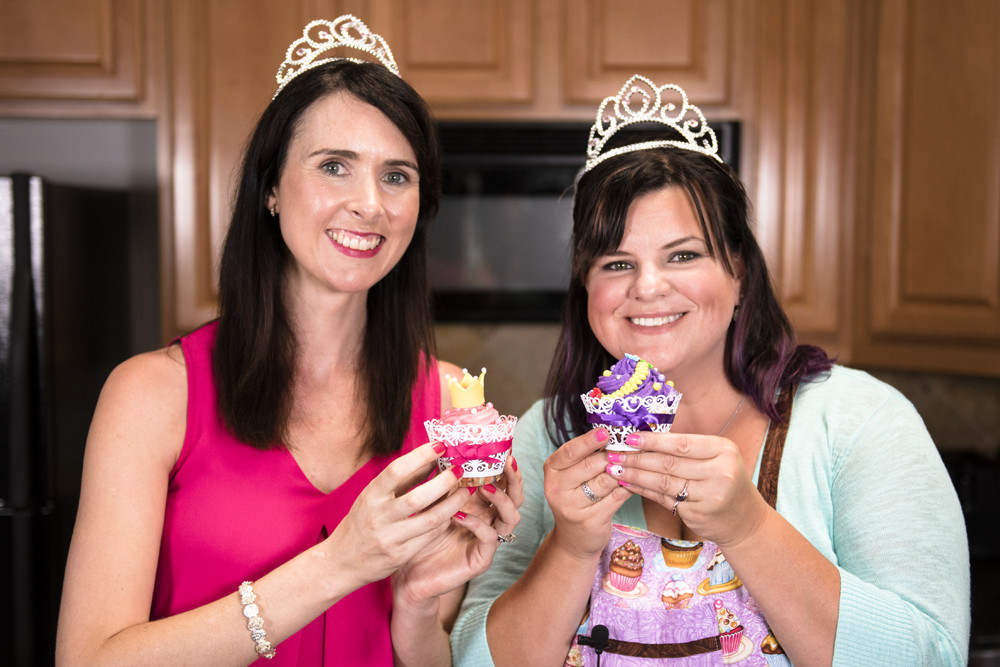
I have received sooooooo many requests to do something Disney related and I don’t like to disappoint, so I’ve brought you a week of JUST DISNEY! Earlier this week you got to see me collab with Charli and Ashlee from Charli’s Crafty Kitchen when we made Mickey and Minnie Mouse Cupcakes. I’m so happy to be able to bring you another Disney themed video this week- Disney Princess Cupcakes with Gemma Stafford from Gemma’s Bigger Bolder Baking!
Getting to film with so many talented YouTubers last week was amazing. As I learned in this collab with Gemma, she is a “professionally-trained chef/baker originally from Ireland”, and boy can you tell! She makes the most amazing treats on her channel and unlike me, she knows how to use yeast. Yeast scares me and I go out of my way to avoid recipes with it. She has tons of recipes for making bread on her blog and channel so make sure you check them out. My favourite little thing that came out of this collab though was learning that cupcakes are called “buns” in Ireland. I love it! “Mom, I only had 3 buns today.”
Over on Gemma’s channel, she showed me how to make marbled cupcakes in colour schemes to match the princesses. Her video is super easy to follow, beautiful to look at and everything is well explained in the recipe on her blog. After Gemma showed me how to do the cupcakes, I showed her how to decorate them themed after five Disney Princesses. Make sure you watch each video to get the completed look for the cupcakes.
Choosing which princesses to design was really hard. Ideally, I would have loved to have done them all, but no one would watch a 45 minute tutorial on how to decorate 13923 Disney princesses. I made that number up . . . I have no idea how many princesses Disney has created. One tour of the Magic Kingdom tells you it’s a lot. Sigh, Disneyland.
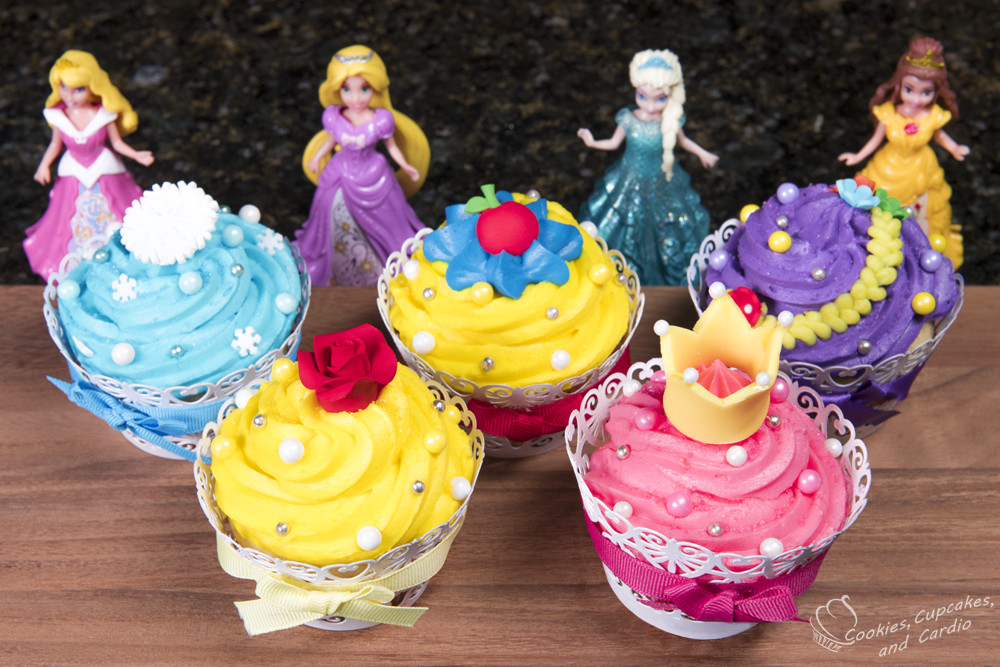
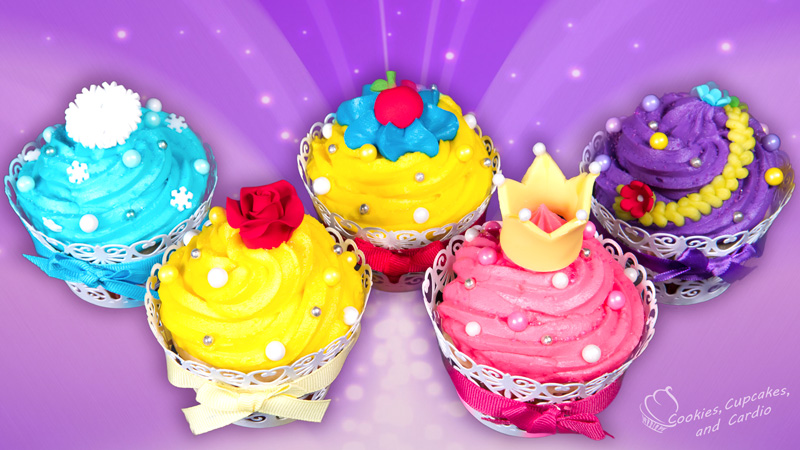
Despite the gravity of my situation, I sucked it up, and made my choices. I went with Elsa, Rapunzel, Snow White, Aurora and Belle for a mixture of older and newer princesses. Elsa was a princess when the movie started, so yes, she is in the princess category . . . I had to justify it to myself as I really wanted to do an Elsa cupcake! I think a second version of this princess themed cupcakes video is in order, so if you have a princess that you really want me to do in a second video, let me know and I’ll try to work her in. I’ve definitely got the ones I want to do next time picked out already.
Watch Gemma’s video and remember to subscribe to her channel!
Disney Princess Cupcakes
Elsa (Frozen), Rapunzel (Sleeping Beauty), Snow White (Snow White and the Seven Dwarfs), Aurora (Sleeping Beauty), Belle (Beauty and the Beast)
Ingredients:
Gemma’s Marbled Cupcakes https://youtu.be/PO2bcU-tkYo
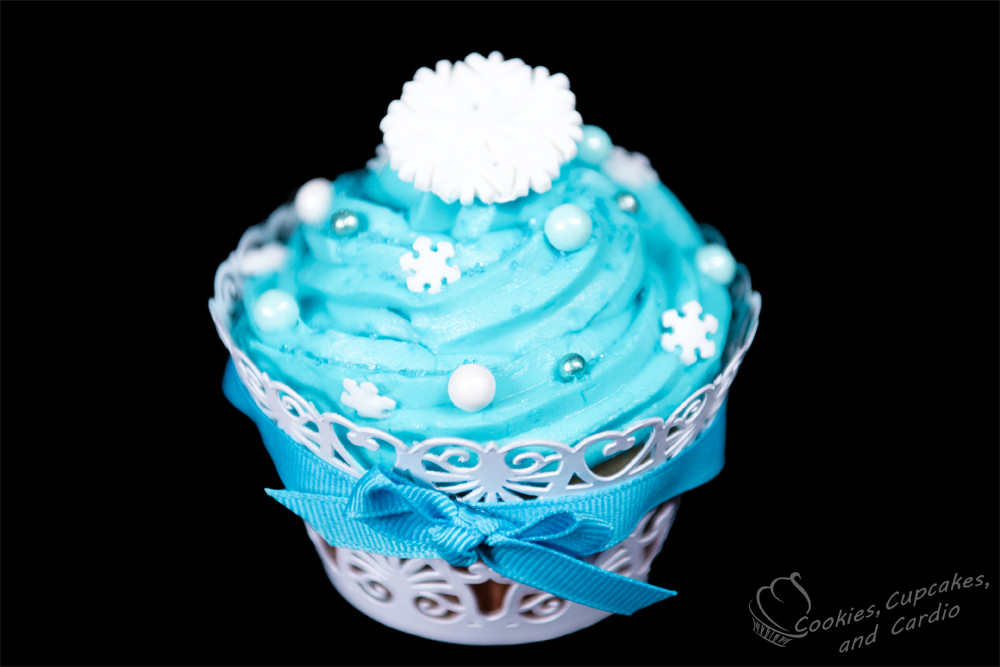
Elsa- Frozen Cupcake
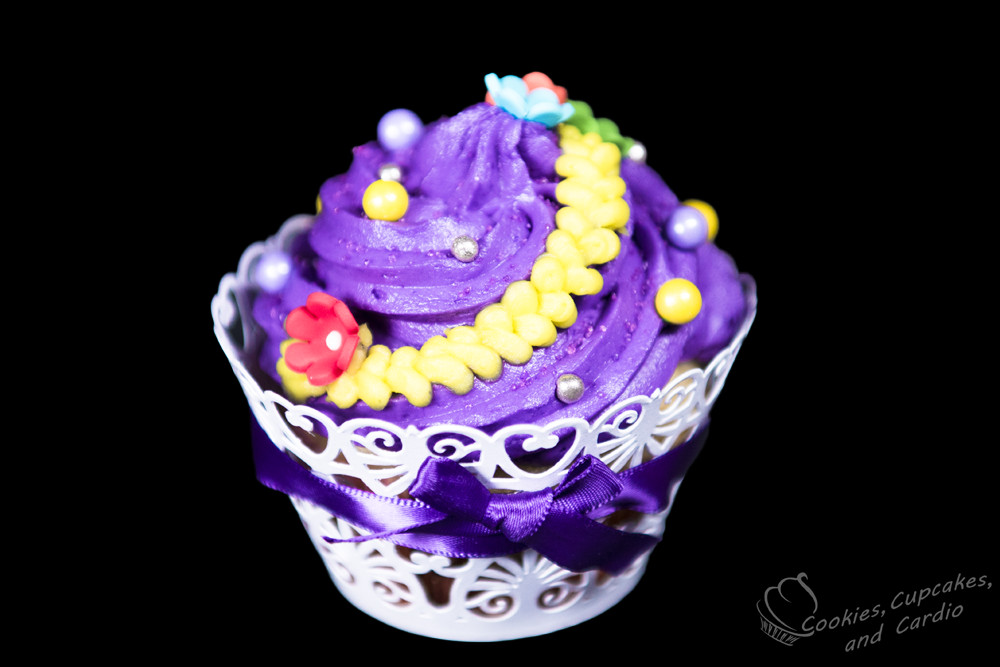
Rapunzel- Tangled Cupcake
- purple buttercream fitted with large open star tip
- yellow buttercream fitted with small round tip (#2-4)
- purple sanding sugar
- purple sugar pearls
- yellow sugar pearls
- silver dragees
- flower toppers (get them here)
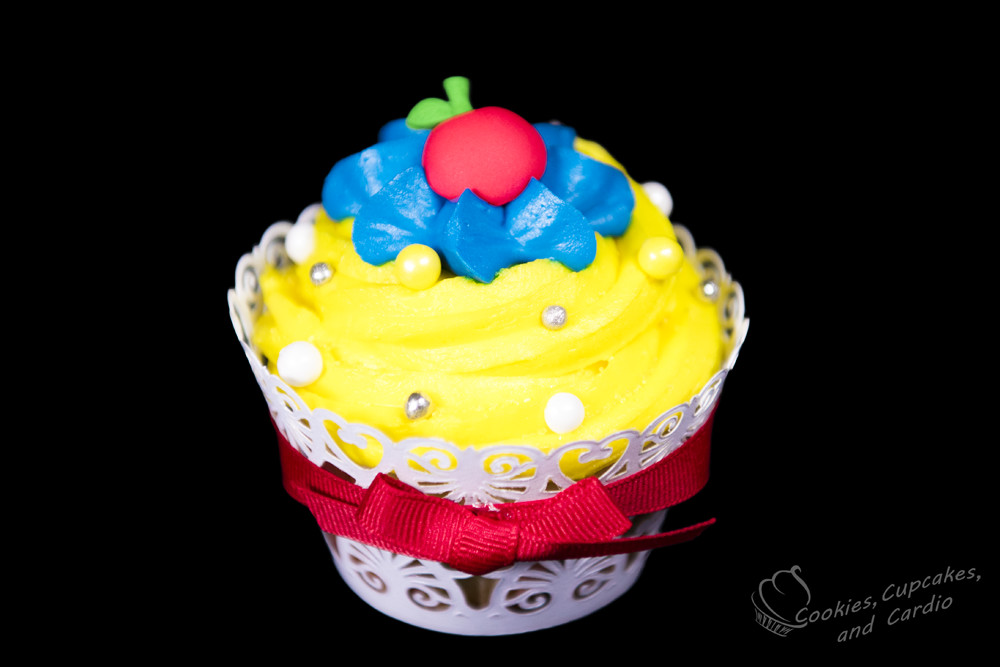
Snow White- Snow White and the Seven Dwarfs Cupcakes
- yellow buttercream fitted with large open star tip
- blue buttercream fitted with petal tip 125
- yellow sanding sugar
- blue sanding sugar
- silver dragees
- red apple toppers
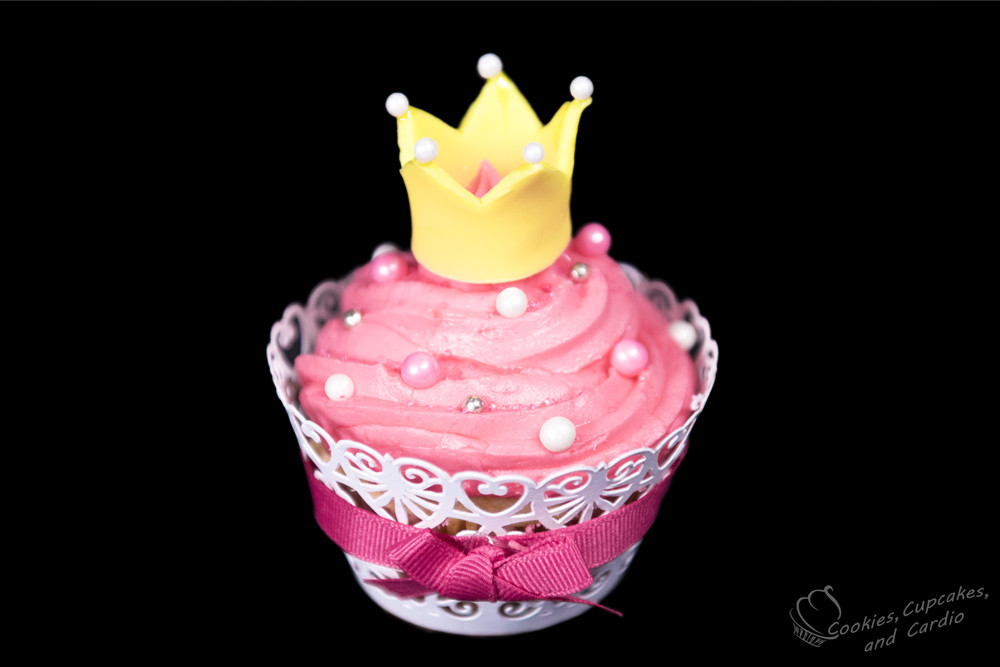
Aurora- Sleeping Beauty Cupcakes
- pink buttercream fitted with large open star tip
- pink sanding sugar
- pink sugar peals
- white sugar pearls
- silver dragees
- yellow fondant
- piping gel (or edible glue)
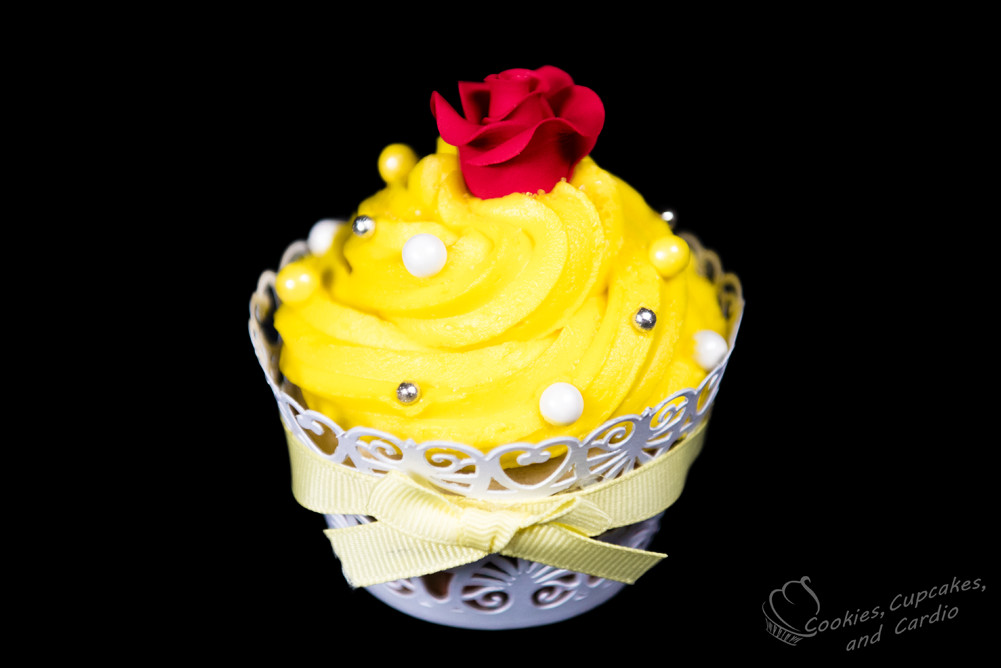
Belle- Beauty and the Beast Cupcakes
- yellow buttercream fitted with large open star tip
- yellow sugar pearls
- white sugar pearls
- silver dragees
- yellow sanding sugar
- red rose (get them here)
Procedure:
- For each of the cupcakes, pipe a large, standard swirl of buttercream using the buttercream with the large open star tip.
- Sprinkle on the sanding sugar before buttercream crusts..
- Add the dragees and sugar pearls required.
- Place the topper on the top of the cupcake.
- For the Sleeping Beauty crown, roll out the yellow fondant, and cut a 1″ wide strip, about 3″ long. Cut out triangle notches along the top of the fondant piece. Turn ends towards each other, forming a crown shape, and press ends together until crease is minimal. Place white pearls on the tips of the crown. Set aside, and allow to harden before placing on top of the cupcake.
