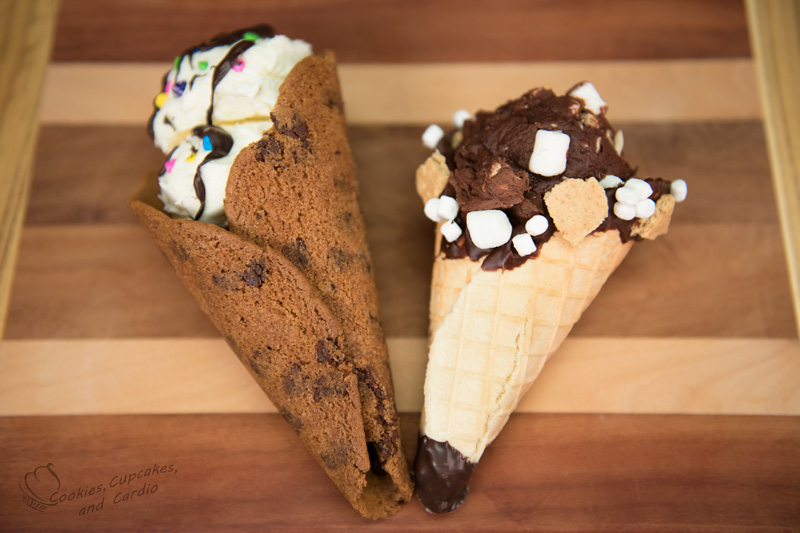
If you love ice cream, you must love ice cream cones too, right? Well, no, not me. I prefer my ice cream in a dish. At least I did until I figured out I could have it in a COOKIE CONE, or a FRUITY PEBBLES cone!!! Even a homemade waffle cone is better than those store bought ones that are served everywhere. These three ideas are super easy too!
If you can’t get your hands on a cone mold, which is a tool that I use in each of the recipes, you can substitute it for a sugar cone. Yes, that’s right. You can go to the store and buy a sugar cone in order to make homemade cones. Something about that doesn’t seem correct, but it will work that way. But, really just go buy yourself a real cone mold, and you will be set to make all of these different cones!
The waffle cone is light and delicious, and tastes so much better fresh and homemade . . . who knew?
The cookie cone can be made with your favourite chocolate chip cookie recipe, though you will need to bake it long enough that it stays together once it is rolled. A couple of my practice rounds fell apart when I wrapped them around the cone, but I found using the two sheets of parchment paper eliminated that problem.
For the cereal cone, I used Fruity Pebbles because they are so colourful! You could use any other small cereal though (Rice Krispies, Cheerios etc) and replicate the same idea.
Homemade Ice Cream Cones
- 2 eggs
- 2/3 cup granulated sugar
- 1/4 teaspoon salt
- 2 tablespoons vegetable oil
- 1 cup flour
- 1 teaspoon vanilla extract
- In the bowl of a stand mixer, fitted with the whisk attachment, whisk together eggs, sugar and salt until light yellow in colour.
- Turn speed to low and mix in vegetable oil.
- Add flour, and stir until no clumps remain.
- Finally, add the vanilla and stir until incorporated.
- Place 3-4 tablespoons of batter onto a heated waffle cone iron. Set colour level, and keep lid closed for one minute. Check after one minute and remove if cooked/desired colour.
- Once cooked, place on a piece of parchment paper, and quickly roll waffle cone around a cone mold.
- Allow to set before removing mold and parchment paper.
- Repeat steps as needed.
- These are best consumed within 2-3 days and should be kept in an airtight container.
- 1/2 cup chocolate chip cookie dough
- Preheat oven to 350F.
- Place cookie dough on parchment lined surface and roll out thinly into a circle shape.
- Place into oven for 15-18 minutes or until golden brown.
- Remove pan from oven, and cover cookie with an additional piece of parchment paper. Roll out thinly once more.
- Place cone mold at one end of the cookie, and carefully wrap the cookie and parchment paper around the mold. Set aside to cool.
- These are best consumed within 2-3 days and should be kept in an airtight container.
- 2 cups fruity pebbles (or other cereal)
- 1- 1 1/4 cups mini marshmallows
- Melt marshmallows in the microwave, in 30 second intervals, stirring after each. Repeat until marshmallows are smooth.
- Add cereal in to the marshmallow mixture, and stir to coat the cereal completely.
- Coat cone mold and hands in vegetable shortening as this will help prevent sticking. Cover mold with cereal and press together to form cone shape. Allow to harden and cool.
- Repeat for additional cones.
- These are best consumed within 2-3 days and should be kept in an airtight container.


Excellent post. I absolutely love this web site.Keep writing!
Yummy
I would like you to make chocolate chip mint ice cream it’s my favorite