This weekend, I am co-hosting a Christmas Cookie Exchange with my future guest blogger, Gretchen. I LOVE cookie exchanges, though I do have to be honest, I rarely eat the cookies that I get. I don’t know why; it’s not that I don’t like other peoples’ baking, I just never feel like eating it. Maybe this year will be different?? I guess it depends on how the ole gallbladder feels. Side note: I went to my surgeon today, and my operation is going to be scheduled for January. I sure hope it doesn’t interfere with my Wilton cake decorating courses I have registered in!! I will post more about that later…the whole story. That will be a post for when I am bored! Expect weeks of daily posts of daytime TV shows in January 😉
On to the red velvet cake balls . . .
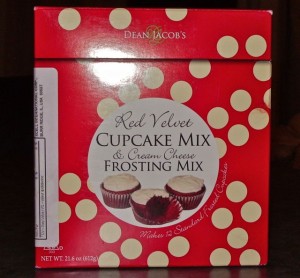
I received package of Dean Jacob’s Red Velvet Cupcake Mix last year as part of a present . . . who would have thought that it would take delicious? So a couple of weeks ago, during a weekly trip to Winners (I’m currently addicted . . . IT’S A NEW STORE EVERYDAY!) I came across the mix again . . . so I bought myself two.
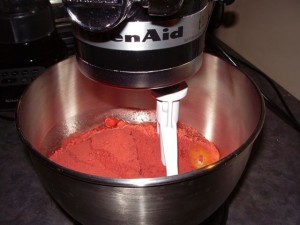
I baked the cake the night before I was to make the balls, in order for the cake to have sufficient time to cool. Obviously it didn’t need that long, but that’s what worked with my schedule.
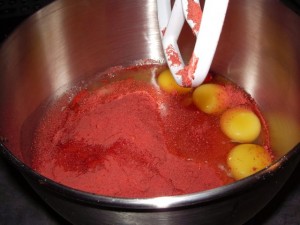
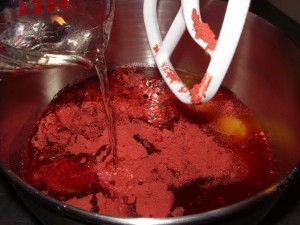
Add the eggs . . .
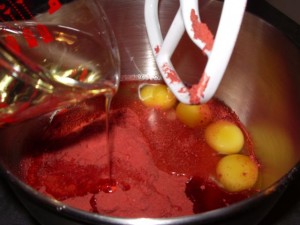
and the oil . . .
and the water . . .
mix it all up, and bake!
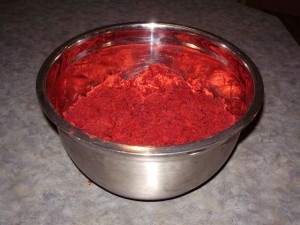
You can use a mix or your own Red Velvet recipe for this, as all you need is a cake! Make sure you let it completely cool before you make it into crumbs. I used my hands, but I’ve read that you could also use a food processor for the crumbling part of the recipe. I thought a food processor was unnecessary, as my cake was moist enough and crumbled very easily.
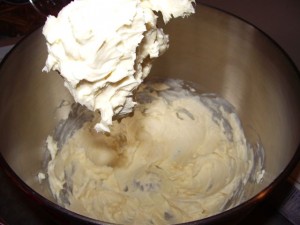
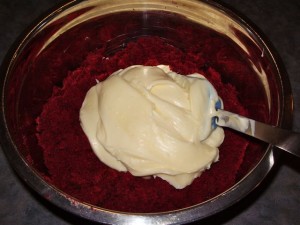
Next step is to mix up Cream Cheese Icing! This will be mixed in with the cake crumbs and the moisture in the icing will help to form and hold small round balls.
Cream the butter and cream cheese . . .
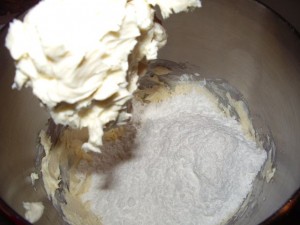
add the icing sugar . . .
Roll up your sleeves, cuz you’re about to get dirty!
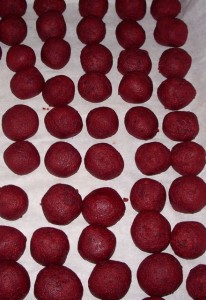
Start rolling those balls . . . I used a rounded tablespoon as I didn’t have a small scoop on hand (note to self: buy mini scoop). 77 balls later, this is what I had . . .
Pop them into the freezer for around 30 minutes, and then you’re ready to coat them. Freezing them helps keep the crumbs in the coating to a minimum. I used white chocolate chips, but found that they were too thick and difficult to work with. After researching tonight, there is something called “bark coating” which looks like it would work better . . . also, “candy coating” might have been better as well (I’m assuming . . . at least that’s what Bakerella uses! She knows what she’s talking about when it comes to cake balls!) Tip: as the cake balls warm up, they will start to crumble . . . keep heating up new fresh chocolate so you do not end up with “dirty” chocolate. I melted a new bag of Chipits every 16 balls.
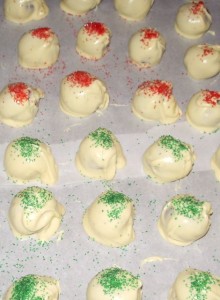
Here’s the finished product . . .ready to be packaged for the cookie exchange! I’ll post those pics when the balls are finished cooling. Right, after you have coated them, put them into the fridge to help the solidification process. Then, they should be ready to wrap up!
And the final touch . . .
Cheers!



Oh no Jenn – you’ve been having gallbladder issues? yikes! hope you are feeling okay! these look delish!
can’t wait to taste them…and guest blog! they look lovely, the sprinkles are a nice Christmas touch…looking forward to exchanging!