Searching for the best chocolate cake recipe? Well, I have found it! Truth be told, I didn’t find it on my own, I relied on my favourite talented baking friend, Gretchen’s, advice. This recipe comes from the Hershey factory and is moist and very chocolaty!
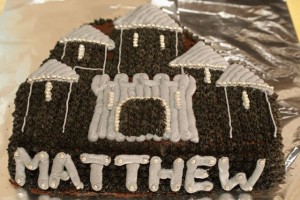
I have been looking forward to Friday night since I got the order for this cake on Monday. A castle cake! How cool. To make it even cooler, it’s for a boy! I LOVE doing girly cakes and cupcakes of course, but it’s nice to have a change from pink, pink and more pink.
I started out searching Google Images (of course) and Flikr for ways to decorate this cake. (I was working from Wilton’s Castle Cake pan). I knew I wanted to go black and grey, but I wasn’t exactly sure how to get my icing black. Last night, at my cake decorating class, I overheard my instructor talking to someone else and I caught “Start with chocolate icing to get the black, black colour”. Ah ha! That was the missing piece.
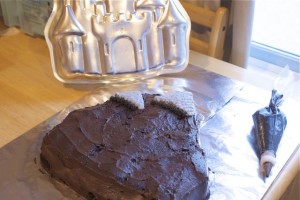
I base iced (aka crumb coated! I’ve started speaking Wilton! Aghhhh!) the cake in chocolate buttercream, and realized that I didn’t need to do this step. Base icing a shape pan actually makes it harder to see where you are supposed to be piping. I recommend not base icing this particular pan.
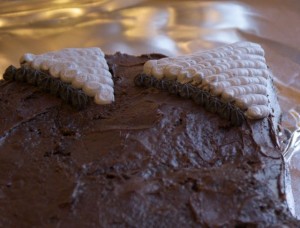
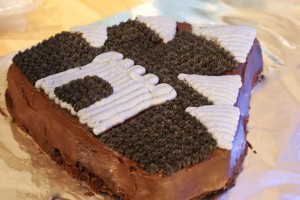
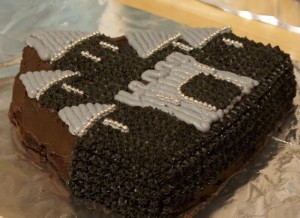
I started out with a #12 round tip for the turrets in grey. Then, a # 18 star tip for the black part of the castle.
A great tip I learned this week from my Wilton Instructor was to line up your tip when you are doing a star piped cake. What this means is make sure the # sign is in the same direction at all times. This way, all of your stars will line up together perfectly!
This cake took about two hours to pipe. It wasn’t tough, just tedious. I was starting to grow crossed eyed, having stared at the stars for so long! My glasses were needed and I had to bring in more lights!
I used silver candy beads to decorate around the door and to represent the windows.
Using #12 round tip again, I added the birthday boy’s name for completion!
Recipe:
Chocolate Castle Cake
(adapted from hersheys.com)
The first thing you need to note is that the batter will be VERY thin once you add the water at the end. Don’t worry! Just go with it.
Ingredients:
2 cups sugar
1-3/4 cups all-purpose flour
3/4 cup HERSHEY’S Cocoa
1-1/2 teaspoons baking powder
1-1/2 teaspoons baking soda
1 teaspoon salt
2 eggs
1 cup milk
1/2 cup vegetable oil
2 teaspoons vanilla extract
1 cup boiling water
Directions:
- Heat oven to 350°F. Grease and flour two 9-inch round baking pans.
- Stir together sugar, flour, cocoa, baking powder, baking soda and salt in large bowl. Add eggs, milk, oil and vanilla; beat on medium speed of mixer 2 minutes. Stir in boiling water (batter will be thin). Pour batter into prepared pans.
- Pour batter into prepared pan. Bake 35 to 40 minutes. Cool completely. You can start decorating once the cake is completely cooled.
Now it’s YOUR turn . . . Have you tried baking and decorating with shape pans? What kind of shape pans have you had success with?


Is this your go-to chocolate cake recipe?
Sometimes…depends on my mood!
I love this cake! I am all about girly pink sprinkles but this is awesome…Matthew will love it for sure. Glad the recipe worked out, I thought it was a family secret for years then my mom told me it was from the Hershey tin…simply glad it worked. I love how moist it stays and I think it actually tastes better the second day, it doesn’t seem to dry out.